Blackmagic Design DaVinci Resolve Studio (Dongle) User Manual
Page 361
346
Lesson 12
P
erforming Primary Color Corrections
3
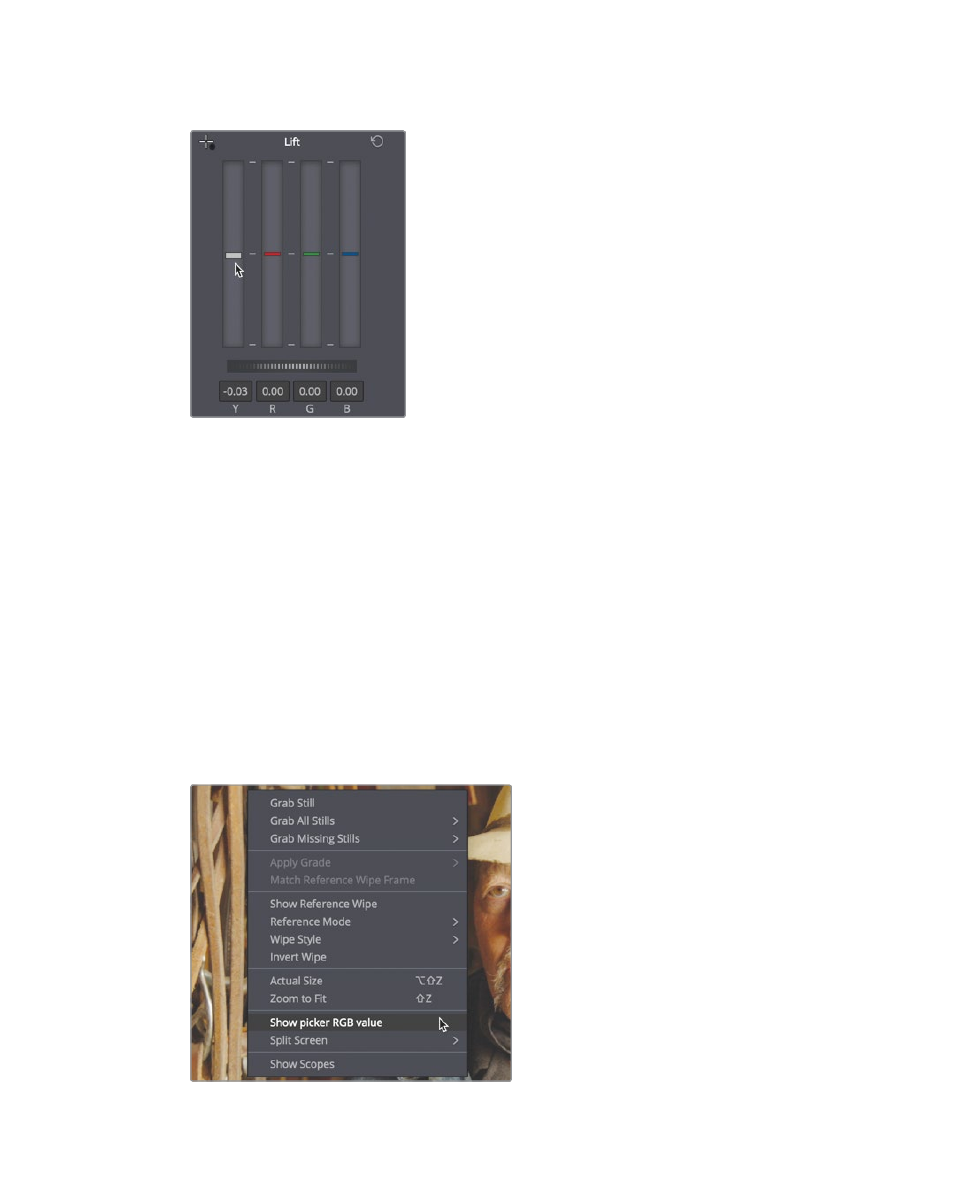
Drag the Lift Y bar down until the Y luminance value is near -0.03.
Once again, the darkest areas in the image become a bit darker. Unfortunately, the
highlights in this image are trickier to adjust because, unlike the previous shot, this
image has no white anywhere in the frame. However, using your eyes, you can see that
you need to bring down the highlights.
4
To decrease the highlights, drag the Gain Y bar down until the top of the green trace
falls just around the 896 line in the parade scope.
Not having white in any part of the image makes it more challenging to accurately
correct for any white-balance issues. However, you do have areas of his scarf that
provides a neutral dark gray tone. Just like white, a neutral gray consists of equal parts
red, green, and blue. Because it is very difficult to see neutral gray on a scope, you’ll
need another method for measuring the red, green, and blue values. In this case, you
can use an eyedropper to display RGB values for a region of pixels in the frame.
5
Hover the mouse pointer over the viewer until it becomes an eyedropper.
6
Right-click in the viewer, and choose “Show picker RGB value”.