Creating a timeline – Blackmagic Design DaVinci Resolve Studio (Dongle) User Manual
Page 103
88
Lesson 4
Assembling a R
ough Cut
Creating a timeline
Before you can start editing, you must create a timeline into which you place clips in the
order you’ll want to use them. DaVinci Resolve 16 projects can contain one or more edited
timelines. As you experiment with multiple versions of a timeline, it can be helpful to
duplicate your timeline by selecting Edit > Duplicate Timeline. Unlike the cut page, you can
place timelines in any bin, not just the master bin. On larger projects with dozens of timeline
versions, having a dedicated timelines bin can make it easier to go back and compare
versions or locate the exact version you want.
1
If DaVinci Resolve is closed, launch the application to get to the project manager.
2
Double-click the My New Project thumbnail that you created in Lesson 3.
When you left this project, you were on the media page, but to begin assembling
your rough cut, you’ll now move to the edit page.
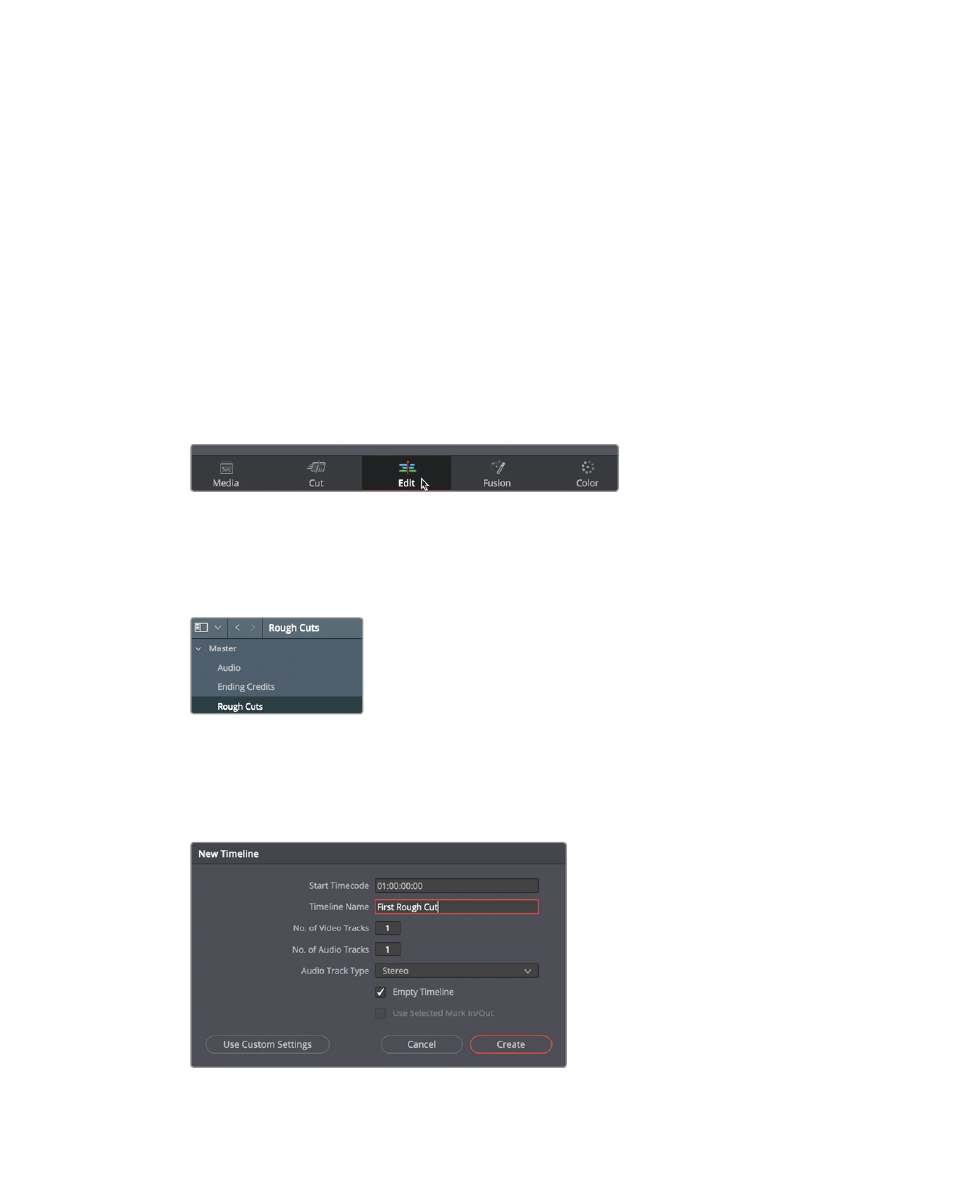
3
At the bottom of the screen, click the edit page button.
You’ll begin by creating a timeline and a bin that will hold your timeline.
4
In the media pool sidebar, select the master bin, and choose File > New Bin to create
a new bin within the master bin.
5
Name the new bin
Rough Cuts
, and press Return or Enter.
6
With the Rough Cuts bin selected, choose File > New Timeline, or press Cmd-N
(macOS) or Ctrl-N (Windows).
When the new timeline dialog appears, you can give the timeline a new name.
7
Name the timeline
First Rough Cut
, and click create.