Editing from a bin – Blackmagic Design DaVinci Resolve Studio (Dongle) User Manual
Page 121
106
Lesson 4
Assembling a R
ough Cut
The destination control displays no outline when it is disabled. As a result,
audio source material on A1 will not be edited into the timeline.
12
In the toolbar, click the overwrite button, or press F10.
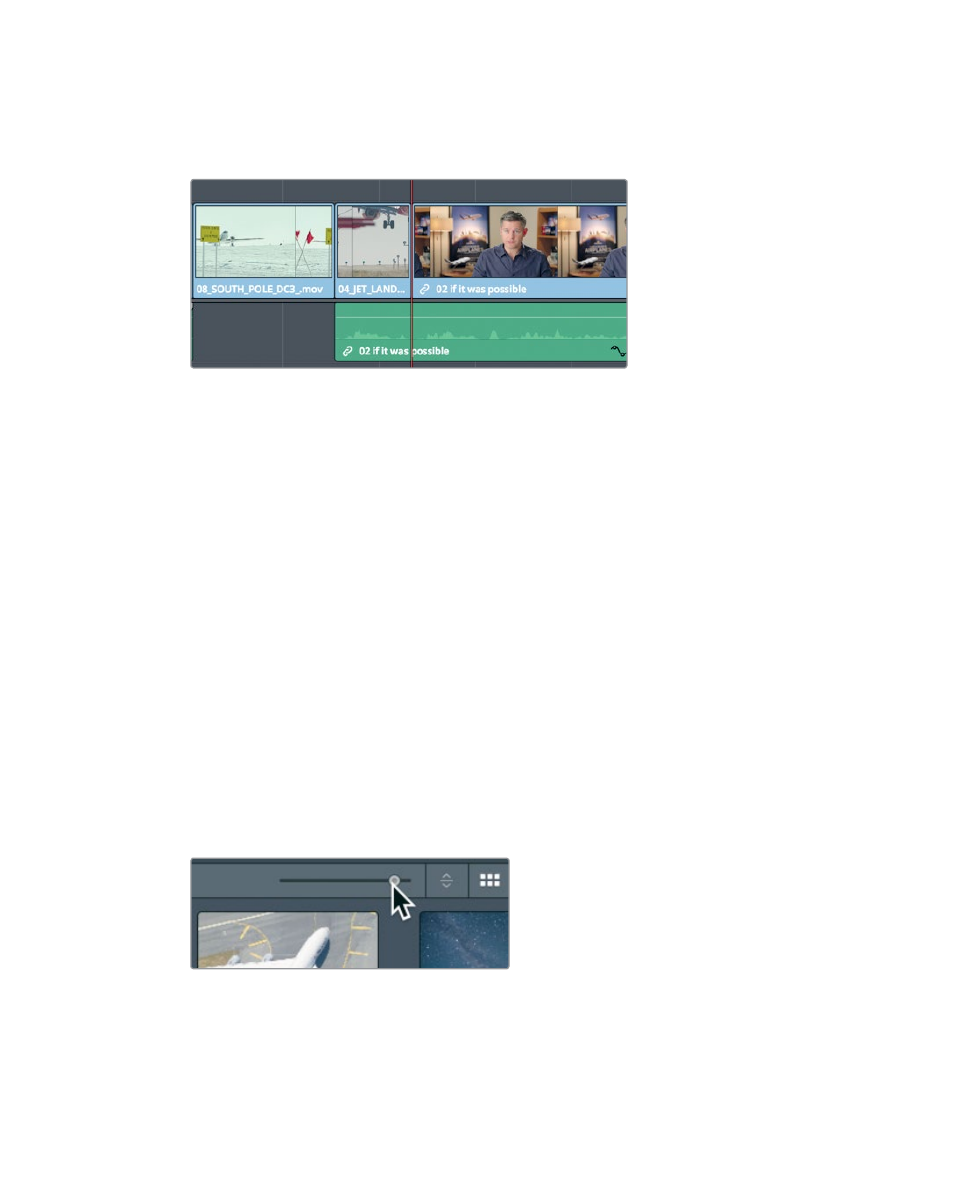
The overwrite edit caused a few seconds of the second interview clip to be covered by
the new
04_JET_LANDING_2
clip. The audio from the interview, however, remained,
and can be heard even when the cut-away is visible.
13
In the timeline, position the playhead between the
08_SOUTH_POLE_DC3
clip and
the
04_JET_LANDING
video clip.
14
Press spacebar to play over the interview.
This is a short sample of some common editing functions. Other functions on the edit page
like append at end and place on top are identical to the cut page’s append and place on
top functions. However, the two pages do have differences even in editing techniques. let’s
take a look at a few of those next.
Editing from a bin
If the clips you are working with do not contain audio of any importance and you just want
to add a few clips to the timeline as a montage, you can set marks using the thumbnails in
the media pool instead of loading each clip into the source viewer. You’ll do this for the final
three clips you will add to your program.
1
At the top of the media pool, drag the scale slider to the right to increase the size of the
thumbnails.
When working with thumbnails in the bin, it can be helpful to give you a larger target.