Mixing a black-and-white shot – Blackmagic Design DaVinci Resolve Studio (Dongle) User Manual
Page 399
384
Lesson 14
Designing Creative L
ooks
Mixing a Black-and-white Shot
When going through the previous lesson you saw that one of the adjustment controls was
Sat, or Saturation. This simple setting sets the strength of your colors, allowing you to push
them beyond their originally recorded values or to decrease them completely, thereby
turning the image to black and white.
In the Color page, you have several methods for turning a color image to black and white.
Setting your Sat adjustment control to 0 is the obvious way, but it happens to be the least
flexible way.
In the RGB Mixer, you have the option to fine tune the strength of the individual red, green,
and blue channels even for a black-and-white image, which can produce stark and
interesting results. You’ll experiment with this look by creating a new version for it.
1
Open DaVinci Resolve 16, if necessary, and open the Wyoming Ranch project you have
been working on.
2
Open the Wyoming Ranch timeline to load it into the viewer.
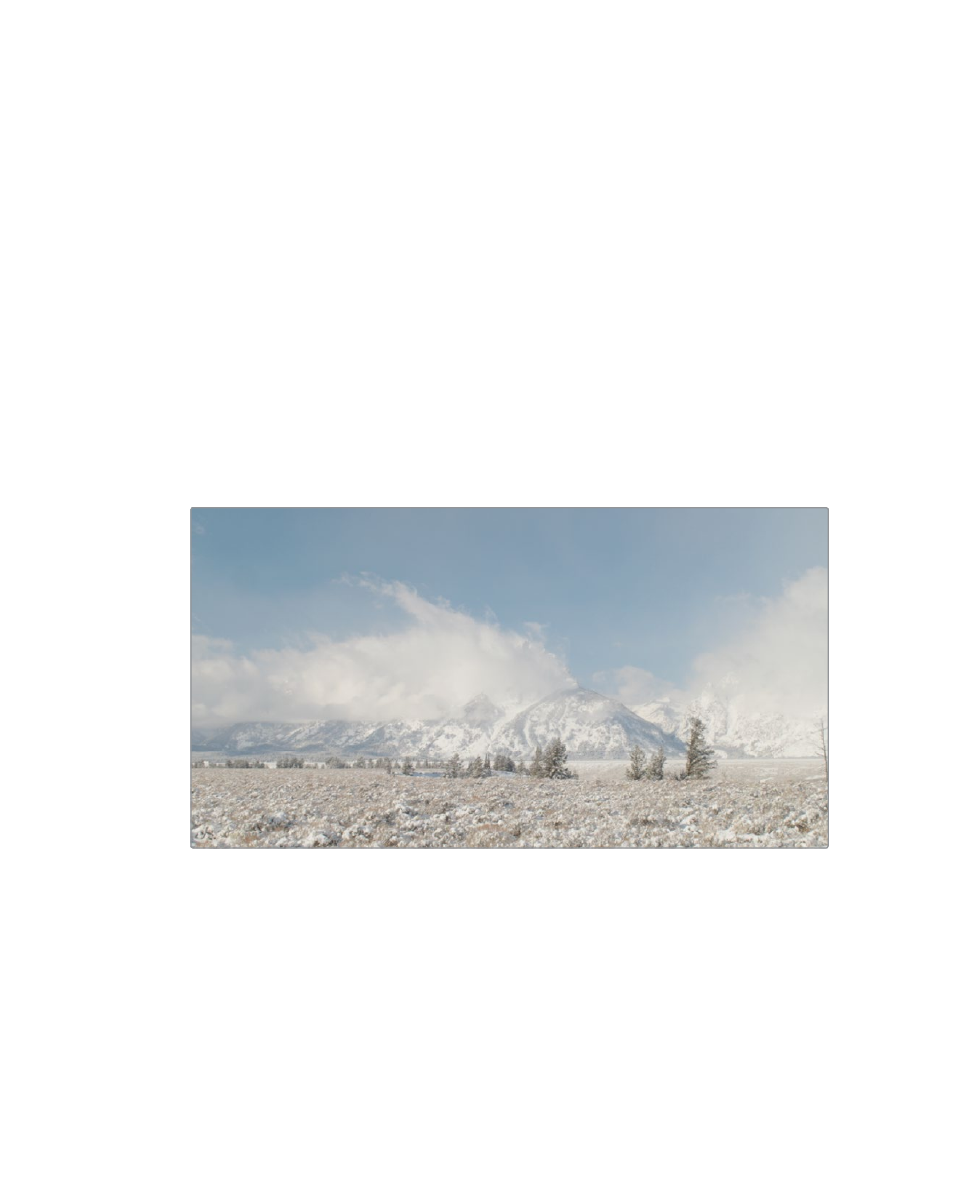
3
In the timeline, select the last clip, thumbnail 18.
4
Since this clip has not been balanced yet, perform a quick color balance using any of
the tools we have used in previous lessons.
5
Label node 01 BALANCED
6
Right click over Node 01 and choose Add Node > Add Serial node or press Option-S
(macOS) or Alt-S (Windows)