Blackmagic Design DaVinci Resolve Studio (Dongle) User Manual
Page 161
146
Lesson 6
R
efining a Timeline
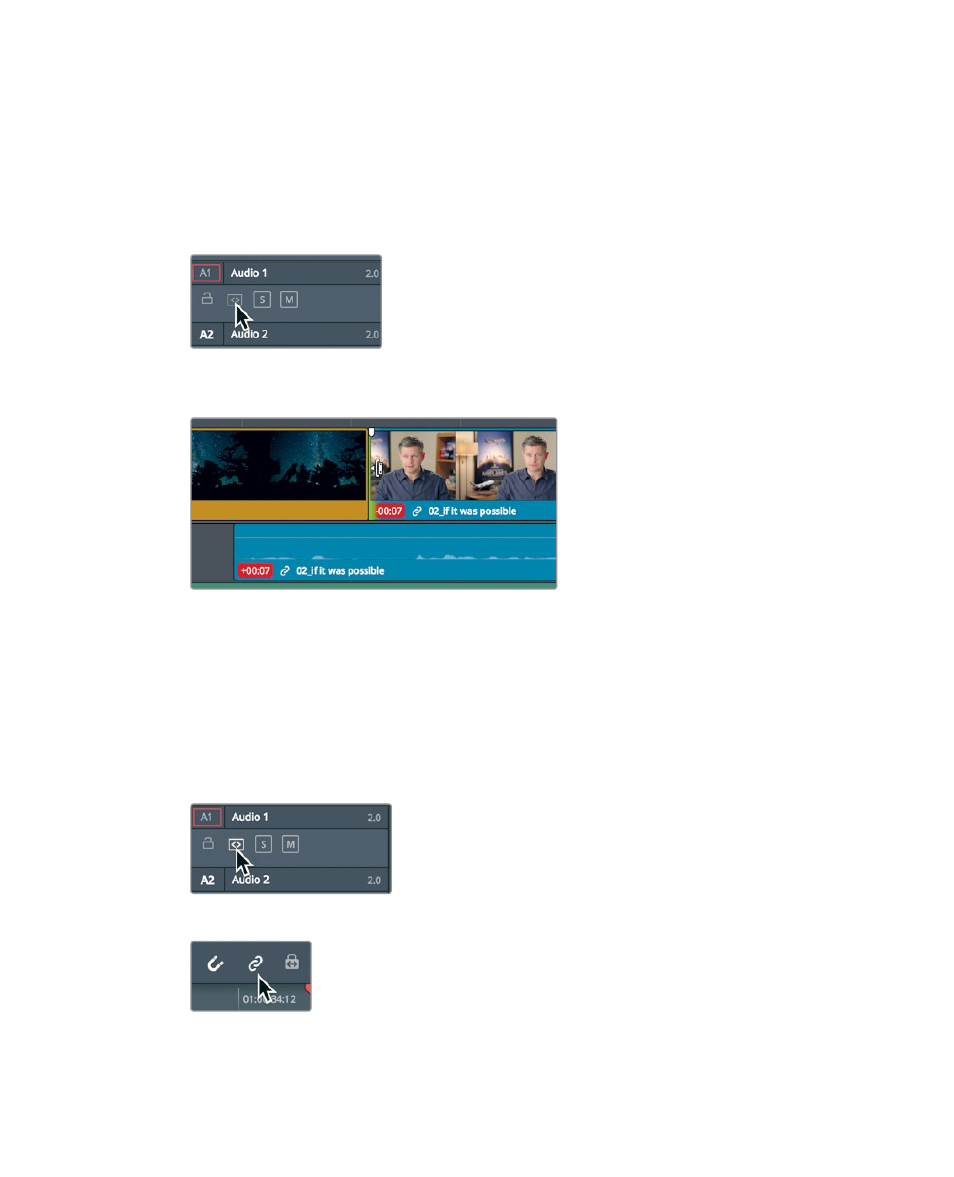
That has a lot to do with the state of the auto select button that you used earlier in
this lesson.
Here, the auto select function was trying to keep your timeline in sync while you were
trimming. To more fully understand how this works, let’s trim a bit more, this time with
auto select disabled for the audio track.
11
On Audio 1, click the auto select button to disable it.
12
Again, select the start of the
02_If it was possible
clip and drag it to the right for
a few frames.
Because you disabled the auto select button for the Audio 1 track, it didn’t adjust when
you trimmed frames from the video track. Consequently, the audio went out of sync
with the now-short video track. The red badges indicate that the number of frames in
the audio and video tracks are out of sync. With more understanding of auto select,
let’s undo that action and finish up the lesson.
13
Choose Edit > Undo, or press Cmd-Z (macOS) or Ctrl-Z (Windows), to undo the
previous trim.
14
On Audio 1, enable the auto select button.
15
Click the linked selection button to enable linked clips.
16
In the toolbar, select the Selection mode tool, or press A.
Finally, let’s review the trim you made.