Blackmagic Design DaVinci Resolve Studio (Dongle) User Manual
Page 310
295
Animating with K
eyframes
6
Press Cmd-left arrow (macOS) or Ctrl-left arrow (Windows) to move the playhead back
to the start of the render range, and press the spacebar to review the new adjustments.
The keyframes editor provides a straightforward way to adjust the timing of elements
and keyframes. However, it doesn’t provide any visual way to adjust the acceleration
between keyframes. On a very basic level, that is what the spline editor does. Let’s
create a smoother animation for the character spacing by converting the keyframes
from a linear acceleration to a smooth ease-in/ease-out acceleration.
7
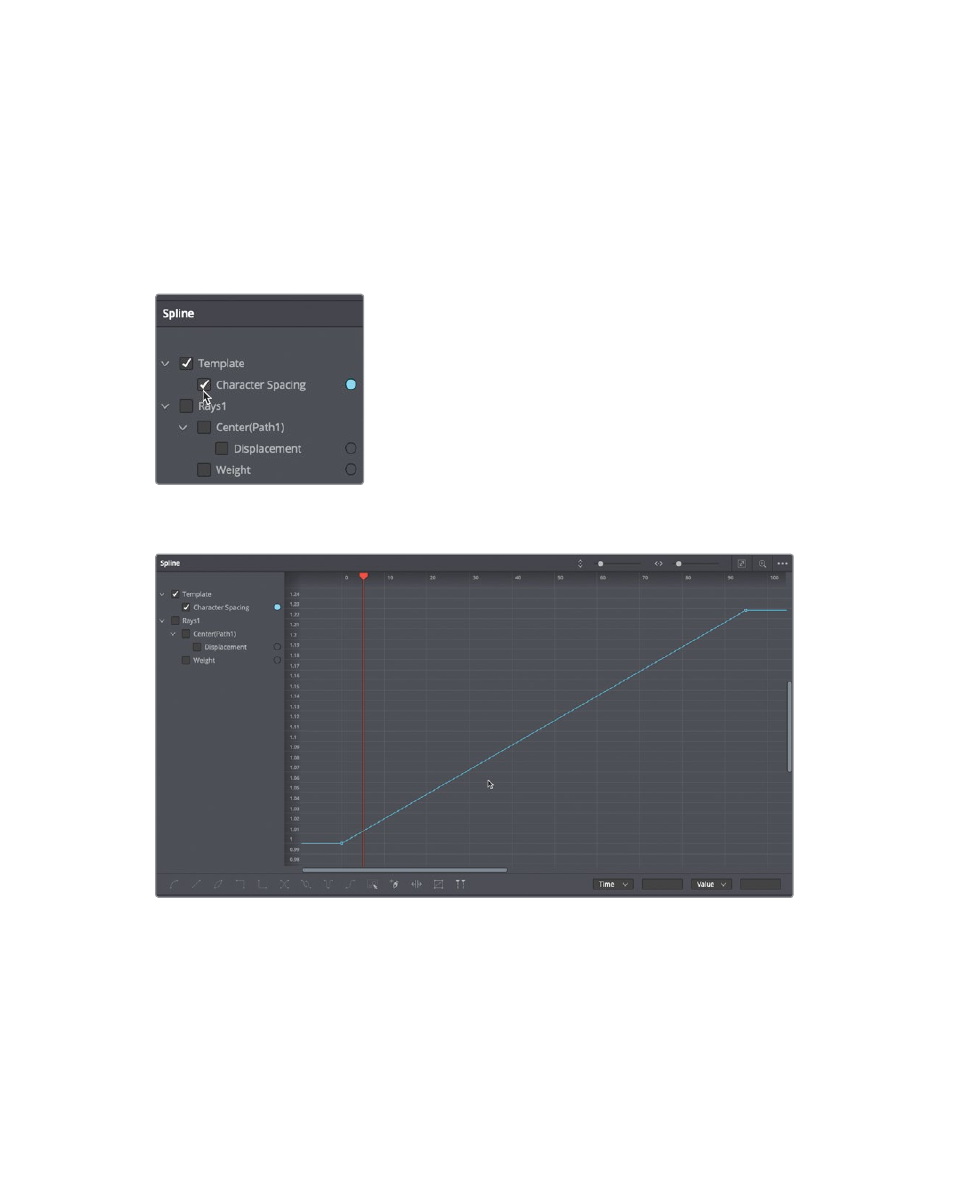
In the spline editor, select the character spacing checkbox below Template.
8
Move the mouse pointer over the spline editor, and press Cmd-F (macOS) or Ctrl-F
(Windows) to maximize the spline in the graph area.
The animation spline for the character spacing is displayed in the spline editor.
The starting keyframe is in the lower-left and the ending keyframe is in the upper-right.
The straight line between the two keyframes indicates a linear animation, which means
it has a constant, steady rate of motion. To create a more natural animation, you can
smooth the motion between the two keyframes.