Creating a custom preset – Blackmagic Design DaVinci Resolve Studio (Dongle) User Manual
Page 417
402
Lesson 15
Delivering a Final Program
7
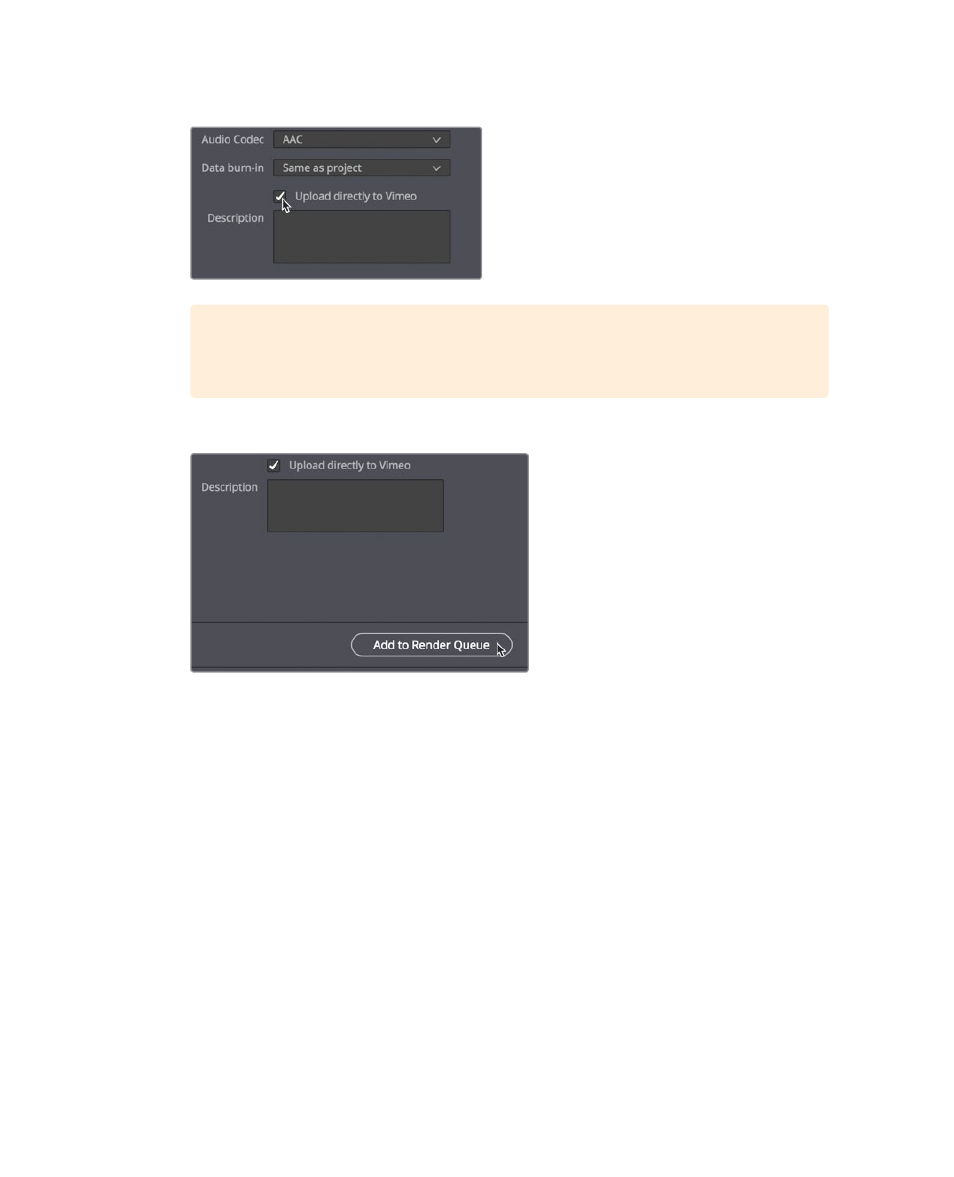
Click the Upload directly to Vimeo checkbox.
TIP
In order for the automatic upload to work, you must enter your YouTube or
Vimeo account information in the DaVinci Resolve > Preferences window.
8
At the bottom of the Render Settings panel, click the Add to Render Queue button.
The job is added to the Render Queue on the right side of the window.
The Render Queue acts as a temporary holding area for jobs that you want to output
from DaVinci Resolve. You can add as many jobs to the Render Queue as you need to
output. Although you could render this file immediately, let’s wait and prepare another
job for the queue.
Creating a Custom Preset
In some situations, you will need to render out only a portion of your timeline for previews
or for others to work on. When you have a few clips that need to be output or used for help
in designing 3D visual effects, you will need to render just a section of the timeline and,
usually, in a very specific format.
Let’s render out a section of the timeline in a format that often is required by 3D animators.
They need high-quality renders; but because DaVinci Resolve does not have a 3D animation
preset, you’ll want to create one of your own, and save it as a preset for later use.