Working with markers – Blackmagic Design DaVinci Resolve Studio (Dongle) User Manual
Page 205
190
Lesson 8
W
orking with A
udio on the Edit P
age
Working with Markers
You will create your mix using a similar version of the current timeline. Because that timeline
already has narration and music in place, you’ll begin by identifying areas that could benefit
from sound effects. You can use markers to annotate clips in the source, identify a specific
time in the timeline, or label a range of time. Such markers are often used as reminders for
a task that you want to do later. In this timeline, you’ll add markers in the timeline to identify
the four areas that need additional sound effects.
1
Open the Age of Airplanes project, if necessary, and choose Workspace > Reset
UI Layout.
2
Select the Rough Cuts bin, and double-click the
04 Audio Rough Cut
timeline to open
it into the timeline viewer.
3
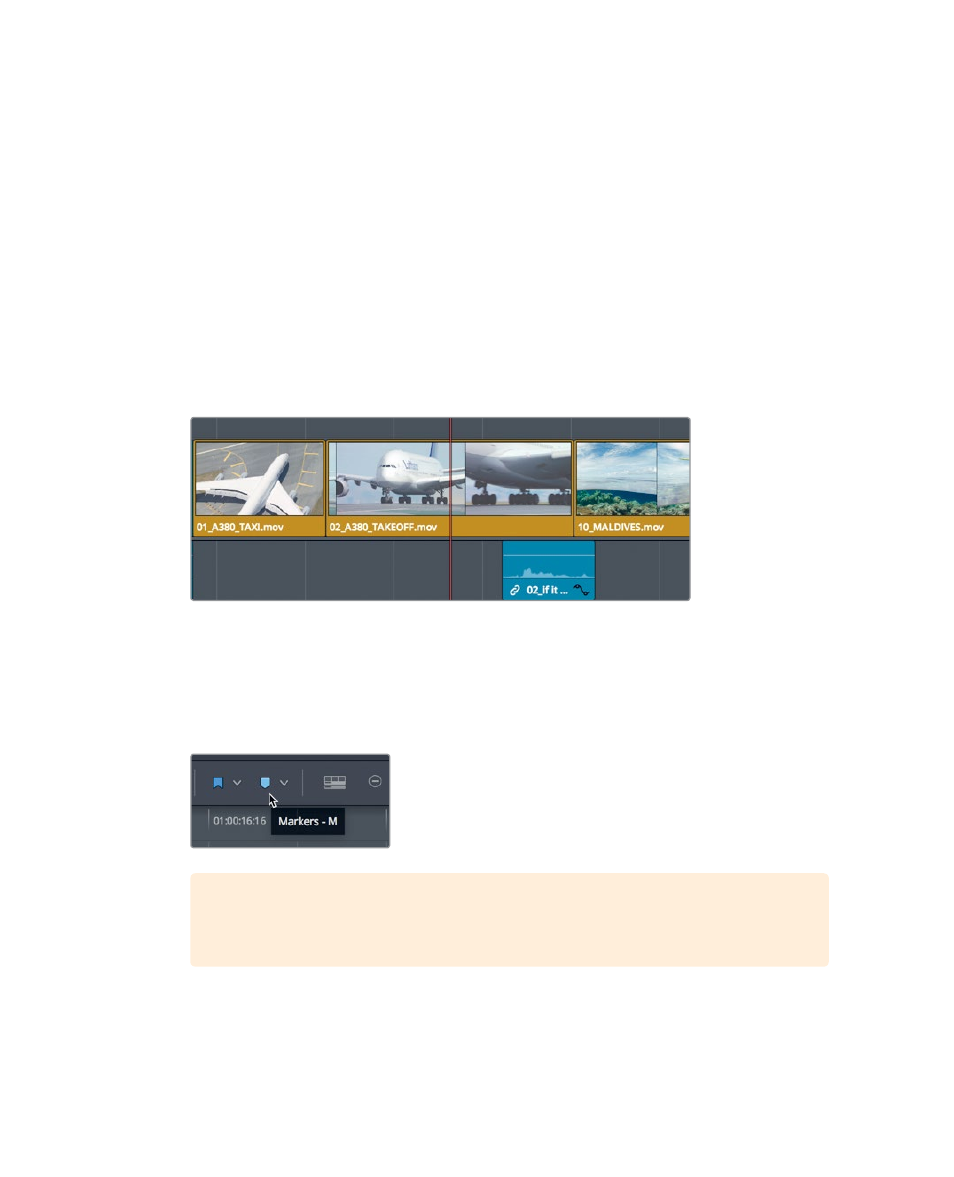
In the timeline, position the playhead in the middle of the
02_A380_TAKEOFF
clip.
This clip could use a nice big roaring take-off sound. To place a marker here, you must
first select the clip.
4
Using the Selection mode tool, click the clip in the timeline.
You can add markers using the marker button in the toolbar.
5
Click the marker button.
TIP
You can turn the marker visibility on and off in the Viewers using the
Options menu.
A blue marker is added to the selected clip in the timeline at the current playhead position.