Blackmagic Design DaVinci Resolve Studio (Dongle) User Manual
Page 371
356
Lesson 12
P
erforming Primary Color Corrections
In this exercise, you’ll explore a few of the simplest tools that DaVinci Resolve provides for
moving a correction from one clip to another. You’ll use these tools to create a seamless
flow of sequential shots.
1
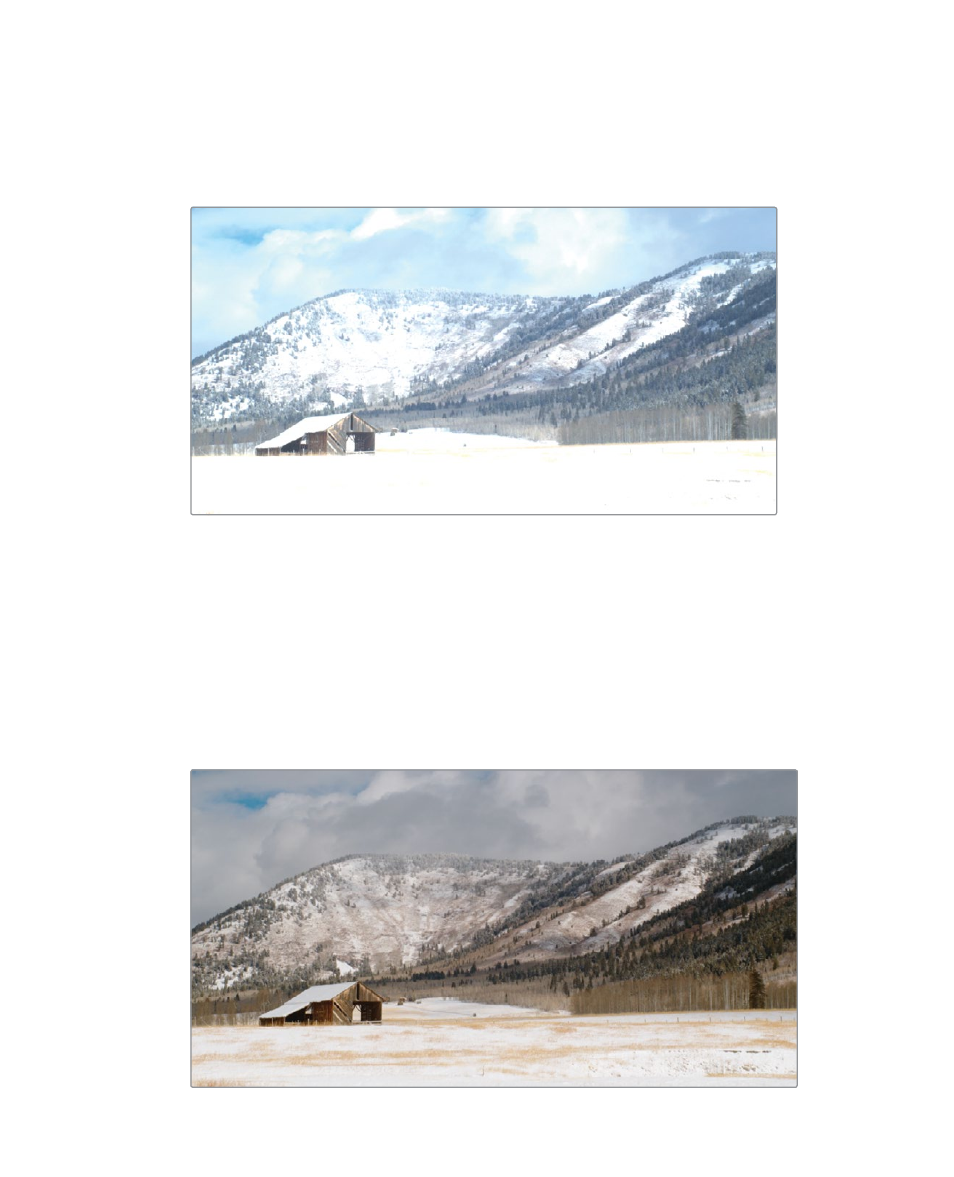
In the thumbnail timeline, select clip 04.
This is the second shot of the snowy field with the barn. One of the simplest shot
matching situations is when you have clips that were recorded at the same time using the
same camera. That’s the situation you have with clips 03 and 04. Because you already
balanced clip 03, you can apply the same correction to the close up shot on clip 04.
2
Select clip 03 and choose Edit > Copy or press Cmd-C (macOS) or Ctrl-C (Windows) to
copy the node’s settings.
3
Select clip 04 and press Cmd-V (macOS) or Ctrl-V (Windows) to paste the node’s settings.
Copying and pasting works with one node, so the selected node’s adjustments from
the clip 03 is copied and ready to be pasted on to the selected node in clip 04.