Backing up data, Using the master out jacks as direct out jacks, Backing up to sd card – Roland TM-6 Pro Drum Trigger Module User Manual
Page 39: Loading backup data from an sd card, Settings (menu)
39
Settings (MENU)
Using the MASTER OUT jacks as DIRECT OUT
jacks
1
In the OUTPUT SETUP screen (SETUP tab),
set the Master Direct Sw to “DIRECT.”
2
In PAD OUTPUT ASSIGN (PAD tab), specify
the output.
Example) Outputting the sound of trigger input 5
(TRIG 5) to the MASTER OUT L jack, and outputting the
sound of trigger input 6 (TRIG 6) to the MASTER OUT R
jack
MEMO
5
The master compressor and Master equalizer effects
are not applied to the output from the MASTER OUT
jacks (the setting of the [MASTER] knob is applied).
This setting also applies to the output via USB audio to
your computer.
5
The PHONES jacks output the sound processed by the
master compressor and Master equalizer.
Backing Up Data
All settings stored in the TM-6 PRO can be saved
(backed up) to an SD card, or restored (loaded) into the
TM-6 PRO.
MEMO
You can also back up and load individual kits. For details,
refer to “Backing Up Kit to an SD Card (1 Kit Save)” (p. 35),
“Loading Kit Backup Data from an SD Card (1 Kit Load)”
Backing up to SD card
Here’s how to save all settings that are stored in the TM-6 PRO
(up to 99 sets).
1
Insert an SD card into the TM-6 PRO (p. 7).
2
In the SYSTEM screen (p. 38), select “SD
Card” and press the [ENTER] button.
The SD CARD screen appears.
3
Use the cursor buttons to select “Save
Backup,” and then press the [ENTER] button.
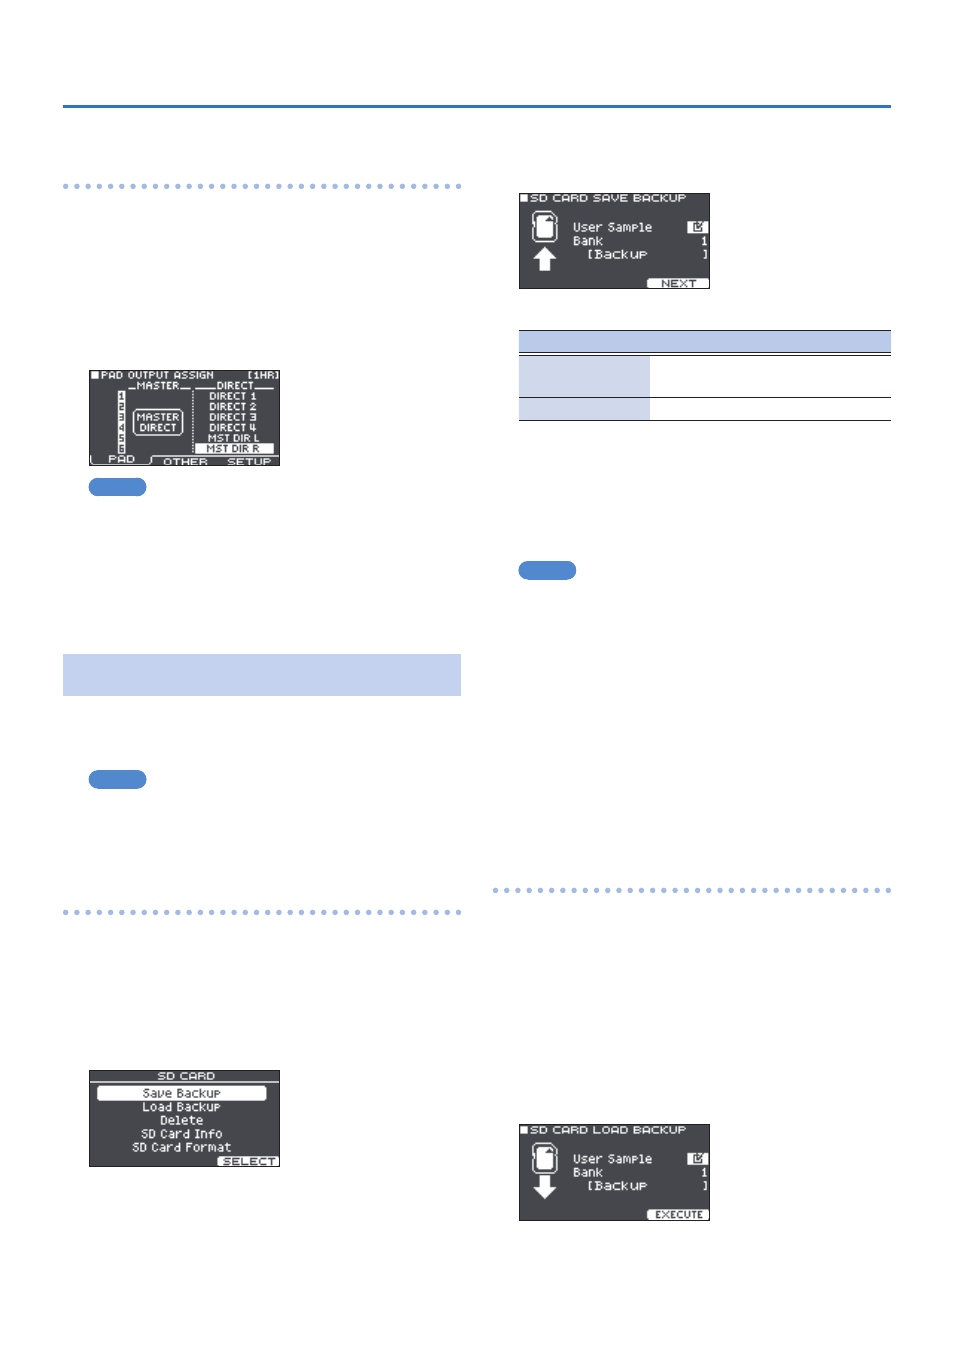
The SD CARD SAVE BACKUP screen appears.
4
Make backup settings.
Parameter
Explanation
User Sample
Choose whether already-imported
user samples will also be backed up.
Bank
Select the backup number.
* If you back up user samples as well, it may take several
minutes to save the data depending on the size of the
user samples. If you don’t back up user samples, and you
then delete user samples or renumber them, the kit won’t
be reproduced correctly even if you load the backup.
5
Press the [F3] (NEXT) button.
MEMO
If you want to edit a name to the backup data, press the
[F1] (NAME) button and assign a name (p. 29).
6
Press the [F3] (EXECUTE) button.
A confirmation message appears.
If you decide to cancel, select “CANCEL” and press the
[ENTER] button.
7
Select “OK” and then press the [ENTER]
button.
The settings are saved in the SD card.
8
Press the [EXIT] button several times to
return to the KIT screen.
Loading backup data from an SD card
Here’s how backup data that was saved on an SD card can
be loaded into the TM-6 PRO.
1
Insert an SD card into the TM-6 PRO (p. 7).
2
In the SYSTEM screen (p. 38), select “SD
Card” and press the [ENTER] button.
The SD CARD screen appears.
3
Use the cursor buttons to select “Load
Backup,” and then press the [ENTER] button.
The SD CARD LOAD BACKUP screen appears.