Turning the power on/off, Basic operation, Shortcut list ([enter] button) – Roland TM-6 Pro Drum Trigger Module User Manual
Page 10: P. 10, P. 10), Turning the power on, Turning the power off, Switching and setting functions (function buttons), Moving the cursor (cursor buttons), Editing a value ([–] [+] buttons)
10
Getting Ready
Turning the Power On/Off
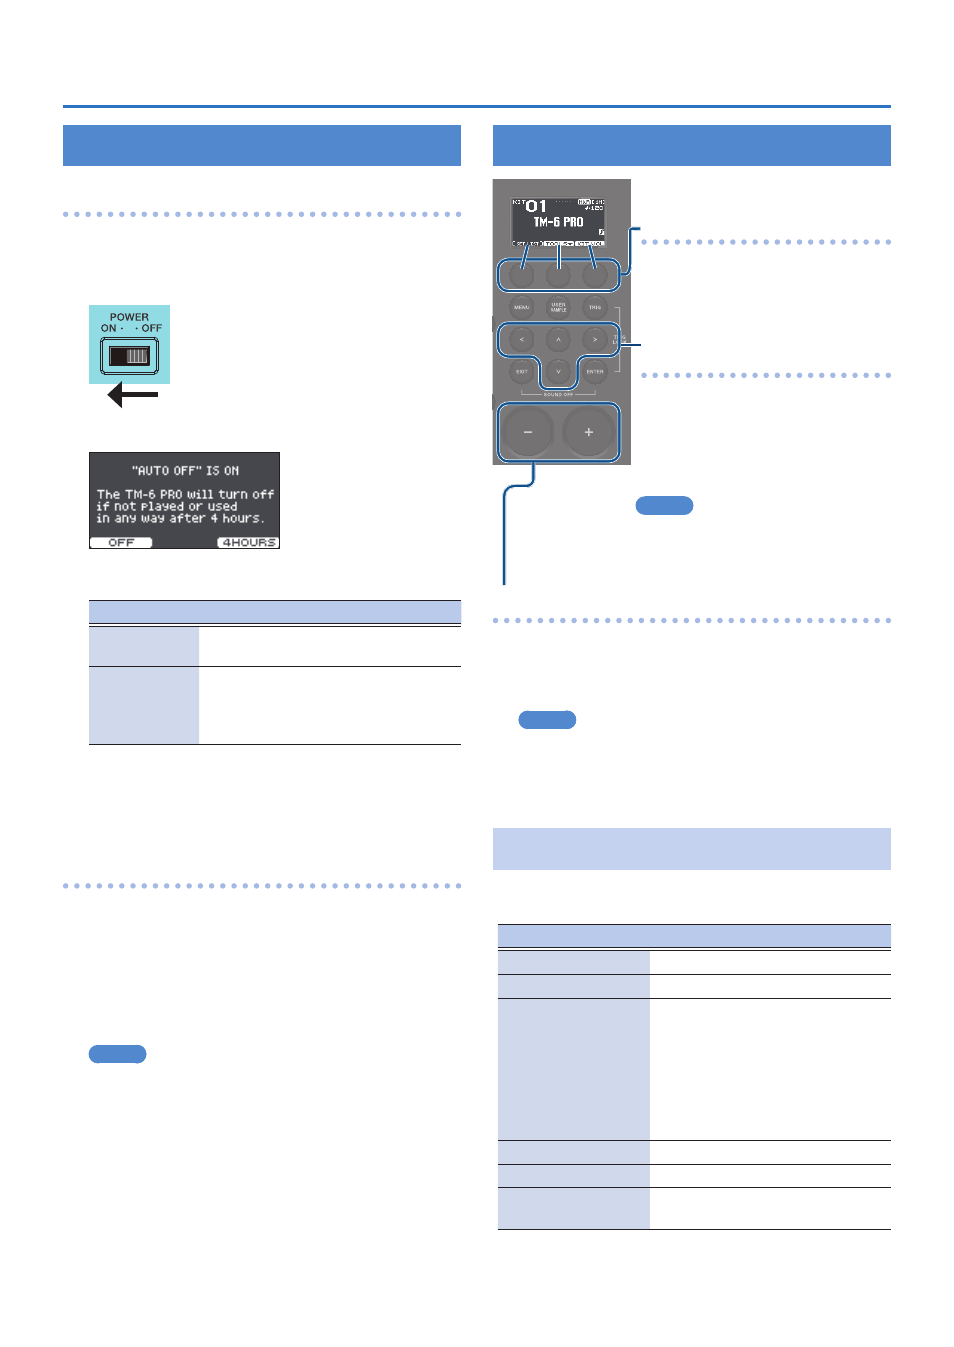
Turning the power on
1
Minimize the volume of the TM-6 PRO and
the amplified speakers.
2
Turn on the rear panel [POWER] switch.
When you turn the TM-6 PRO on, the following screen
appears.
In this screen you can enable or disable the Auto Off
function.
Button
Explanation
[F1] (OFF)
button
The power does not turn off
automatically.
[F3] (4 HOURS)
button
When four hours have elapsed
without any drum trigger being struck
or any operation being performed, the
unit will turn off automatically.
If the Auto Off function is set to “OFF,” this screen won’t
appear.
3
Power-on the amplified speakers, and adjust
the volume.
Turning the power off
1
Minimize the volume of the TM-6 PRO and
the connected devices.
2
Turn off the power to the connected devices.
3
Turn off the rear panel [POWER] switch.
The screen indicates “Shutting Down” and after a time
the power turns off.
MEMO
The power to this unit will be turned off automatically
after a predetermined amount of time has passed since it
was last used for playing music, or its buttons or controls
were operated (Auto Off function).
* If you do not want the power to be turned off
automatically, disengage the Auto Off function (p. 44).
* Before turning the unit on/off, always be sure to turn
the volume down. Even with the volume turned down,
you might hear some sound when switching the unit
on/off. However, this is normal and does not indicate a
malfunction.
Basic Operation
Switching and setting
functions (function buttons)
Use these buttons to switch between
tabs shown in the bottom of the
display, or to make function settings.
Moving the cursor
(cursor buttons)
Cursor refers to the highlighted
characters indicating an on screen
parameter that can be set. When there
is more than one possibility within
the screen, use the cursor buttons to
move it.
MEMO
If you hold down the cursor button of one direction and
then press the cursor button of the opposite direction,
the cursor moves more quickly.
Editing a value ([–] [+] buttons)
To edit the value that’s highlighted by the cursor, use the [–]
[+] buttons.
If you operate these while holding down the [ENTER]
button, the value changes more quickly.
MEMO
If you hold down the [+] button and press the [–] button,
the value will increase rapidly. If you hold down the [–]
button and press the [+] button, the value will decrease
rapidly.
Shortcut List ([ENTER] Button)
You can specify a variety of functions on/off by holding
down the [ENTER] button and pressing another button.
Operation
Function
[ENTER] + [–] [+]
Changes the value in larger steps.
[ENTER] + [TRIG]
[ENTER] + [EXIT]
All sound off
Stops the currently-playing drum
performance sound or user sample
(p. 29).
* The reverberation of the effect,
and the song and click do not
stop.
[ENTER] + [CLICK]
Turns the click on/off (p. 20)
[ENTER] + [MENU]
Moves to the INST screen (p. 24)
[ENTER] + sound
modify button