Using set lists, Backing up kit to an sd card (1 kit save), Selecting a bank – Roland TM-6 Pro Drum Trigger Module User Manual
Page 35: Switching kits, Convenient functions
35
Convenient Functions
4
Press the [F3] (EDIT) button.
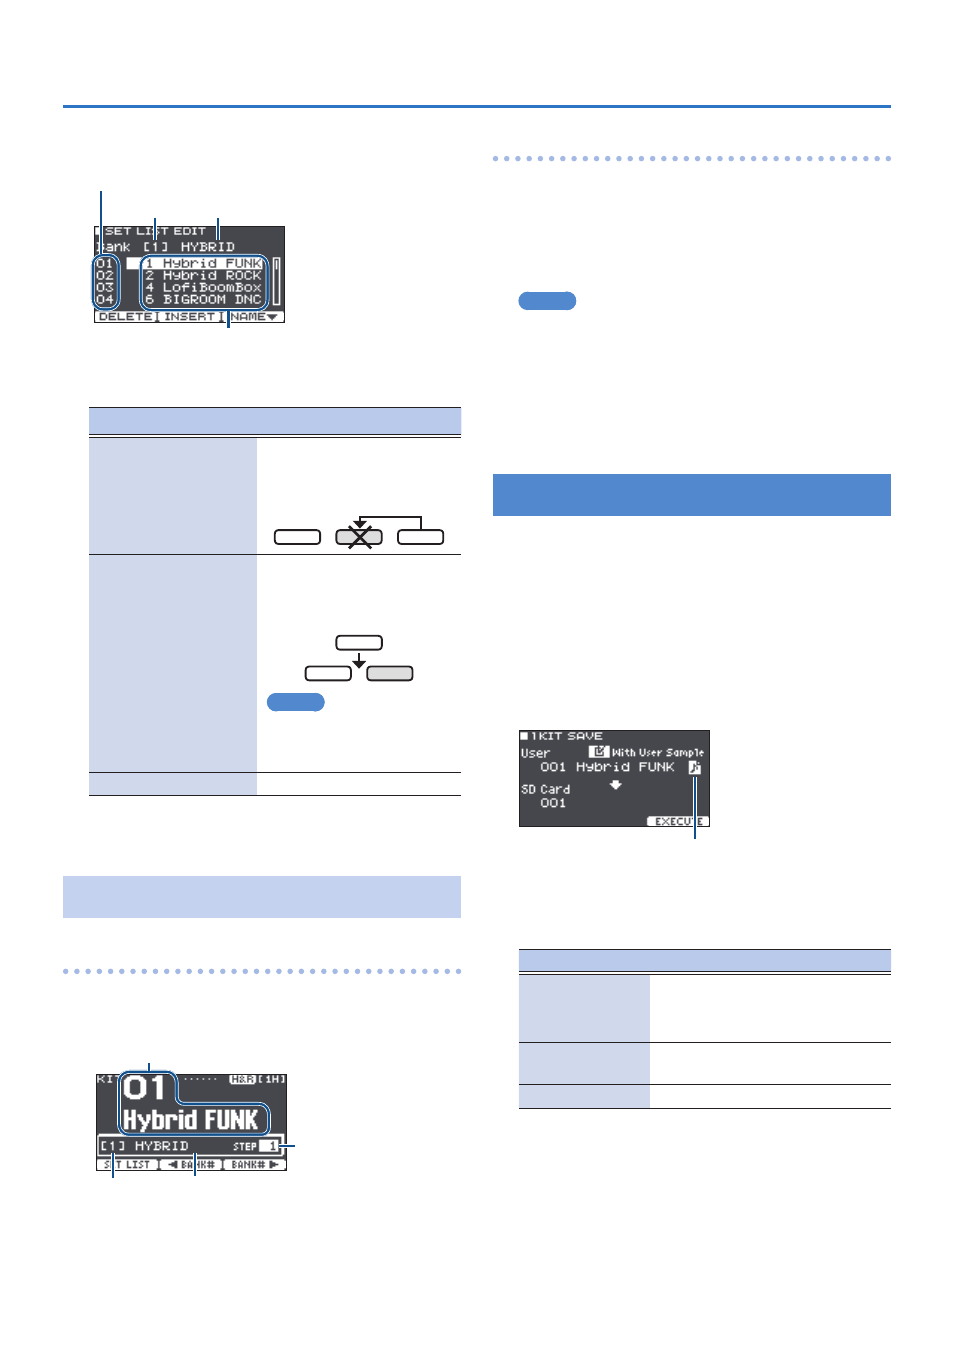
The SET LIST EDIT screen appears.
Set list name
Bank number
Step number
Kit at this step
5
Use the cursor buttons and the [–] [+]
buttons to change the kit at each step.
Button
Explanation
[F1] (DELETE) button
Step at the cursor position is
deleted, and steps after this
point are moved forward one
place.
[F2] (INSERT) button
The same kit is inserted at
the cursor position, and steps
after this point are moved
backward one place.
MEMO
If the set list is empty, press
the [F2] (INSERT) button to
insert a kit.
[F3] (NAME) button
Renames the set list.
6
Press the [EXIT] button several times to
return to the KIT screen.
Using Set Lists
Selecting a bank
1
In the KIT screen (p. 20), press the [F1]
(SET LIST) button.
The set list function turns on.
Bank number
Step number
Current kit
Set list name
2
Press the [F2] (
K
BANK#) button or [F3]
(BANK#
J
) button to select the bank that you
want to use.
Switching kits
1
Use the [–] [+] buttons to select kits in the
order of the specified steps.
2
When you’ve finished playing, press the [F1]
(SET LIST) button.
The set list function turns off.
MEMO
5
You can assign the appropriate function to a
footswitch or drum trigger, and use it to recall set lists
or kits. For details, refer to “Assigning Functions to Foot
Switches or Drum Triggers” (p. 43).
5
If the volumes of each kit are not consistent with each
other, adjust the Kit Volume (overall volume of the
entire kit) (p. 27).
Backing Up Kit to an SD Card (1 Kit Save)
Here’s how settings of an individual kit stored in the TM-6 PRO
can be backed up to an SD card (up to 999 kits).
1
Insert an SD card into the TM-6 PRO (p. 7).
2
In the KIT screen (p. 20), press the [F2]
(TOOLS) button.
3
Use the cursor buttons to select “1 KIT Save,”
and then press the [ENTER] button.
The 1KIT SAVE screen appears.
User sample icon
(shown only if a kit that uses user
4
Make backup settings.
Parameter
Explanation
With User Sample
Select whether the user samples
assigned to the kit are also backed
up.
User
Select the kit that you want to back
up.
SD Card
Select the backup number.
* If you back up user samples as well, it may take several
minutes to save the data depending on the size of
the user samples. If you do not back up user samples,
loading the kit backup data will not correctly reproduce
the kit if you have deleted user samples from the TM-6 PRO
after making the backup or if you have renumbered
them.