Grass Valley NV9000 Web Suite v.1.2 User Manual
Page 64
54
Options Tab
Configuration Pages
Admin Privilege
Check the ‘Admin’ check box for a user to give that user administrative privilege.
Administrative privilege means that the user can add and remove users, change passwords, and
create and modify Web Suite configurations.
Users without administrative privilege can use the status pages of the configuration they have
been assigned. They cannot redefine their configurations.
User IDs
NV9000-SE Utilities allows persons configuring the router control system to define user IDs. User
IDs are normally associated with control panels.
In NV9000-SE Utilities, user IDs are alphanumeric strings that usually form readable names.
The Web Suite allows you to associate any user name defined in the NV9000 router control
system with a user in the list. There are drop-down lists in the NVUSER column from which you
can choose a user name. The NV9000 user name and its database ID are subsequently used to
indicate which user has issued a lock or a protect on destinations in the router control system.
It is advisable to have all NV9000 user names defined (in NV9000-SE Utilities) and assigned
(in the Web Suite) at the earliest opportunity. Users who perform locks and protects under
one NV9000 user name cannot release those locks and protects if they change to a different
NV9000 user name.
Saving the User List
Click ‘Save Users’ to save the list and click ‘Yes’ in the confirmation dialog that appears.
If you made a data entry mistake before you save, you can discard the mistake(s) by using your
browser’s refresh button to refresh the ‘Users’ page. Doing so reloads the saved user list from the
NV9000 database. (You will be warned if you about to lose unsaved data.)
Removing a User from the List
You cannot remove a new user from the list until you have saved the user list. New users and
new data are characterized by green-highlighted fields in the list.
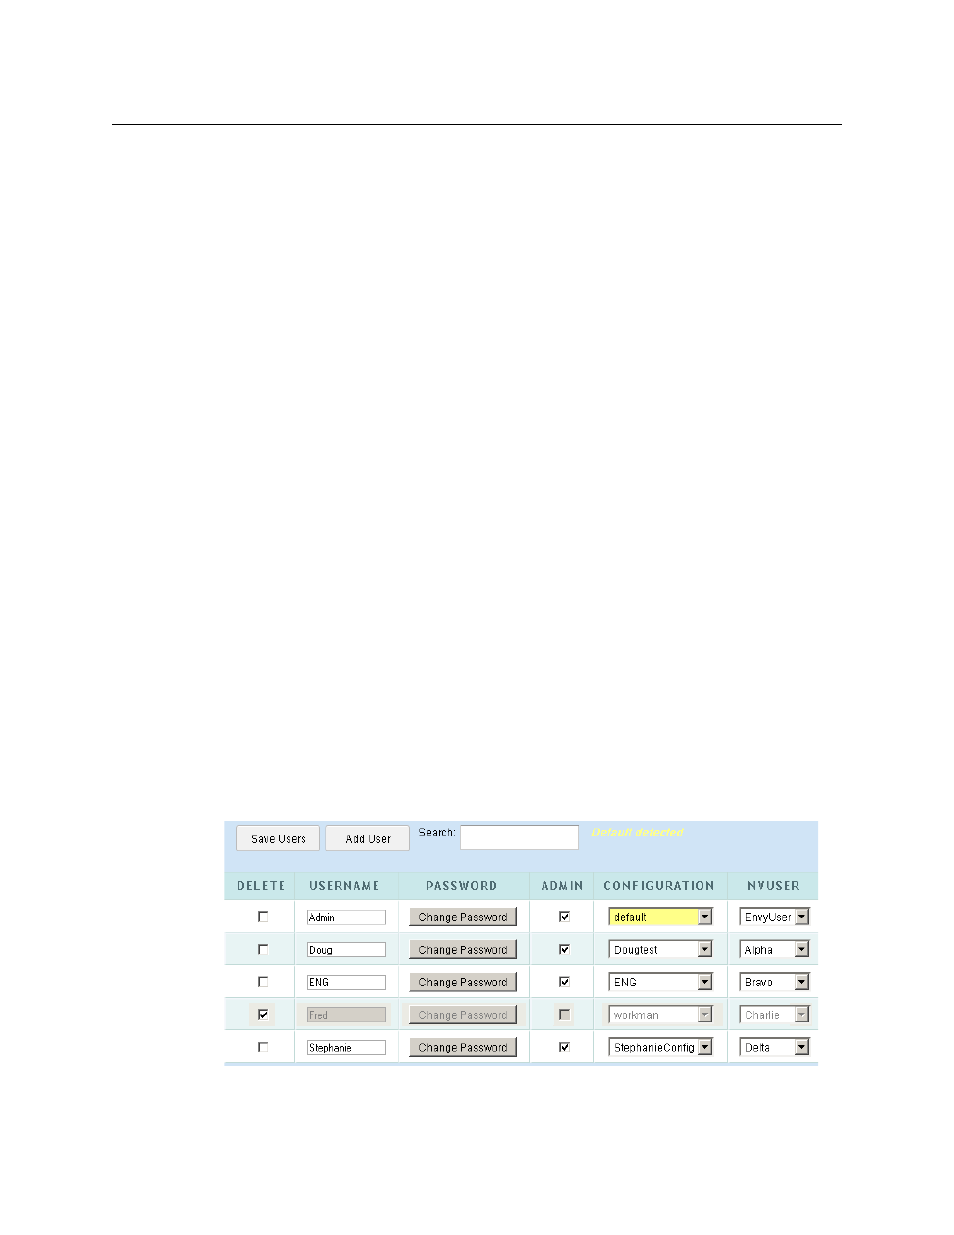
To remove a user or users from the list, place a check mark in the ‘Delete’ check box for the
user(s). The row(s) for those users(s) are greyed out:
Then click ‘Save Users’ and click ‘Yes’ in the confirmation dialog that appears. The Web Suite
displays the updated user list