Setup, Installation – Grass Valley iMC-Panel-100 v.7.0.9.0 User Manual
Page 56
44
Rev 1.0 • 29 Nov 11
4. Installation
Connections
6 Using the supplied power cable, connect AC power to the display:
7 If you are using the display with a stand, ensure that the cables pass through the cable harness in
the wiring recess and then replace the recess cover. It snaps into place.
There is a small screw in the kit that comes with the display. Use it to secure the recess cover.
8 Turn on the display using its on/off switch located at the bottom, on the right as you are facing
the display from the front.
You should see the main menu of the iMC-Panel-100 on the display.
S
Important: leave the RS232 port of the display unconnected.
Setup
1 Press the ‘Panel’ button of the main menu (of the display). Then press the ‘IP Setup’ button.
Use the buttons of the ‘IP Setup’ menu to enter an IP address, a subnet mask, and a gateway IP
address for the iMC-Panel-100. Generally the subnet mask should be 255.255.255.0. (All
devices on the master control network must have unique IP addresses.)
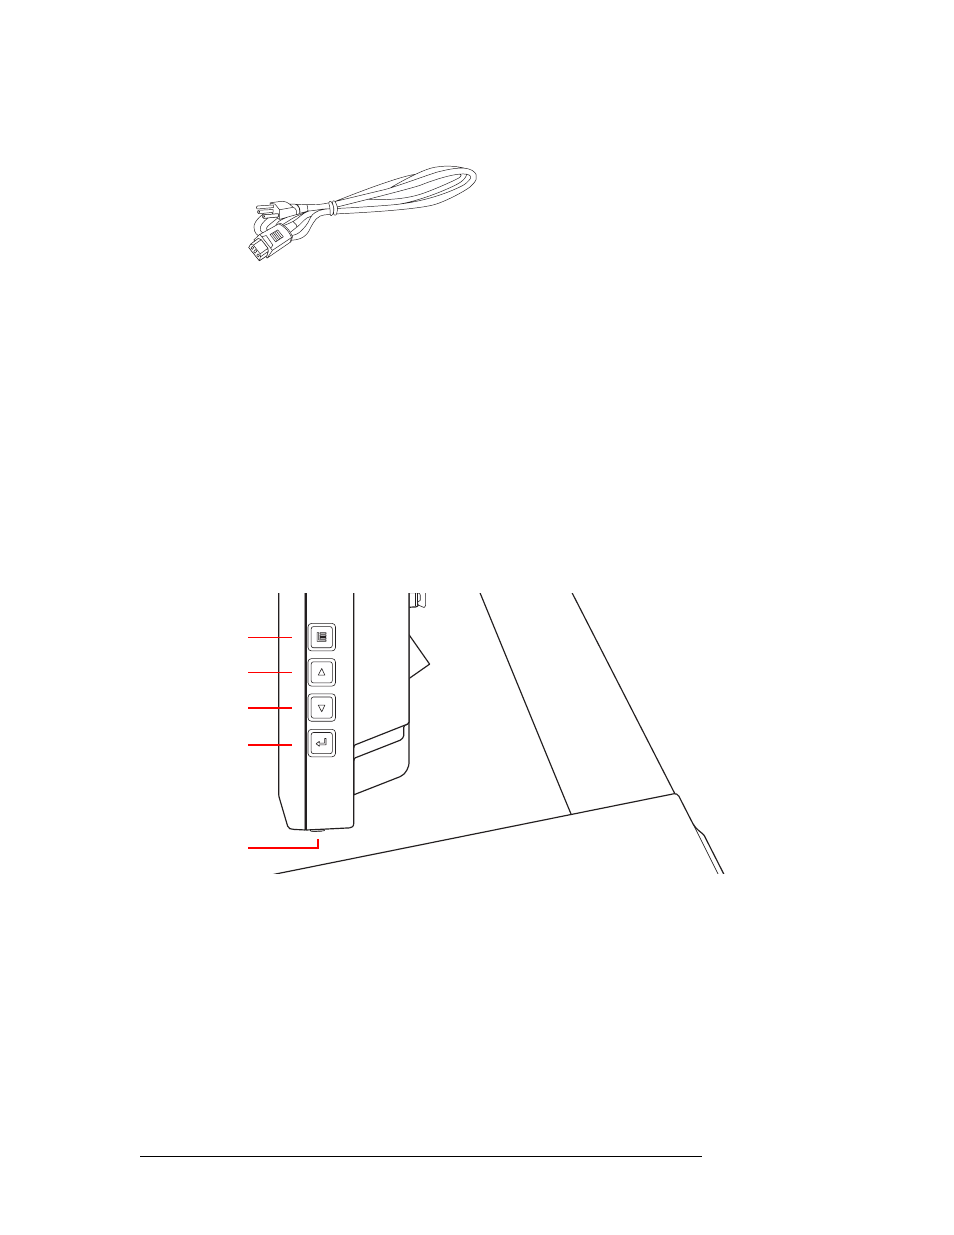
2 There are 4 buttons at the right side of the display:
Press the menu button to reveal the on-screen adjustment menu. Press the button again to hide
the menu. (The menu will turn off by itself if it is idle for a certain amount of time. You can
change the timeout period.)
If you wish to adjust the display settings (e.g., brightness, language, menu timeout period), use
the up, down, and enter buttons to navigate through the entries of the menu.
Use the up and down buttons to increase or decrease parameter values.
Please refer to the Planar PT1945R manual for further details.
You can obtain a manual for the Planar PT1945R monitor from the manufacturer at either
www.pla-
nartouch.com
or
www.planar.com
.
Menu
Up
Down
Enter
On/Off