Track import and export, Importing tracks, 13 - exchanging data with a computer – Teac DP-24 User Manual
Page 82
82
TASCAM DP-24
13 - Exchanging Data with a Computer
Track import and export
You can import and export individual tracks between a
computer and this unit's by using the AudioDepot folder.
Files that can be imported/exported as tracks must be
WAV files (with the ".WAV" extension).
You can import both mono and stereo files, and export
mono files.
If you want to import audio into this unit that is of a
different format, you must convert it to a WAV file first.
Importing tracks
1. Connect the unit to a computer. (See "Connecting
to a computer" on page 80.)
2. Operate the computer to copy WAV files to the
AudioDepot folder of this unit.
NOTE
The files to be copied must have single-byte alphanumeric
character names.
If you try to copy a file named in Japanese characters, as
the file name does not appear on the display in step 6
below, it cannot be imported.
3. Disconnect properly the unit from the
computer, and then unplug the USB cable. (See
"Disconnecting" on page 81.)
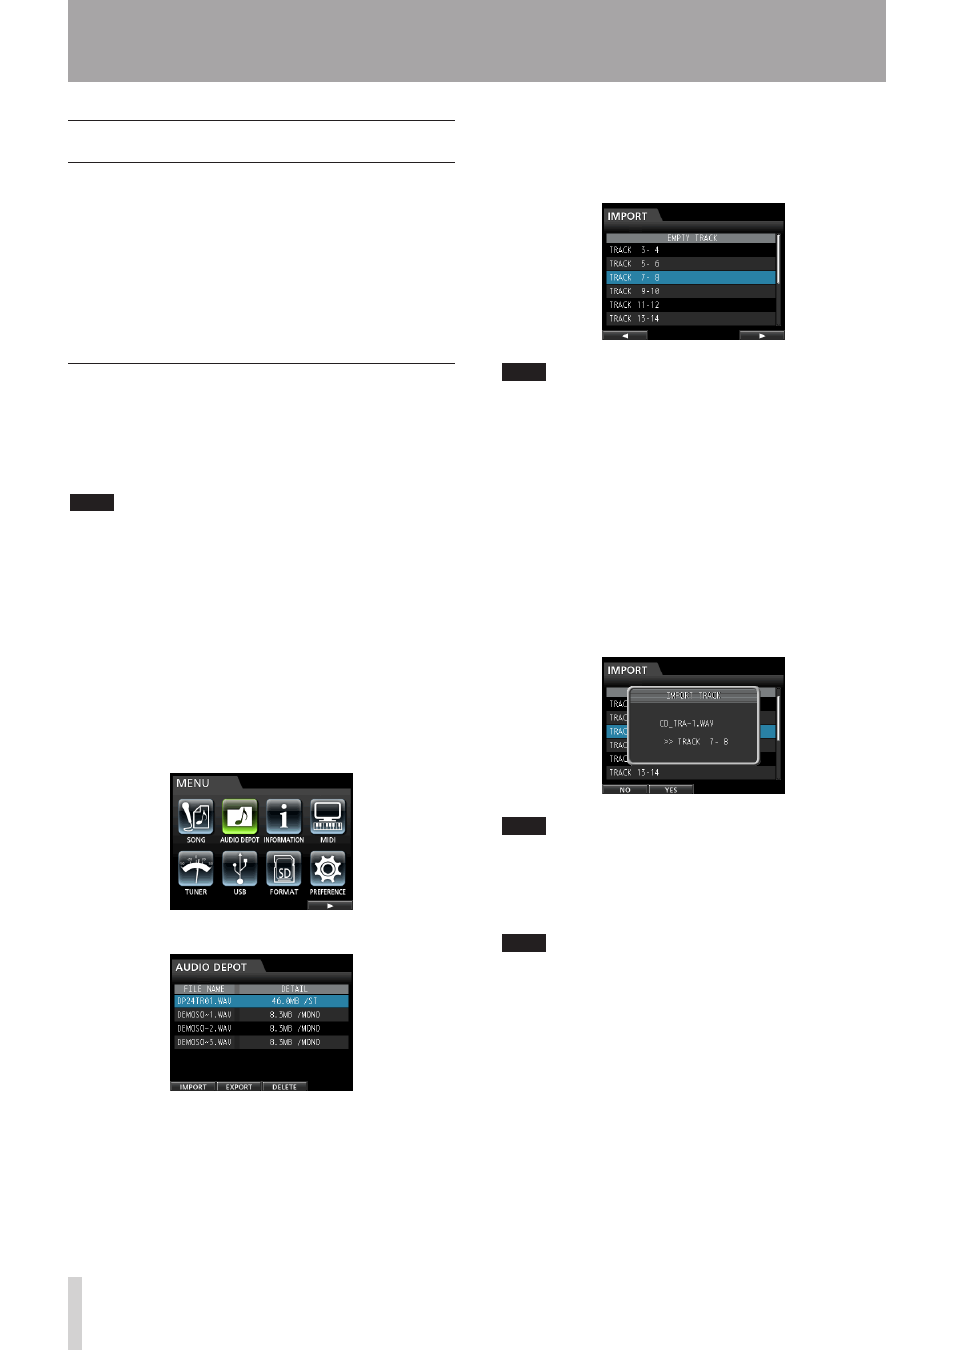
4. Press the MENU button to open the
MENU
screen.
5. Use the JOG/DATA dial or the CURSOR (5/b/g/t)
buttons to select (green highlight)
AUDIO DEPOT
,
and then press the F4 (t) button.
The WAV files that can be imported appear.
6. Use the JOG/DATA dial or the CURSOR (5/b)
buttons to select the WAV file that you want to
import, and then press the F1 (
IMPORT
) button.
Empty tracks that can be imported appear.
NOTE
If you are trying to import a WAV file whose attribute
•
does not match the current song attribute, an error
pop-up message appears. For example, the current
song attribute is 44.1 kHz, but you are trying to import
a 48 kHz WAV file. When there is no file that can be
imported,
FILE NOT FOUND
appears.
When the file name is short, spaces appear after the file
•
name, but those spaces are not included in the actual
file name.
7. Use the JOG/DATA dial or the CURSOR (5/b)
buttons to select the track to be imported, and
then press the F4 (t) button.
A confirmation message appears.
NOTE
When the WAV file to be imported is stereo, you must
select a track pair.
8. Press the F2 (
YES
) button to execute the import.
Import starts.
NOTE
If there is no enough space or the file format is wrong,
•
an error message appears.
The beginning of the file is set at the start of the song
•
(
00:00:00:00
). In the same way as other recording
tracks, you can edit the track that has received the
imported file. (See "Track Editing" on page 60.)
To import a stereo WAV file, an empty stereo track is
•
necessary.
9. Once the import is completed and a pop-up
window is displayed, the display returns to the
Audio Depot
screen.
10. Press the HOME button to return to the Home
screen.