Bouncing tracks, Performing the track bouncing, Checking the result – Teac DP-24 User Manual
Page 53: Performing the track bouncing checking the result, 7 - recorder functions
TASCAM DP-24
53
7 - Recorder Functions
Bouncing tracks
Like many multitrack recorders, this unit allows you to
bounce tracks (ping-pong recording technique). Track
bouncing allows you to collect signals of multiple tracks
and use them to perform new mono or stereo recording.
In this way, you can virtually record more than 24
tracks. Note, however, that the original tracks cannot be
separated again.
In Bounce mode, the recording source track signals pass
through the mixer tracks via the bounce bus, and they are
sent to the bounce tracks.
If you make a mistake, you can use the undo function of
this unit to undo the incorrect operation (see "Undoing an
operation" on page 50).
Performing the track bouncing
1. When Recorder mode is
Multi Track
mode and
the recorder is stopped, press the BOUNCE button.
The Recorder mode switches to
Bounce
mode.
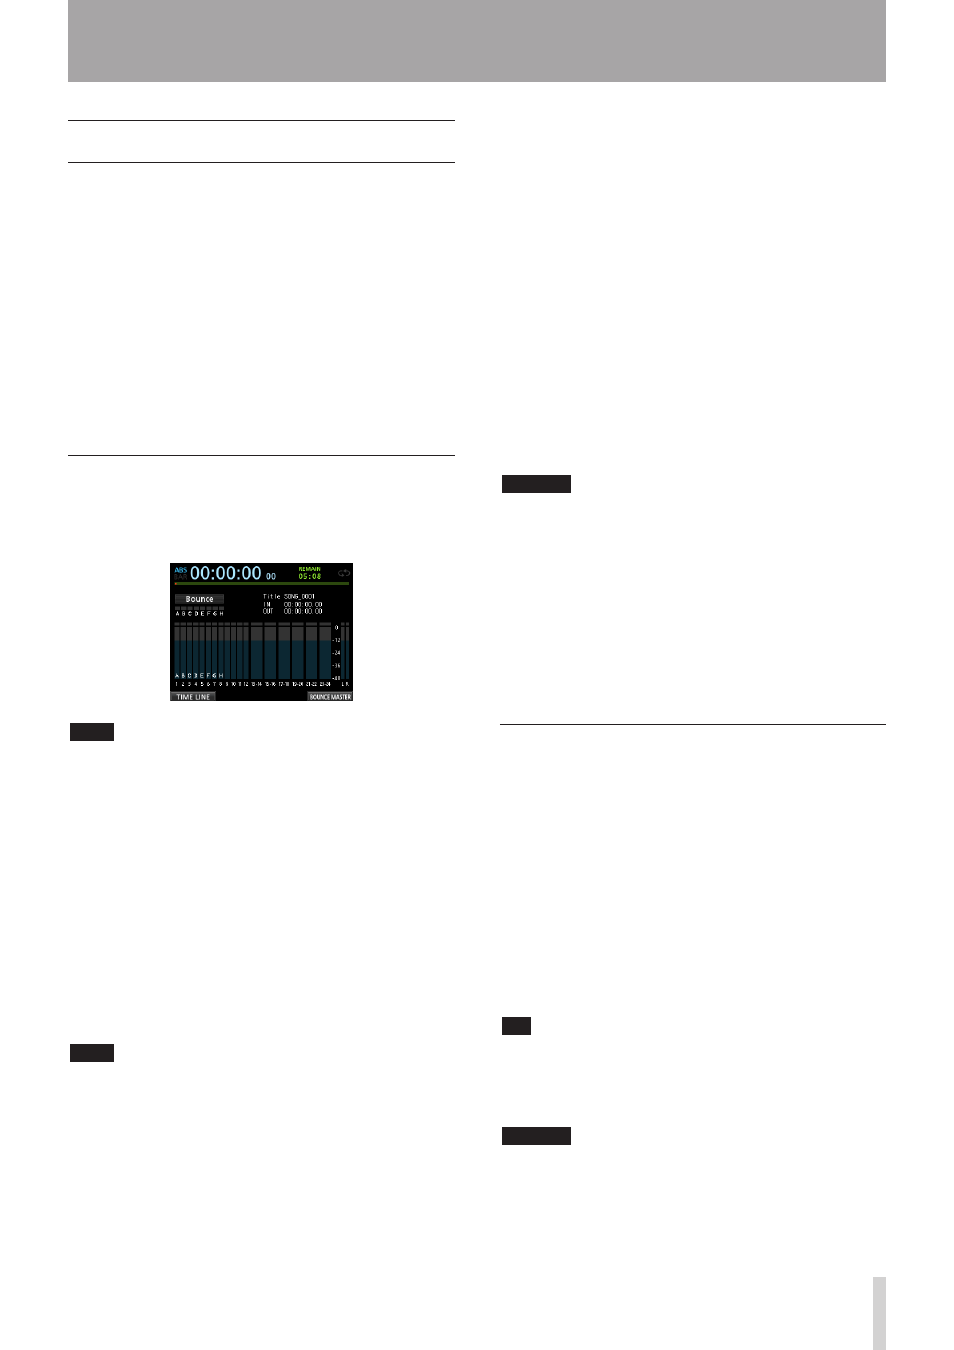
NOTE
In Bounce mode,
Bounce
appears on the upper left
corner of the Home screen.
2. Press the REC button of the track that you want to
make the bounce destination, which will cause the
REC button to flash.
When making a stereo bouncing, press two REC
buttons for the tracks from 1 to 12, or press one REC
button for a stereo track from 13/14 to 23/24, which
will cause the button(s) to flash.
For a mono bouncing (single track bouncing), press
one of the REC buttons for tracks from 1 to 12 so that
its button starts flashing.
You should also set the fader of the bounce destination
track to 0 dB.
NOTE
Though the track fader and STEREO fader settings of the
bounce destination affect the monitor volume, they do
not affect the recording level. If you want the monitoring
level to be the same as the recording level, set the fader
for the bounce destination track to 0 dB.
3. Press the SELECT button to specify the bounce
source.
Except for the bounce destination, you can select from
all tracks and inputs as bounce sources. To set an input
as a bounce source, assign it to a stereo bus and press
its SOURCE button.
Use the track fader and the PAN knobs on the Mixer
screen to adjust the track specified as the bounce
destination.
For stereo bouncing, the lower numbered track
becomes the left channel.
In the case of mono bounce, set the PAN knob on
the Mixer screen of the track that will be the bounce
source completely to the L side.
To adjust the bounce master level when in Bounce
mode, press the F4 (
BOUNCE MASTER
) button to
show a fader. Use the JOG/DATA dial to adjust it.
CAUTION
If the bounce source is selected before selecting the
destination, the audio signals of the bounce source are
not output from the STEREO OUTPUT jack or monitor's
STEREO until you select the bounce destination.
4. Locate to the point where you want to start the
bounce and press the RECORD (0) button to
execute the track bounce.
The track bouncing starts.
Press the STOP (8) button at the position where you
want to end the bounce.
Checking the result
Mute the bounce original tracks and play back the song.
(See "Muting tracks" on page 48.)
If you are not satisfied with the result because you think
the balance between the instruments or the pan setting is
not good, for example, undo the operation. (See "Undoing
an operation" on page 50.)
If you are satisfied with the result, press the BOUNCE
button to return to the
Multi Track
mode of the
Recorder mode.
Once the track bounce is completed, you can make new
recordings over (overwrite) the other tracks, except for the
bounced track.
TIP
If it is possible that you might need the original tracks at
some time later, before bouncing tracks, copy or back up
the song data to a computer. (See "Copying songs" on
page 40 and "Connecting to a computer" on page 80.)
CAUTION
To monitor the original sound recorded on the bounce
track, set the monitor destination to
BOUNCE
so that you
can monitor the bounce bus.