Setting the stereo position, Changing the signal phase, Checking the fader level – Teac DP-24 User Manual
Page 48: Solo, Muting tracks, Solo muting tracks, 6 - basic recording
48
TASCAM DP-24
6 - Basic Recording
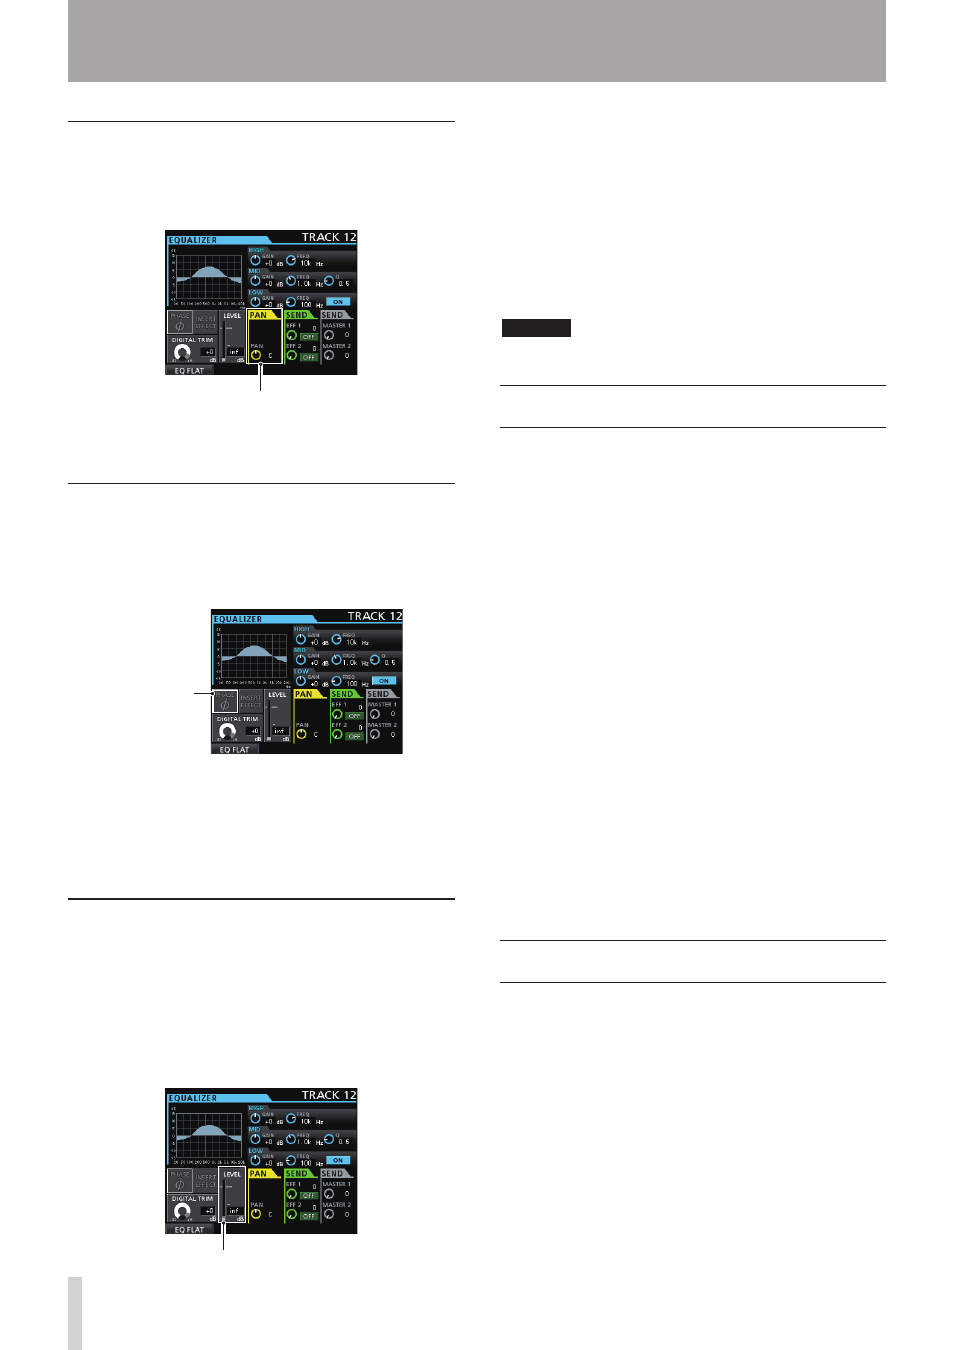
Setting the stereo position
Use the PAN parameter to set the stereo position.
The full left value is
L63
, and the full right value is
R63
.
The center position is shown by
C
.
Turn the PAN knob to adjust the stereo position.
Setting range:
L63
to
C
to
R63
(Default:
C
)
Changing the signal phase
When the phase is inverted due to the mic wiring or other
reason, use the
PHASE
Ø display area to correct the phase.
1. Use the CURSOR (5/b/g/t) buttons to move the
cursor to the
PHASE
Ø display area.
2. Turn the JOG/DATA dial to change the built-in
signal phase.
Options:
PHASE
Ø indicator unlit (default): Normal phase
PHASE
Ø indicator lit: Inverted phase
Checking the fader level
Check the level on the
LEVEL
display area on the Mixer
screen for each track. Operations cannot be made on this
display.
Operations for
LEVEL
on the Mixer screen for each input
(INPUT A to H) are explained below.
1. Use the CURSOR (5/b/g/t) buttons to move the
cursor to the
LEVEL
display area.
2. Turn the JOG/DATA dial to adjust the level.
Setting range:
inf
to
+6.0dB
When playing back a track, in the initial settings, the
positions of the faders (physical faders) on the top panel
and the actual level of the faders (internal faders) are always
matched, but a fader group or MIDI command sent by a
remote control to the unit could make them to differ. Even
in this case, when you move a physical fader, the internal
fader matches the physical fader value, and thereafter the
physical fader controls the level.
CAUTION
A sudden level change may occur.
Solo
Press the SOLO button to select the Solo mode. The SOLO
button becomes lit.
In Solo mode, the REC button of each track works as a
SOLO button, so you can monitor the signal of the desired
track.
The Solo mode of this unit is a solo-in-place monitor, so all
other tracks are muted except the one whose REC button
was pressed.
1. When the Home screen is displayed, press the
SOLO button to select the Solo mode.
In Solo mode, the SOLO button becomes lit.
2. Press the REC button for the track you want to turn
soloing on/off.
When Solo mode is activated, the MUTE/SOLO
indicator of the track whose REC button was pressed
lights.
To cancel soloing
ª
In Solo mode, press the SOLO button or the REC button
to which track solo is enabled.
When Solo mode is deactivated, the MUTE/SOLO
indicator of the track whose REC button was pressed goes
off.
Muting tracks
1. Press the MUTE button to enter Mute mode.
In Mute mode, the MUTE button becomes lit.
2. Press the REC button for the track you want to turn
muting on/off.
When muting is turned on, the MUTE/SOLO indicator
of the track whose REC button was pressed lights.
To cancel muting
ª
Press the MUTE button to enter the Mute mode.
Press the REC button of a muted track to cancel muting (its
MUTE/SOLO indicator goes off).
When solo is activated during muting, you can hear the
sound, but this does not mean that muting was canceled.
PAN indication
PHASEØ indicator
Fader level indication