Creating a master file, Exiting mixdown mode, Checking the master file – Teac DP-24 User Manual
Page 70: Creating a master file exiting mixdown mode, 10 - mixing down and mastering tracks

70
TASCAM DP-24
10 - Mixing Down and Mastering Tracks
Creating a master file
After setting the IN and OUT points, you are ready to
create the master file.
1. When Recorder mode is
Multi Track
mode,
press the MIXDOWN/MASTERING button.
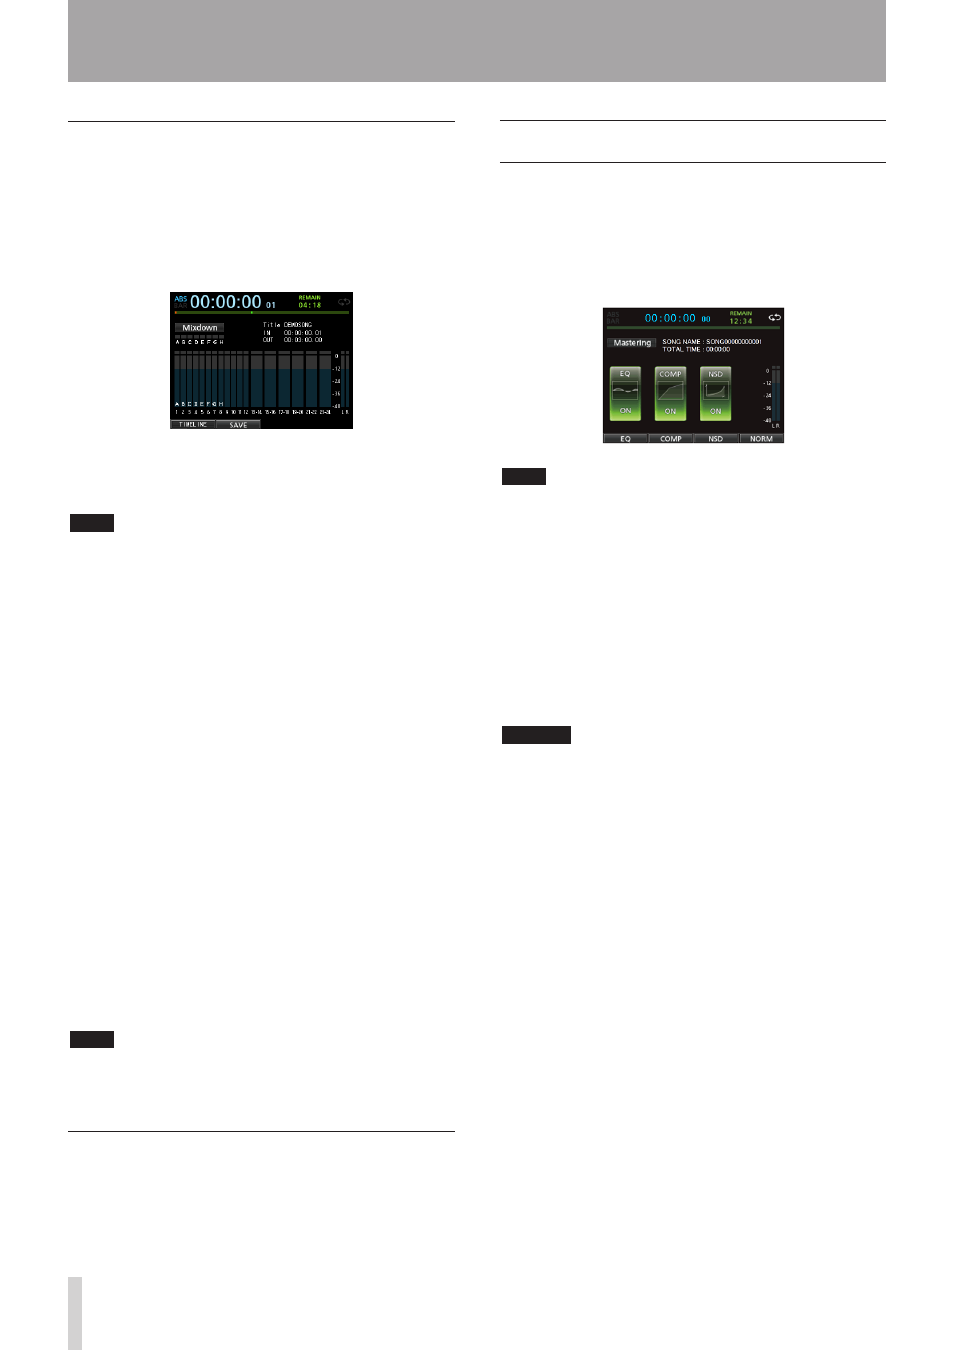
The Recorder mode switches to
Mixdown
mode and
the display returns to the Home screen.
If you play or record, you can hear the signal of the
mixed tracks (the signal to be recorded) through
headphones or monitoring system.
NOTE
In Mixdown mode,
•
Mixdown
appears on the upper
left corner of the Home screen.
If the interval between the IN and OUT points is shorter
•
than 4 seconds, when you start the record,
Trk Too
Short
appears and the mixdown recording cannot be
performed.
When Recorder mode is
•
Mixdown
mode, some
playback functions do not work. If you try to use one of
these functions,
In Mixdown Mode
appears.
2. Press the RECORD (0) button.
The mixdown starts and the RECORD (0) button
becomes lit.
Regardless of the recorder's current position, the
mixdown starts from the IN point.
If necessary, use the track faders or the Mixer screen's
PAN knobs to mix down the tracks to stereo. These
adjustments will be reflected in the master file.
When the recorder reaches the OUT point, recording
automatically stops.
3. If you want to redo the creation of the stereo
master track, press the RECORD (0) button.
A new master file will be created, and the previous
master file will be overwritten.
NOTE
After recording the master file, you can play back the
master file to check it. (See "Checking the master file" on
the right column.)
Exiting Mixdown mode
Press the MIXDOWN/MASTERING button twice to return
to
Multi Track
mode of the Recorder mode.
Checking the master file
Follow the procedure below to listen to a master file after
you have completed recording it.
1. When Recorder mode is
Mixdown
mode, press the
MIXDOWN/MASTERING button.
The Recorder mode switches to
Mastering
mode
and the display returns to the
Mastering
screen.
NOTE
In Mastering mode,
•
Mastering
appears on the
upper left corner of the Home screen.
When Recorder mode is
•
Multi Track
, press
the MIXDOWN/MASTERING button to switch to
Mixdown
mode, and then press the MIXDOWN/
MASTERING button again to switch to
Mastering
mode.
You cannot switch to
•
Mastering
mode if there is no
master file.
2. In this state, press the PLAY (7) button to play
back the master file that you have created.
CAUTION
Confirm that both the
EQ
and
COMP
items are set to
OFF
.
If either is set to
ON
, the sound will be affected by the
equalizer and/or compressor. (See "Using the mastering
EQ (equalizer)" on page 71 and "Using mastering
compression" on page 72.)
3. When Recorder mode is
Mastering
mode, the
transport buttons work as follows.
Press the
•
PLAY (7) button to play back the master
file from the current position until its end.
Use the
•
REW (m) (TO ZERO) button and the
F FWD (,) (TO LAST REC) button to perform
rewind/fast-forward in the same way as in ordinary
Recorder mode.
Press the
•
STOP (8) button to stop playback.
Track recording is not possible.
•
Repeat playback and location mark functions
•
cannot be used.
Since the master file playback signal is output from the
STEREO OUT jack, you can record the output to an
external stereo recorder.
If you are not satisfied with the created master file, you
can perform a new mixdown.
