Internal disks – OpenEye EasyDVR User Manual
Page 63
30757AC
63
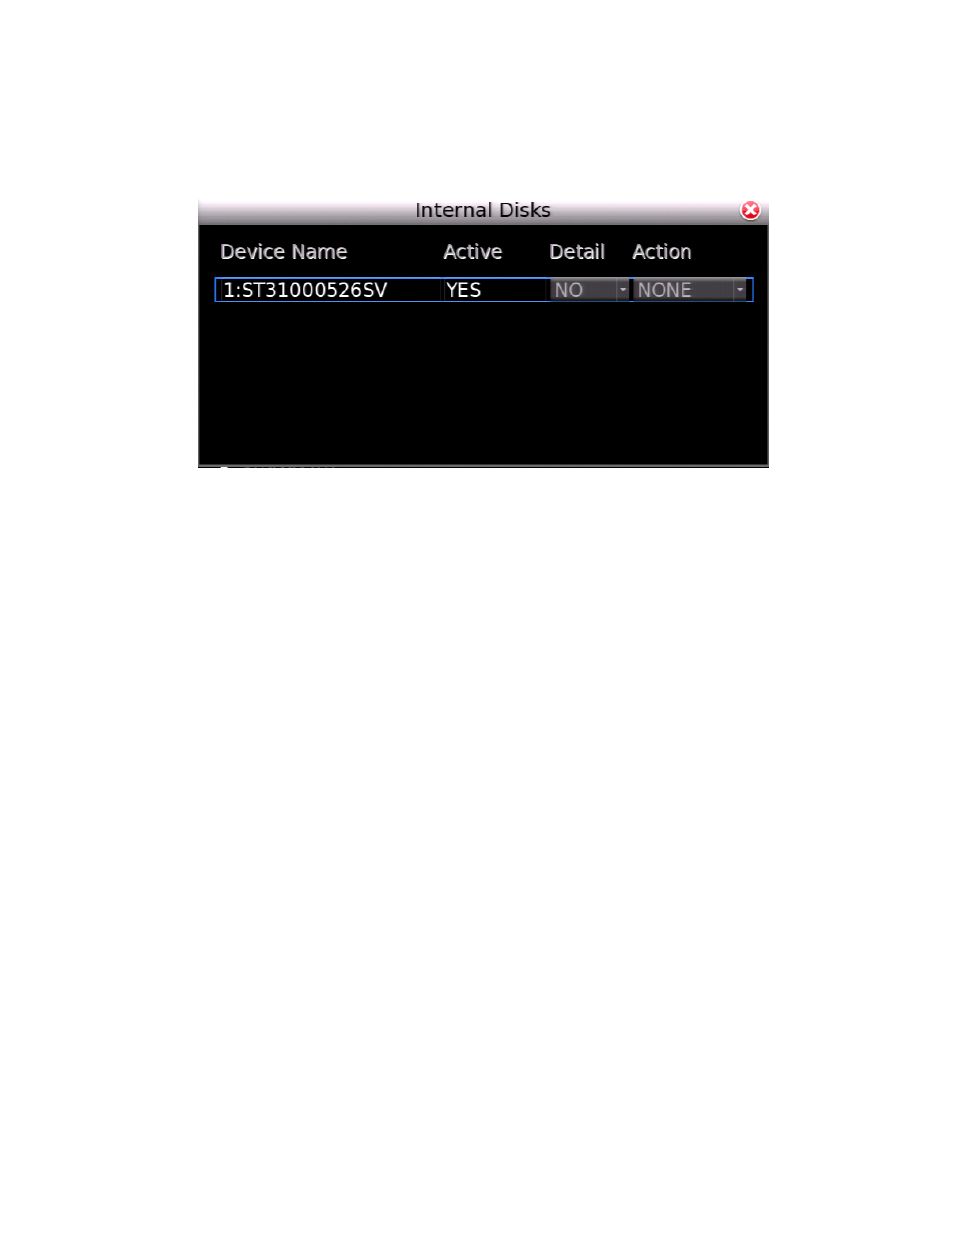
Internal Disks
Internal Disks allows you to examine the state and details of internal hard drives; as well as add new
drives to data rotation, remove drives from data rotation, format drives, and repair data on drives.
Check Drive Status and Details
1. Select Internal Disks and press ENTER.
2. The Active status of the hard drives will be displayed under the Active column.
•
An Active option of Yes indicates the drive is currently included in data rotation.
3. Yes indicates the drive is being used for recorded data.
4. No indicates the drive is not being used for recorded data.
5. To see Details, select the drive you want to see and press ENTER.
6. Press LEFT arrow, then DOWN arrow and press ENTER.
Add a Drive to Data Rotation
1. Select Internal Disks and press ENTER.
2. Select the drive to add to data rotation and press ENTER.
3. Press DOWN arrow, and then press ENTER.
Remove a Drive from Data Rotation
1. Select Internal Disks and press ENTER.
2. Select the drive to add to data rotation and press ENTER.
3. Press DOWN arrow two times, and then press ENTER.
Format a Drive
1. Select Internal Disks and press ENTER.
2. Select the drive to add to data rotation and press ENTER.
3. Press DOWN arrow three times, and then press ENTER.
Repair a Drive
1. Select Internal Disks and press ENTER.
2. Select the drive to add to data rotation and press ENTER.
3. Press DOWN arrow four times, and then press ENTER.