Initialize project – Measurement Computing eZ-TOMAS version 7.1.x User Manual
Page 13
eZ-TOMAS & eZ-TOMAS Remote
988490
File Menu 2-2
Each eZ-TOMAS Project contains eZ-TOMAS configuration and data files. You should logically equate
an eZ-TOMAS Project with a specific machine. This is accomplished as follows:
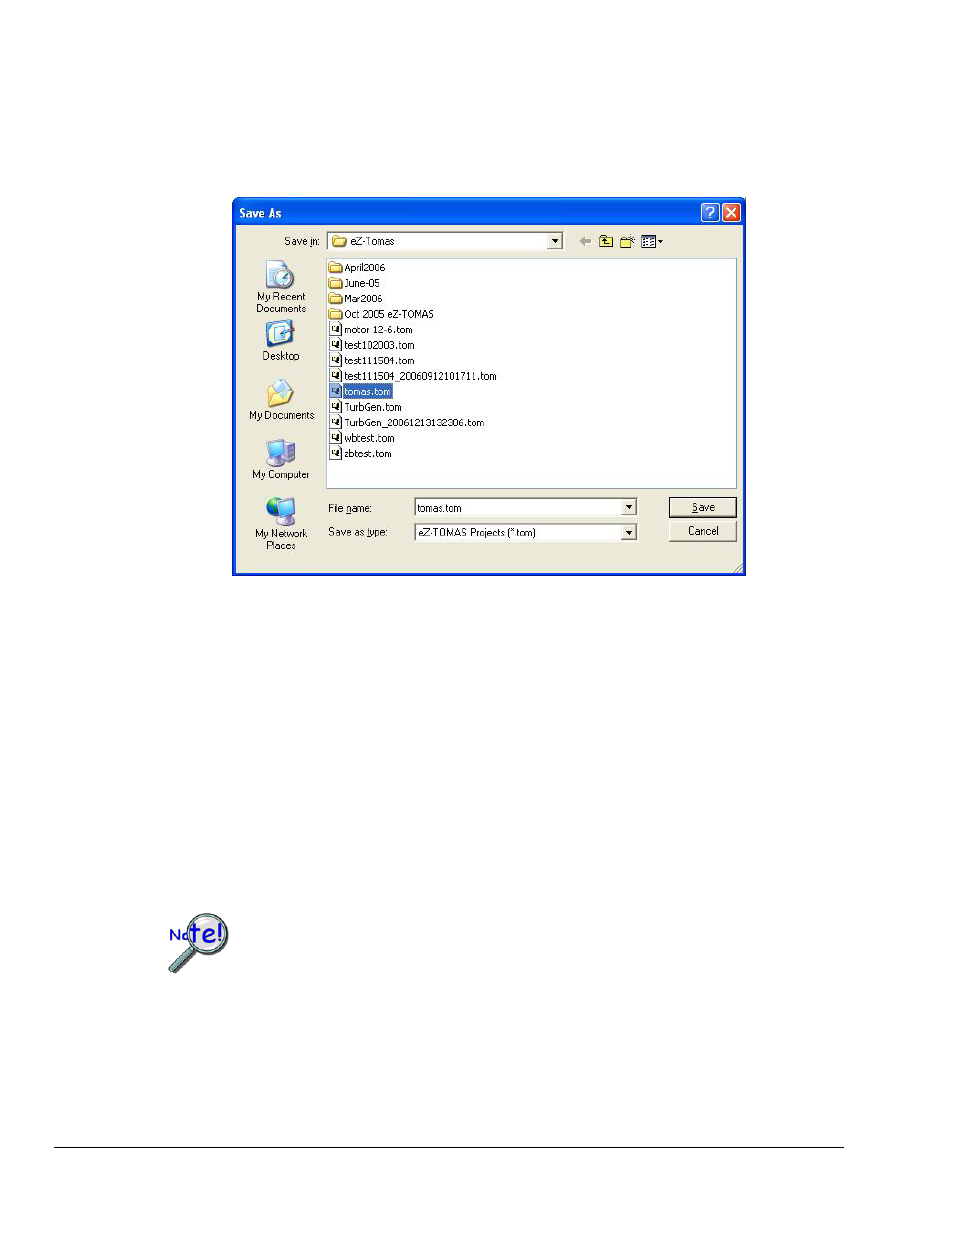
1. On the File pull-down menu, select New (Clone) Project. This opens the Save As window.
Save As Window, Being Used to Create a New File
2. Select [or create] a Windows folder for the eZ-TOMAS Project.
3. Enter the desired filename for this project.
4. Click the <Save> button to create the new project.
Initialize Project –
Creates a New Project and Sets the Number of Available Channel Inputs
When a project is initialized you are essentially starting with a “clean slate.” No data is carried over
as when a project is cloned.
To inform eZ-TOMAS as to what type of hardware will be used, select “Initialize Project” from the Gauge
Window’s File pull-down menu. The resulting window allows you to select a Hardware Device and the
applicable number of input channels.
If you have multiple hardware modules, and change the number of Input Channels, you
need to use the initialize function to create a new eZ-TOMAS Project. This needs to be
done once, for the first implementation of the new hardware setup. An explanation of
how to access and use the Initialize Project function follows.
When a project is initialized you are essentially starting with a “clean slate.” No data is
carried over, as would be when a project is cloned.
“Initialize Project” is accessed from the File pull-down menu. Initialize Project provides a means of
selecting the hardware device and setting the number of input channels. For example: If you had an 8
channel Medallion and were going to change your acquisition to 24 channels, for example, using a
ZonicBook/618E and two WBK18 modules, you would need to use the Initialize Project feature.