Step 5 – Measurement Computing WaveBook rev.5.3 User Manual
Page 34
2-14
System Setup & Power Options Connecting to the Ethernet
STEP 5 -
Configure the Computer’s Network Settings
[Applies to “dedicated networks” only]
If using a LAN (Local Area Network), which has a DHCP server, skip this section and continue
with STEP 7 - Configure and Test the System using the Daq*Configuration Applet (page 2-18).
If using a LAN (Local Area Network), which has no DHCP server, skip this section and
continue with STEP 6 - Configure Device Network Settings using DaqIPConfig (page 2-17).
1. Open the Control Panel by navigating from the Windows Desktop as follows:
Start Menu
Settings
Control Panel.
2. Double-click the “Network and Dial-up Connections” icon.
3. Double-click the “Network Connection” icon for the network that the DaqBook/2000E or the
WaveBook/516E is connected to.
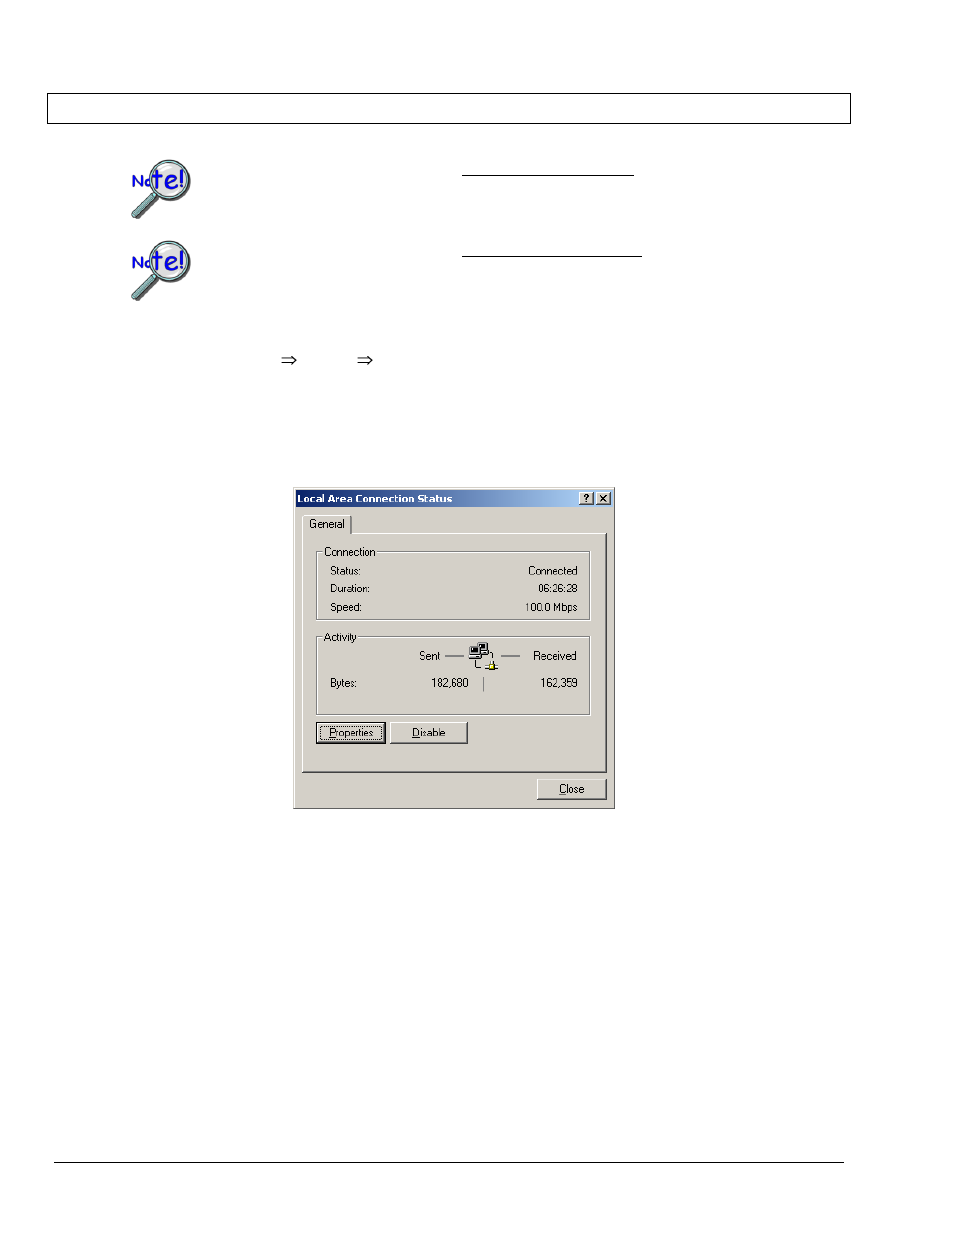
Local Area Connection Status
4. In the “Local Area Connection Status” box (previous figure), click on the <Properties> button.
The “Local Area Connection Properties” box will appear (following figure).