Test the new data source – Adobe Extending Dreamweaver CS4 User Manual
Page 303

297
EXTENDING DREAMWEAVER CS4
Data sources
//******************* API **********************
function commandButtons(){
return new Array(MM.BTN_OK,"okClicked()",MM.BTN_Cancel,"window.close()");
}
//***************** LOCAL FUNCTIONS******************
function okClicked(){
var nameObj = document.forms[0].theName;
if (nameObj.value) {
if (IsValidVarName(nameObj.value)) {
MM.MyDatasourceContents = nameObj.value;
MM.retVal = "OK";
window.close();
} else {
alert(nameObj.value + " " + MM.MSG_InvalidParamName);
}
} else {
alert(MM.MSG_NoName);
}
}
3
Save the file as MyDatasource_Variable.js in the Configuration/Commands folder.
Test the new data source
You can now open Dreamweaver (or restart it if you already have it open), and open a ColdFusion file or create a new one.
1
With the pointer in the document, click on the Bindings Plus (+) menu to see all the available data sources.
MyDatasource should appear at the bottom of the list.
2
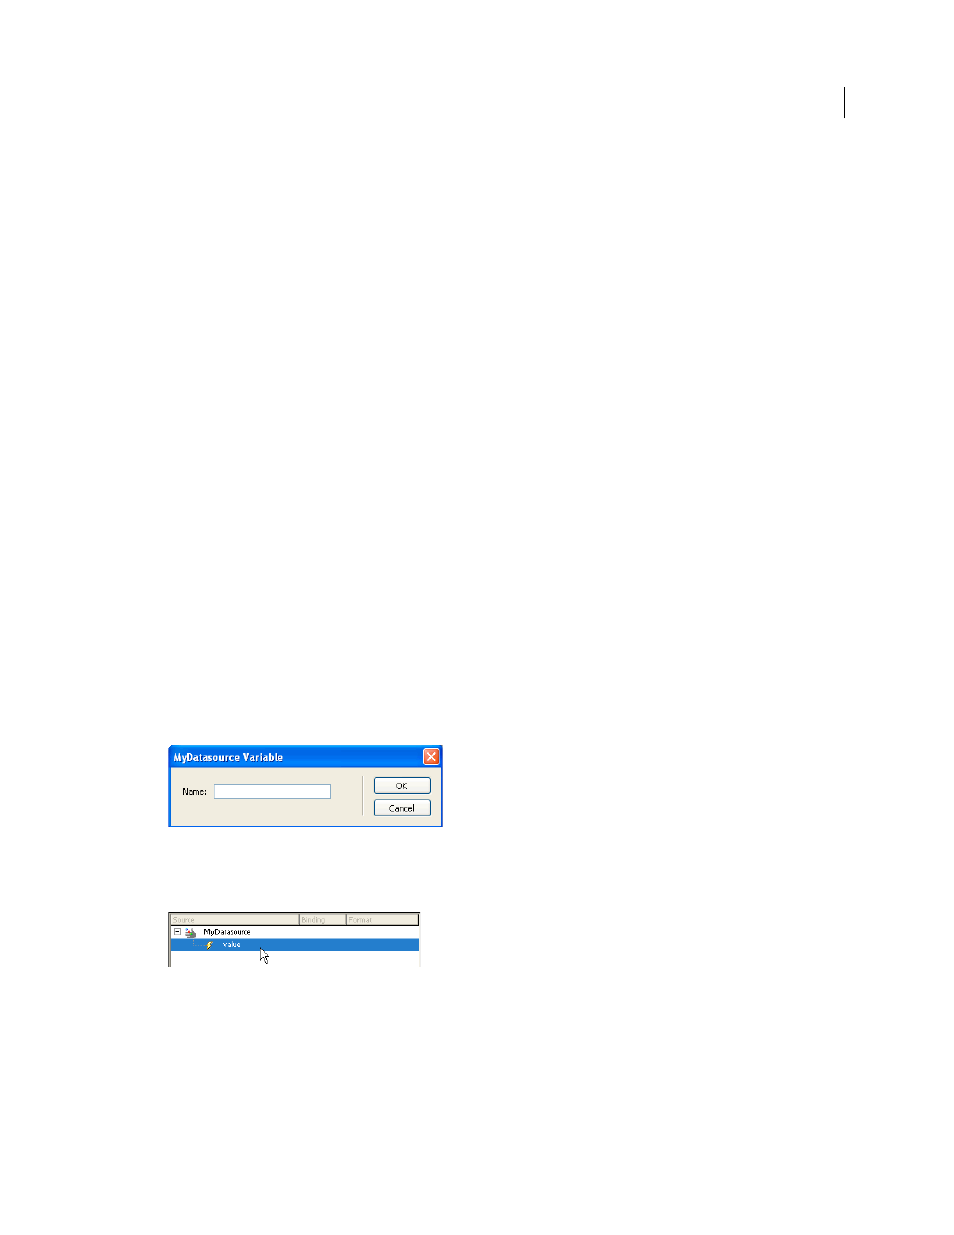
Click the MyDatasource data source option, and the MyDatasource Variable dialog box you created appears:
3
Enter a value in the dialog box and click OK.
The Bindings panel displays the data source in a tree with the variable from the dialog box under the data source name:
