Adept Lynx Platform User Manual
Page 106

Adept Lynx Platform User's Guide, Rev B
Page 106 of 116
Chapter 8: Maintenance
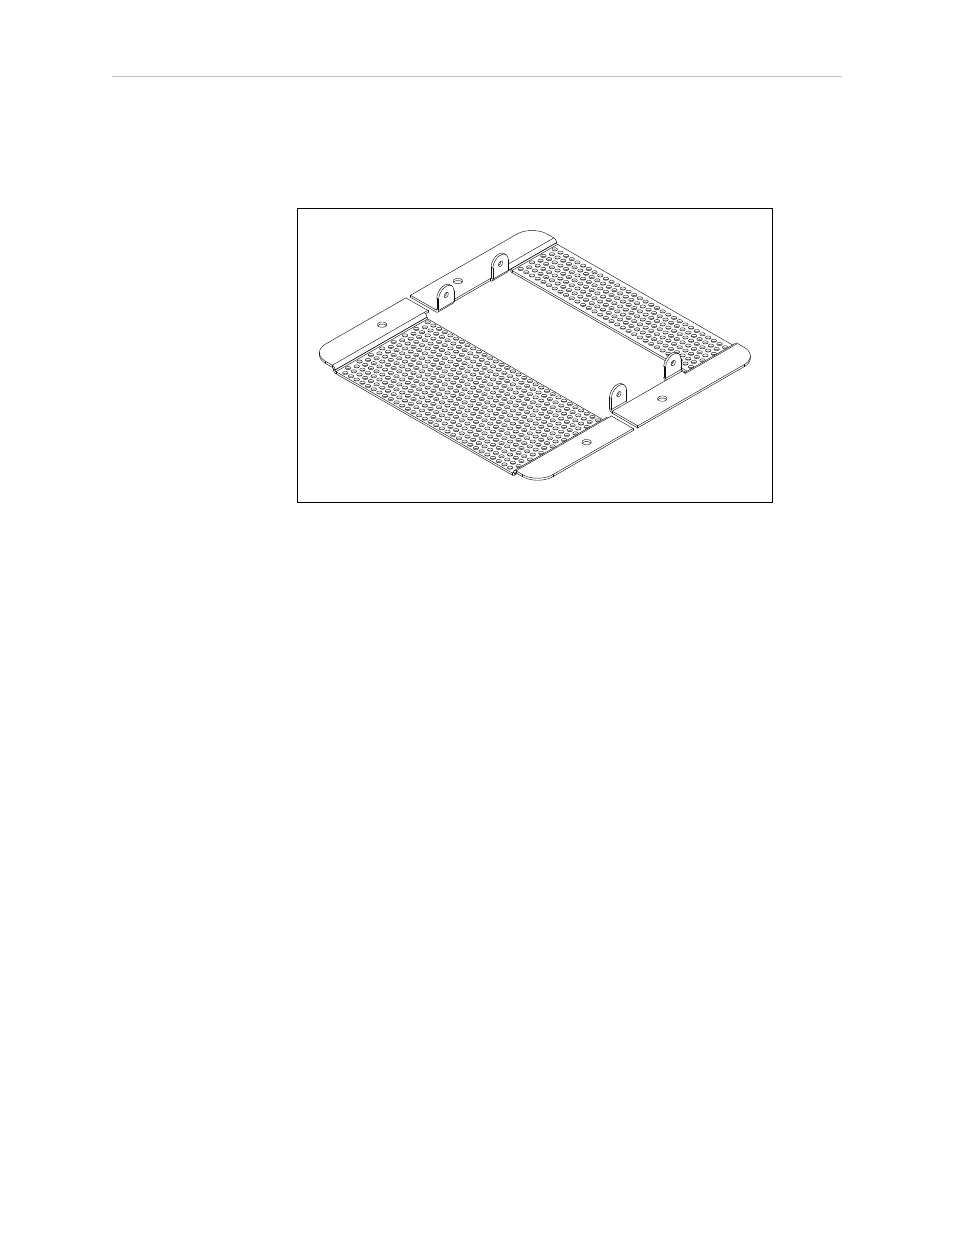
This is two pieces, held in place with four screws down into the chassis, with four more
going sideways into the Lynx core itself. Retain all of these screws for installing the new
Lynx core.
See the following figure:
Figure 8-18. Core Mounting Bracket
7. Remove the Sonar 1 cable from the core.
This cable is too short to allow the core to be lifted, until the cable is removed.
8. Gently lift the Lynx core up, until you have access to the internal connections.
9. Remove all of the cables that are attached to the internal Lynx core connector panel.
The Left Motor and Right Motor connectors use the same type of plug, and can be inad-
vertently reversed. Ensure that you can identify the left from the right.
See Internal Lynx Core Connections on page 61.
10. Remove the old Lynx core.
11. Connect all of the cables that were attached to the internal Lynx core connector panel to
the new core internal connector panel. See Figure 5-7.
Wait until after the next step to reconnect the Sonar 1 cable.
12. Put the core into the chassis.
13. Connect the Sonar 1 cable to the core.
14. Install the core mounting brackets around the new Lynx core.
Using the screws and washers you removed from the old core, put four screws into the
sides of the Lynx core, with four more going down into the platform chassis.
15. Reconnect all of the cables to the top portion of the Lynx core.
Refer to Payload Bay Connections on page 47.
16. Reconnect the battery power and data cables to the battery.
