Project 1 color light, Project 2 reversible light – Elenco Snap Circuits Motion User Manual
Page 18
-17-
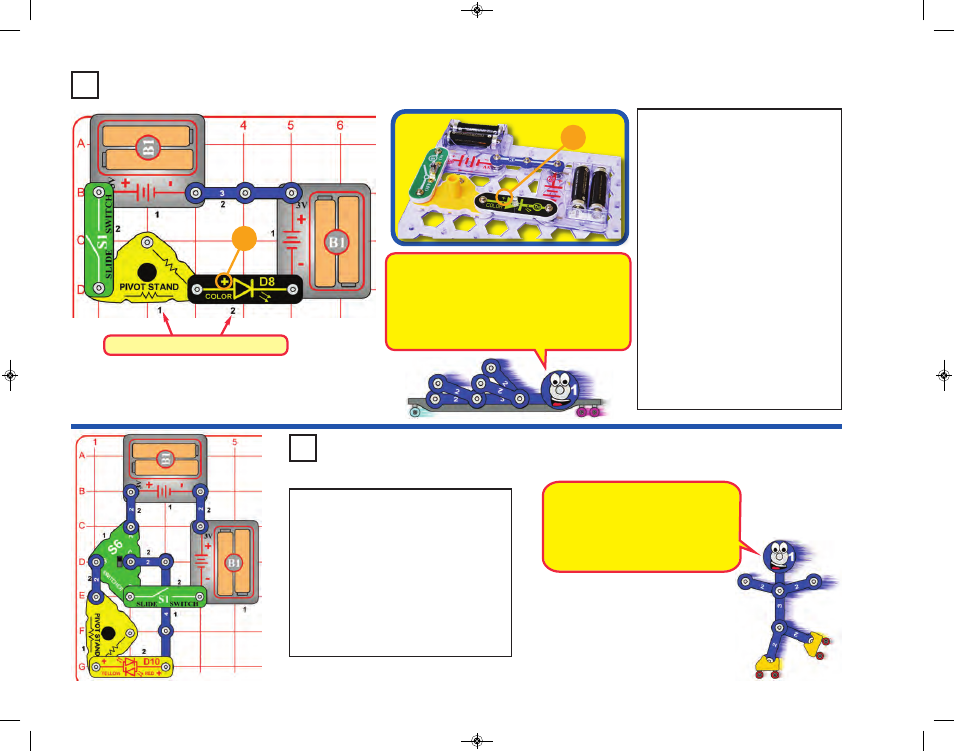
Project 1
Color Light
+
Project 2
Reversible Light
+
Placement Level Numbers
Snappy says the color LED actually contains
separate red, green, and blue lights, with a
micro-circuit controlling them.
The pivot stand is used here because it has
internal resistors that limit the flow of electricity,
and help protect the color LED from damage.
Snap Circuits
®
uses electronic blocks
that snap onto a clear plastic grid to
build different circuits. These blocks
have different colors and numbers on
them so that you can easily identify
them.
Build the circuit shown on the left by
placing all the parts with a black 1 next
to them on the board first. Then,
assemble parts marked with a 2. Install
two (2) “AA” batteries (not included)
into each of the battery holders (B1) if
you have not done so already.
Turn on the slide switch (S1), and
enjoy the light show from the color LED
(D8). For best effects, dim the room
lights.
Try replacing the color LED with the
red/yellow bicolor LED (D10), orienting
it in either direction.
Build the circuit as shown, turn on the slide
switch (S1), and then set the switcher (S6)
at each of its 3 positions. The red/yellow
bicolor LED (D10) should be yellow at the
top S6 position, off at the middle position,
and red at the bottom S6 position. For best
effects, dim the room lights.
Try replacing the red/yellow bicolor LED
with the color LED (D8, “+” on left). The
color LED isn’t bidirectional, so it only
works at the top S6 position.
LEDs are light emitting diodes, which
are like little light bulbs that only work
in one direction. The red/yellow
bicolor LED is actually a red LED and
a yellow LED, connected in opposite
directions inside the same part.
SCM-165_Manual_061114.qxp_Layout 1 7/7/14 11:29 AM Page 18