Echelon Mini FX User Manual
Page 70
Mini FX User's Guide
57
Note: The Mini FX Application is an OpenLDV application; therefore, it cannot
share a network interface with other L
ON
W
ORKS
applications. This means that when
the Mini FX Application is attached to a network interface, network tools such as the
LonMaker tool cannot use that network interface at the same time. To make the
network interface available to other applications, you must close the Mini FX
Application.
Conversely, the Mini FX Application cannot use a network interface that is currently
attached to another L
ON
W
ORKS
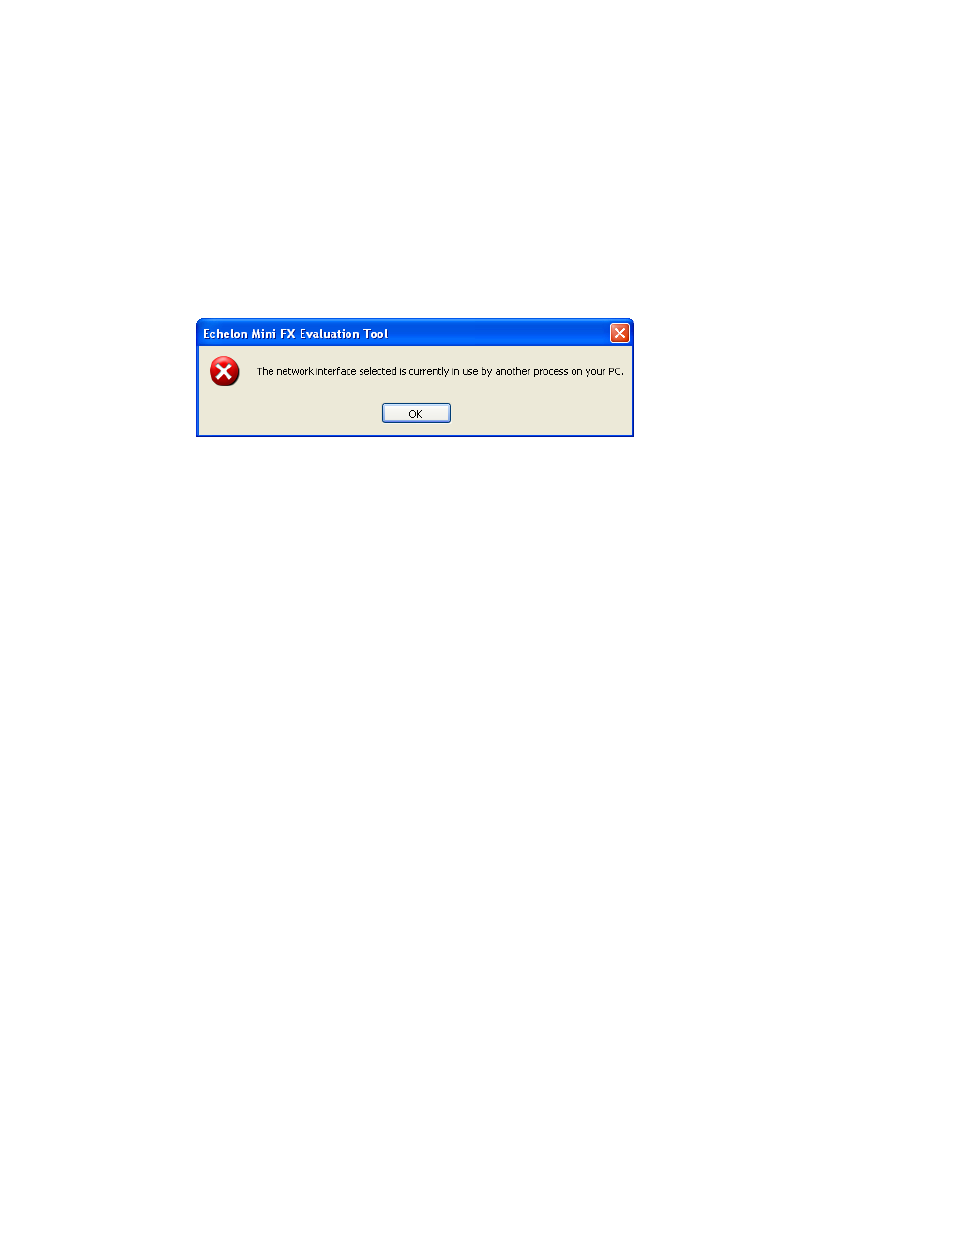
application. If you try to attach the Mini FX
Application to a network interface that is already connected, the following dialog
opens.
To make a connected network interface available to Mini FX Application, you must
close any L
ON
W
ORKS
applications using that network interface. If you are using the
LonMaker tool, you can also alternatively detach the application from the network
interface by clicking LonMaker, clicking Network Properties, clicking the
Network Interface tab, and clearing the Network Attached box, and then
clicking OK.
To use the Mini FX Application with network tools while avoiding network interface
conflicts, follow these guidelines:
• Use the network tool to download device applications that you have compiled
with the Mini FX Application into the target device, and to test that target
device.
• Use a separate network interfaces for the network tool and the Mini FX
Application. For example, you can install two U10 USB Network Interfaces in
your computer, and use one for the network tool, and use the other for the Mini
FX Application.
3. Select the device into which the application image is to be downloaded. You can do
this in three ways: sending a service pin message from the device, manually adding
a device, or selecting a previously registered device or a device automatically
discovered through the ISI protocol.
• To send a service pin message to register the device and select it, follow these
steps:
a. Press the Service button on the device. For the FT 5000 EVB or PL 3150/PL
3170 EVB, the Service button is a black button that is located along the right
side of the board and is labeled “Service”.
b. The Service Pin Message dialog opens. The Neuron ID of the device
appears in the Neuron ID box and its program ID in the Program ID box.