Color/gamma, Color space and graded gamma space, Independent display lut – RED DSMC User Manual
Page 76: Use the independent display lut feature, Red dsmc operation guide
COPYRIGHT © 2015 RED.COM, INC
RED DSMC OPERATION GUIDE
955-0020_V5.3, REV-J | 76
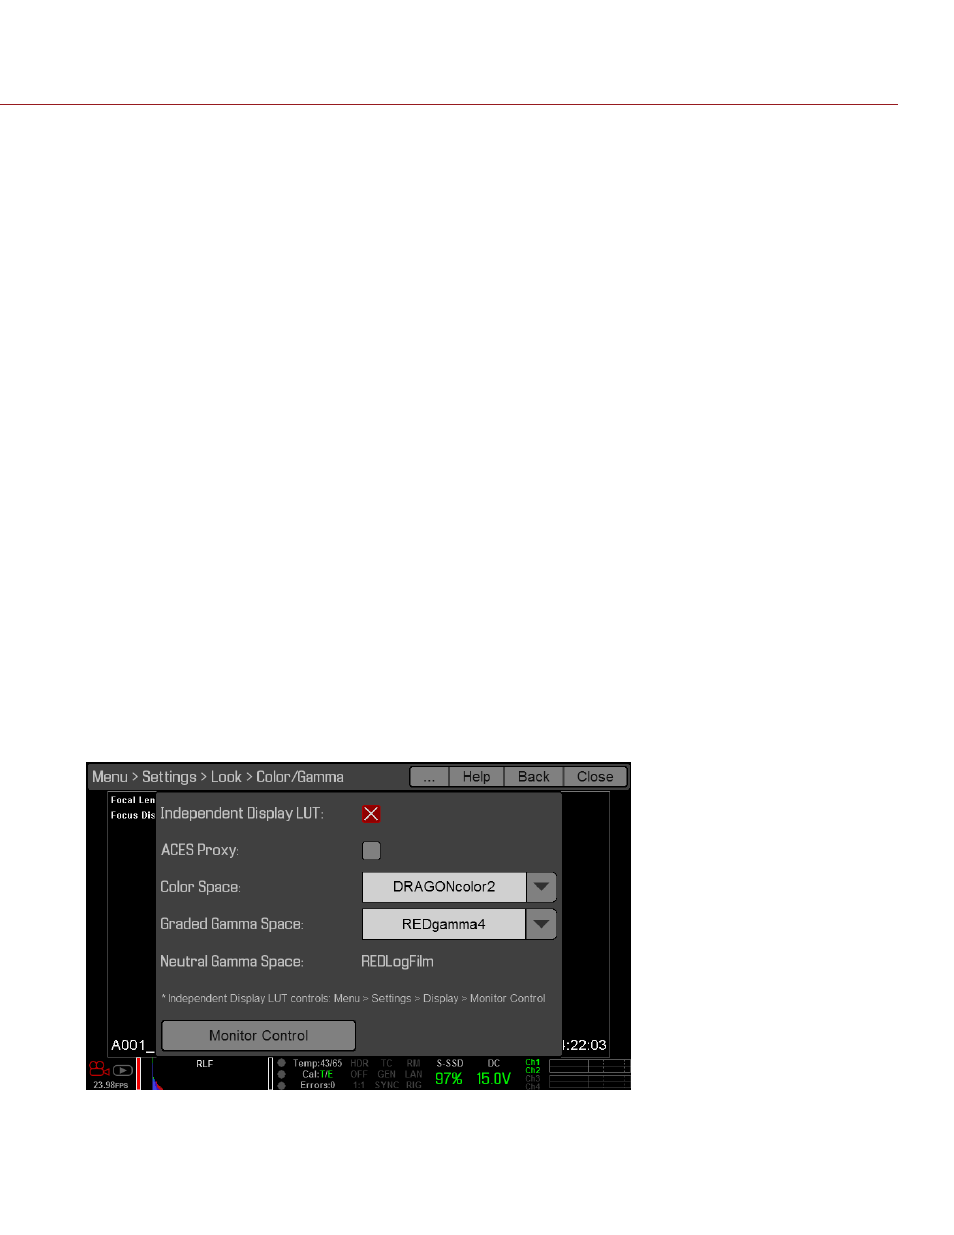
COLOR/GAMMA
Adjust the monitor output Color Space and Graded Gamma curves. These settings affect metadata only, and
can be changed in REDCINE-X PRO.
COLOR SPACE AND GRADED GAMMA SPACE
RED recommends using the most recently released Color Space and Graded Gamma settings. Use legacy
settings (such as REDcolor2) only if you need to record footage to match footage that you recorded with that
legacy setting.
For more information, see the
INDEPENDENT DISPLAY LUT
NOTE: Independent Display LUT is disabled when a 4K Broadcast Module is attached.
NOTE: When Independent Display LUT is enabled, the menu may change from light gray to dark gray. The
camera applies the color and gamma spaces after rendering the user interface, so changing these settings
affects the user interface.
Independent Display LUT allows you to apply a different gamma space to each monitor (this feature does not
apply a LUT). You can record via HD-SDI or HDMI, apply a LUT through a LUT box, and then view a different
look on each monitor.
USE THE INDEPENDENT DISPLAY LUT FEATURE
To set up the Independent Display LUT feature, follow the instructions below:
1. Go to Menu > Settings > Look > Color/Gamma.
2. Select the Independent Display LUT check box.
3. If you plan on outputting ACES, select the ACES Proxy check box.
The camera calculates the neutral gamma space based on if the ACES Proxy check box is selected.
‒ ACES Proxy deselected: Neutral Gamma Space is REDLogFilm.
‒ ACES Proxy selected: Neutral Gamma Space is ACES (ACES Proxy). For more information, go to
.
4. Select the Monitor Control button at the bottom of the menu.
The Monitor Control menu opens.
5. Select the monitor to configure from the drop-down menu at the top of the menu.