Installation of the instrument enclosure -6 – Hardy HI 2151/30WC Single-Scale Controller User Manual
Page 36
HI 2151/30WC MANUAL
3-6
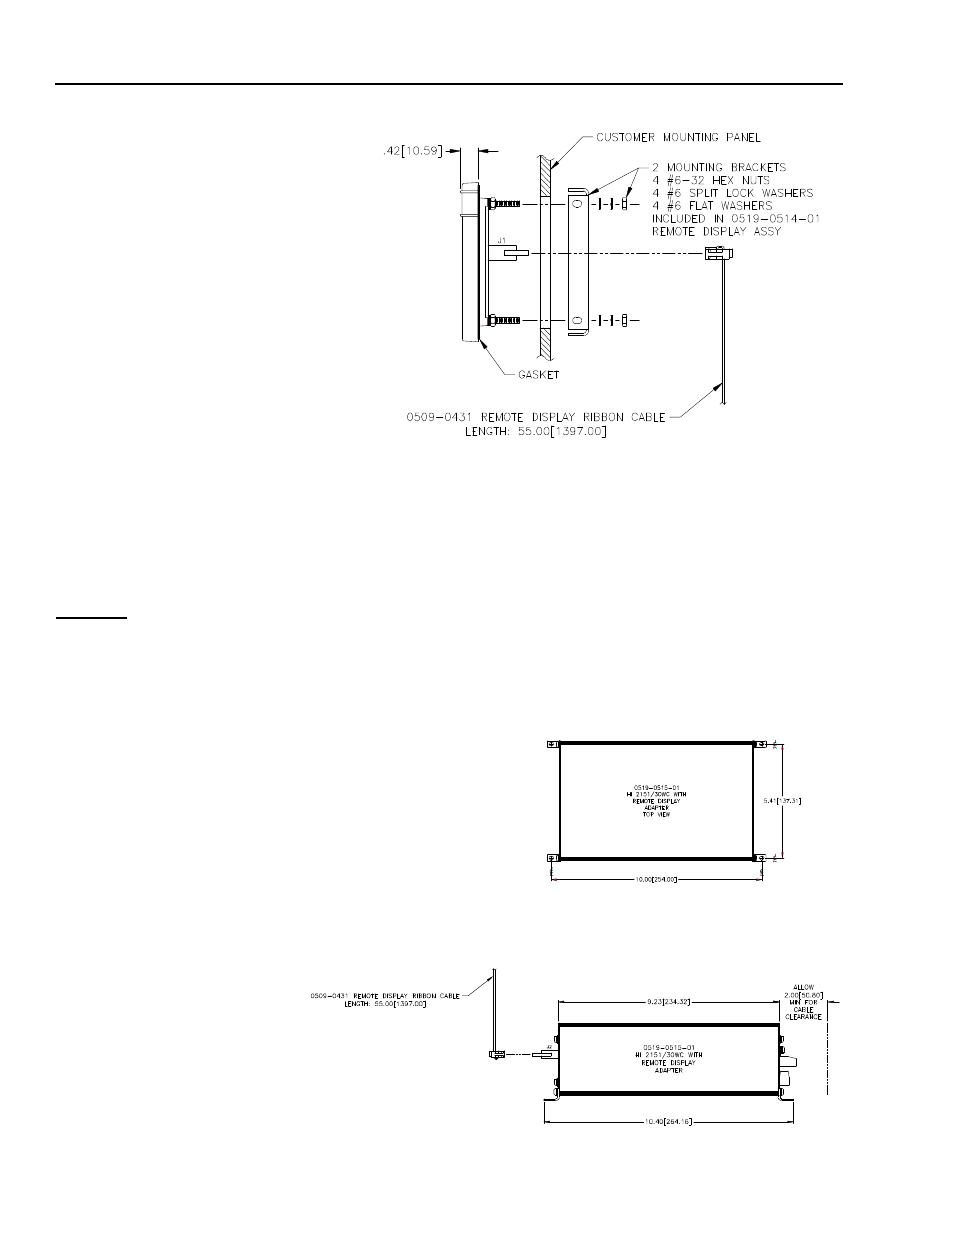
FIG. 3-4 MOUNTING REMOTE DISPLAY TO ENCLOSURE
Step 7.
Tighten the #6 hex nuts finger tight in turn.
Step 8.
Use a nut driver or box-end wrench to tighten the nuts in turn
so that the bezel is flush against the front surface of the enclo-
sure front panel.
CAUTION
DO NOT OVER TIGHTEN. OVER TIGHTENING CAN DEFLECT THE
BEZEL SO THAT IT WILL NOT BE WATER TIGHT AND/OR BREAK OFF
THE CORNERS OF THE BEZEL.
Installation of the
Instrument
Enclosure
Step 1.
Drill four .156- inch tapped or thru holes and use four 6-32
pan-head machine screws to fasten the enclosure to a panel.
FIG. 3-5 INSTALLING ELECTRONICS ENCLOSURE TO A PLATE