Complete inspection (drum and shoe removal), Poly bed 4 x 2 brake system – Cub Cadet 4 x 2 Big Country - Poly Bed & Steel Bed User Manual
Page 44
Poly Bed 4 X 2 Brake System
40
1.5.
Any significant wear, damage, or binding should
be addressed prior to making an operational
test.
NOTE: the operational test should be performed
in a safe location that is free of traffic, obstacles,
and hazards.
1.6.
If the operator has any specific brake perfor-
mance complaints, these complaints should
direct the visual examination and be confirmed
during the operational test. If the opeator
describes an inherently unsafe condition, a com-
plete inspection should ber performed in lieu of
the operational test.
1.7.
Operational Test - check the following points of
performance:
•
The brakes should not drag when they are not
applied.
NOTE: An extremely bad axle bearing can
mimic a dragging brake. If the axle shaft does
not run concentric to the axle tube that the brake
is mounted to, the brake drum will rub on the
shoes when the brakes are fully released. This
will produce sluggish vehicle response and a
grinding noise from the bearing.
•
When the brakes are applied at speed, there
should be no unusual noises and not pedal pul-
sation.
•
The parking brake should hold the vehicle with a
capacity load on a 22 degree incline.
•
It should require 110 lbs + 10 lbs. (50 Kg. + 5
Kg.) pedal force to apply the parking brake.
•
Braking force should be fairly evenly distributed
between the rear wheels.
1.8.
If the Big country utility vehicle does not perform
as described, adjust the brakes as described in
the brakd adjustment section.
1.9.
If adjustment does not completely fix the prob-
lem, disassemble the brakes as described in the
Complete Inspection section of this manual.
Replace any worn or damaged parts discovered
during inspection.
2.
COMPLETE INSPECTION (DRUM AND SHOE
REMOVAL) :
2.1.
Park the Big Country vehicle on flat level ground.
2.2.
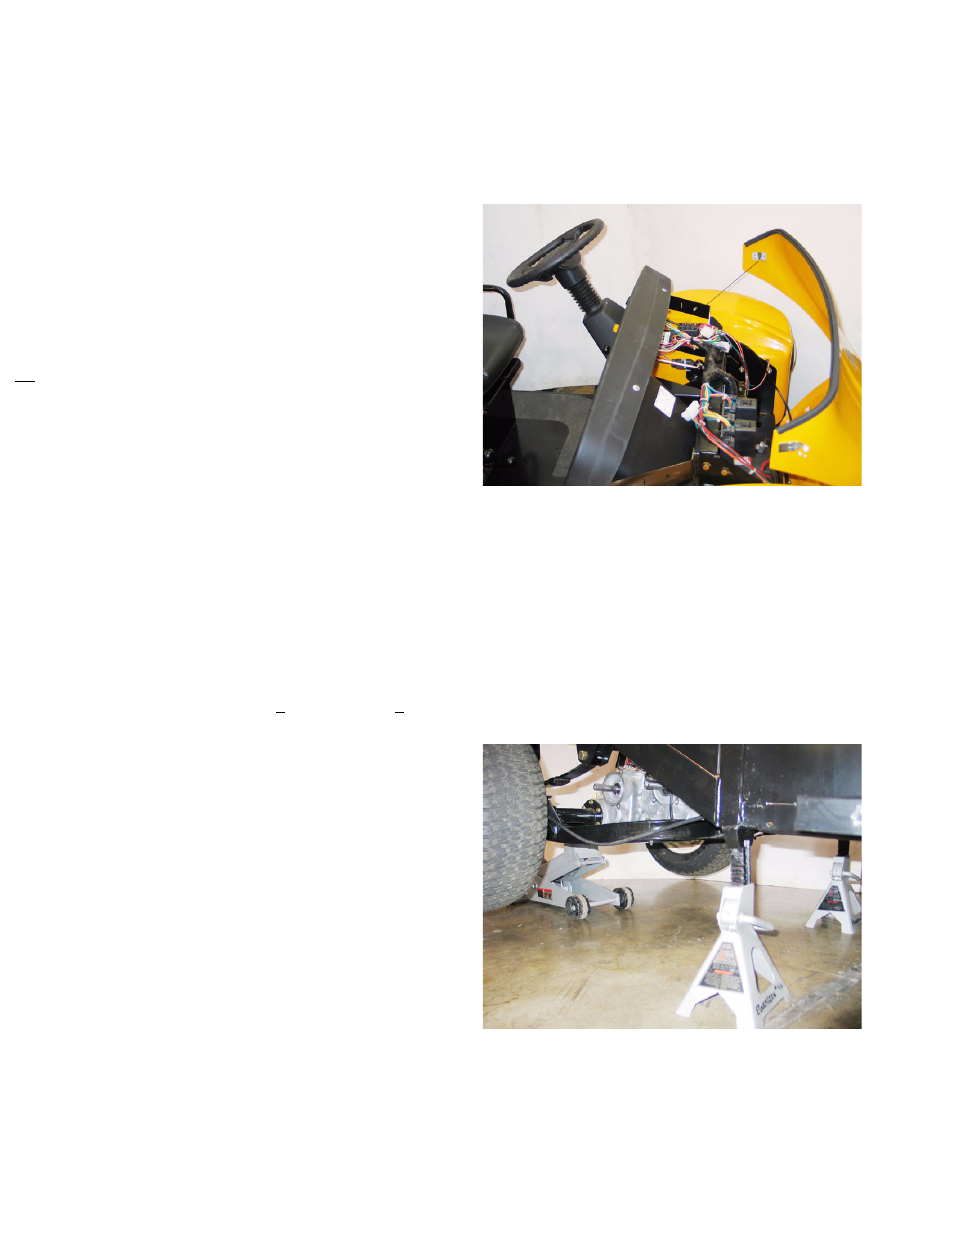
To gain access to the front of the brake linkage:
See Figure 2.2.
•
Release the hood straps, and open the hood.
•
Disconnect the Z fitting that attaches the hood
check cable to the hood.
•
Remove the hairpin clip that retains the hood
hinge pin in the hood hinge bracket.
•
Slide the hood to the left (facing vehicle) and
remove it.
2.3.
To gain access to the brakes: See Figure 2.3.
Figure 2.2
Figure 2.3