Controller removal & installation, Step details – Cub Cadet Fun Runner User Manual
Page 35
4-19
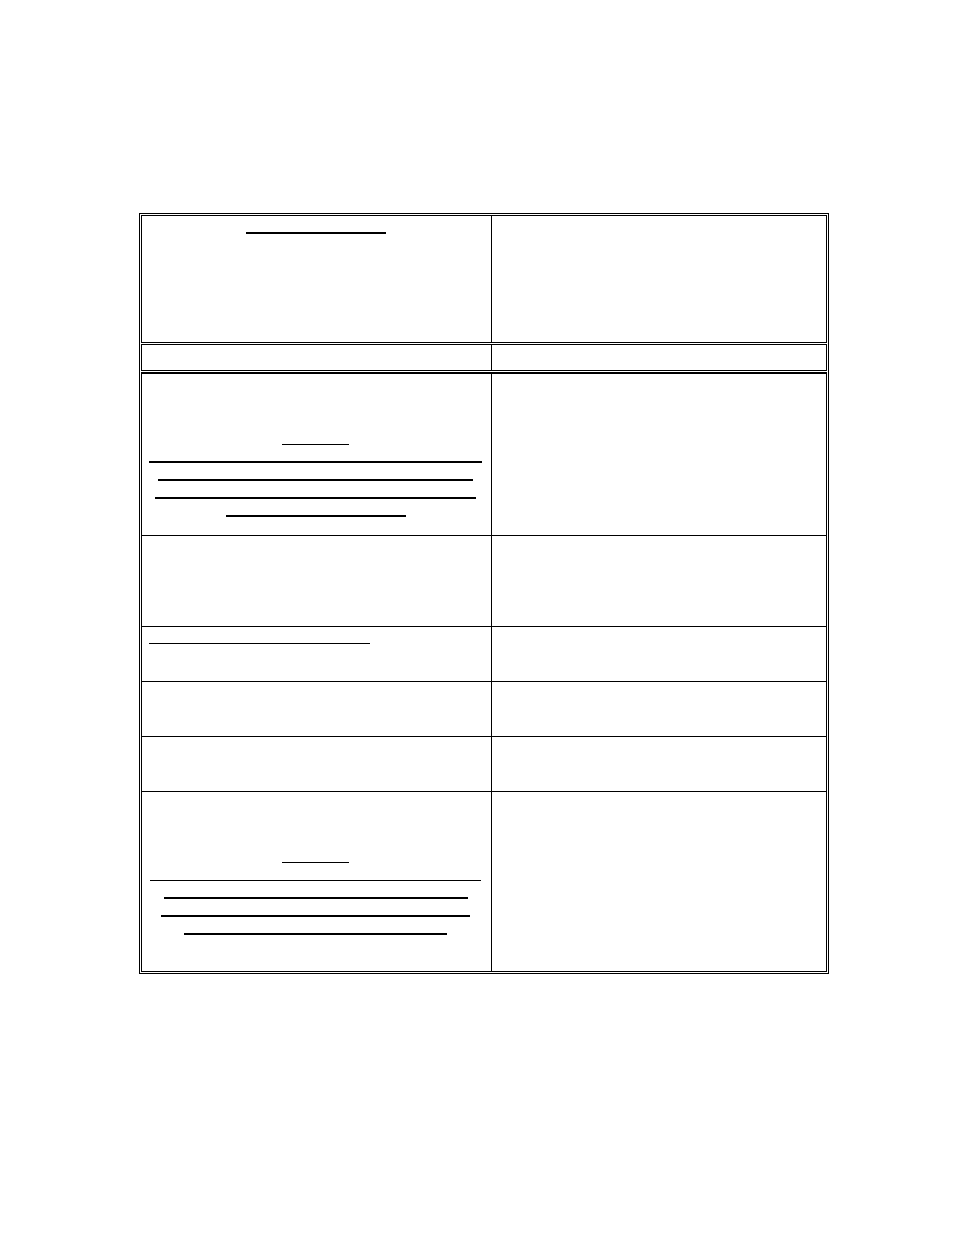
CONTROLLER REMOVAL & INSTALLATION
TOOLS REQUIRED
½” Socket wrench
9/16” wrench
5/8” wrench
# 2 Phillips screwdriver
Note:
It is easier and safer to remove rear body
section and disconnect batteries before
removing/replacing controller
STEP
DETAILS
Check vehicle safe status.
Warning:
Charged capacitors are present in controller.
As soon as switch is turned off press horn
switch until one capacitor discharges (horn
will whine and fade out).
Make sure switch is off and key removed.
Make sure vehicle will not roll while work is
being done.
Remove utility bed or storage compartment
(storage compartment lifts out).
If installed.
May be necessary to tie up rear compartment
cover or remove it.
Turn master power switch to off.
Switch mounted below controller.
Remove controller mounting bolts (Figure 4-23).
4 - 5/16 x ¾” bolts holding controller supports
to frame - 2 each side.
Disconnect two connectors (twist lock plugs)
(Figure 4-24).
From right side of controller.
Pull controller back (Figure 4-25).
Warning:
48 volts present in battery pack. Dangerous.
Be sure cable ends are kept from making
contact with frame, tools or with you until
battery terminals are disconnected.
Carefully to the rear until power cable
terminals on left side are accessible.