Copy the title, Md walkman models compatible with this function, Notes – Sony DHC-MDX10 User Manual
Page 75: Marking track numbers, Connecting the digital components
Attention! The text in this document has been recognized automatically. To view the original document, you can use the "Original mode".
Copy the title
when you use a portable minidisc player,
you can copy the title of the track you are
recording.
• MD Walkman models compatible with
this function.
MZ-E70, E45 (Hong Kong only), E55, E50,
E44, E35, E33, E32, E30, E25, EPll
1
While recording, press MENU/NO.
"Edit Menu" appears.
2
Turn the jog dial until "Nm In
?"
appears,
then press ENTER/YES.
When the recording track is labelled, the
title appears. When the title is long, press
or to scroll the title.
When the track is not labelled, you can
label the track. (To label the track, see page
44).
3
Press ENTER/YES.
The displayed title is copied.
To copy the title after editing, follow the
steps 1 to 7 of "Labelling an MD" on page
44.
Notes
• The title may not be copied when recording is
started from the middle of the track.
• The title may not be copied correctly when you
copy the title from the portable minidisc recorder
(MZ-R55 / R50 / R35 / R30 / R5ST (Europe only)).
Marking track numbers
Press REC while recording at the point you
want to mark a track number.
Tip
When you use a portable minidisc player, the track
numbers are automatically marked at the same
position of the MD played on the portable minidisc
player.
Notes
• When you use a portable minidisc recorder, the
track numbers may not be marked at the same
position of the MD played on the portable
minidisc recorder. After recording, remark the
track numbers using the editing functions.
• The Level Synchro function does not work while
recording from the MD Walkman.
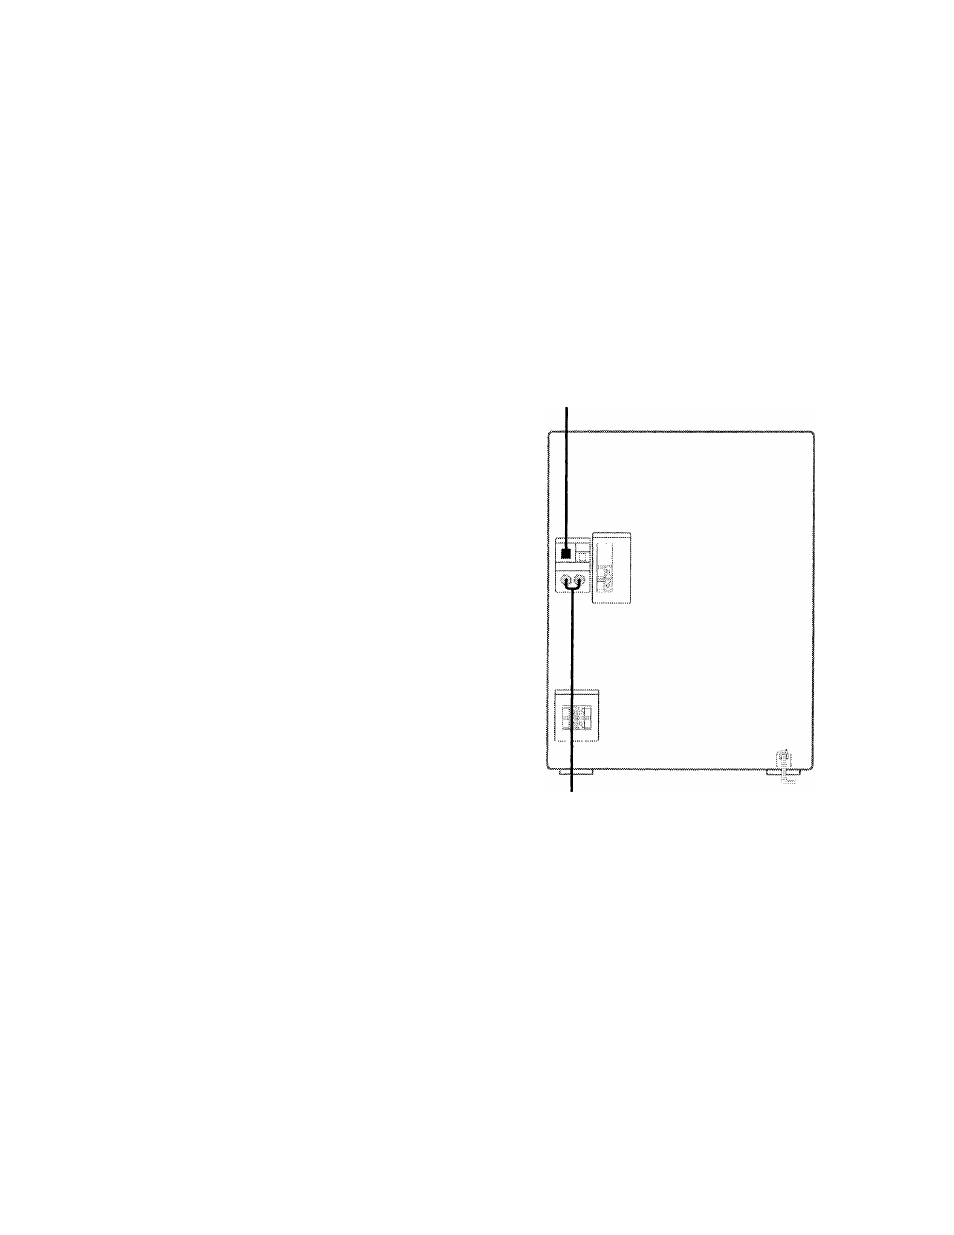
Connecting the
digital components
You can connect the digital components with
a digital cable (optical, optional) or an
analogue audio cord (optional). You can
record from the connected components into
the MD digitally if you use a digital cable.
Refer to the instructions of each component.
To the digital audio out jack
of the digital component
To the analogue audio
output jacks of the digital
components
continued
5
‘
(Q
O
0
3
u
ft
o
3
■c
0
3
9
3
HK
VI
75