Replacing the system board assembly, Replacing the system board assembly -40 – Dell Latitude Xpi CD User Manual
Page 78
4-40
Dell Latitude XPi CD Service Manual
Replacing the System Board Assembly
Observe the following precautions when you reinstall a system board:
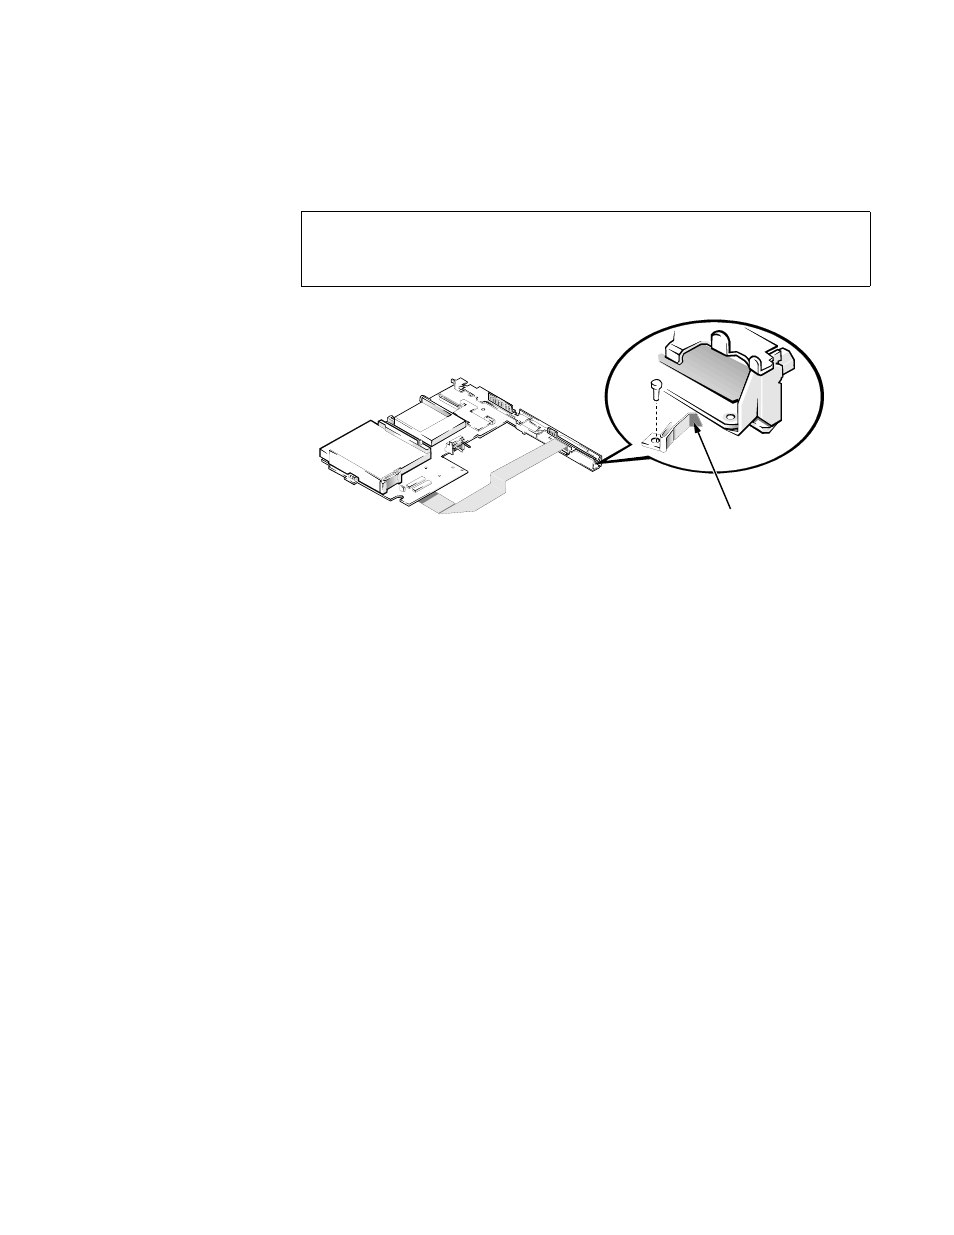
1. Before reinstalling the system board assembly, make sure the upper I/O
bracket clip and the side I/O bracket clip are in place. If the side I/O
bracket clip has been dislodged, reinstall it as shown in Figure 4-27.
Figure 4-28. I/O Bracket Clips
2. While reinstalling the system board assembly, make sure the power
button is positioned as far as it will go toward the back of the computer.
This will ensure that the power button engages the power switch properly.
3. Enter the system’s service tag number into the BIOS of the replacement
system board assembly.
Insert the diskette that accompanied the replacement system board assembly
into the diskette drive, and turn on the computer. Follow the instructions on
the display screen.
CAUTION: To avoid possible damage to the computer, make sure the
system board assembly is inserted under the three molded tabs at the
front of the bottom case assembly.
I/O bracket clip