5 making connections, 1 connecting a console terminal, Making connections -7 2.5.1 – Cabletron Systems CSMIM-T1 User Manual
Page 33: Connecting a console terminal -7
Making Connections
CSMIM-T1 Hardware Installation Guide
2-7
2.5
MAKING CONNECTIONS
This section describes how to connect the CSMIM-T1 to a console to
access the boot commands, and connecting the T-1 interface as well as the
Drop and Insert connection.
Table 2-1
Maximum Recommended Cable Lengths
2.5.1
Connecting a Console Terminal
In order to access the ROM Monitor and boot the CSMIM-T1 for the first
time, you will need to connect a terminal to the Console Port. Please use
the adapters supplied in the accessory kit shipped with the module, as the
CSMIM-T1 Console port is a different configuration than other Console
ports. Follow the steps in this section to connect a console terminal to the
console port located on the front panel of the CSMIM-T1.
1.
Connect the Console Terminal’s I/O connector to the RJ45 cable (the
accessory kit includes a cable) using a DB-25 DTE drop adapter.
2.
Plug the RJ45 connector into the console port located on the front
panel of the CSMIM-T1.
3.
When the connector clicks into place, the connection is secure.
Appendix A describes the console port’s signal/pin allocation.
4.
Turn on the Console Terminal and set the terminal to 9600 baud, eight
data bits, no parity, one stop bit, and XON/XOFF flow control.
The ROM Monitor assumes that this terminal is CRT-based and displays
the backspace (BS) character accordingly.
Line Speed
Cable Length (Feet)
Allowed Loss
T-1 Long Haul
6000
36dB@772 khz
D&I Short Haul
655
3dB@772 kHz
57.6 kbps
100
30
115.2 kbps
50
15
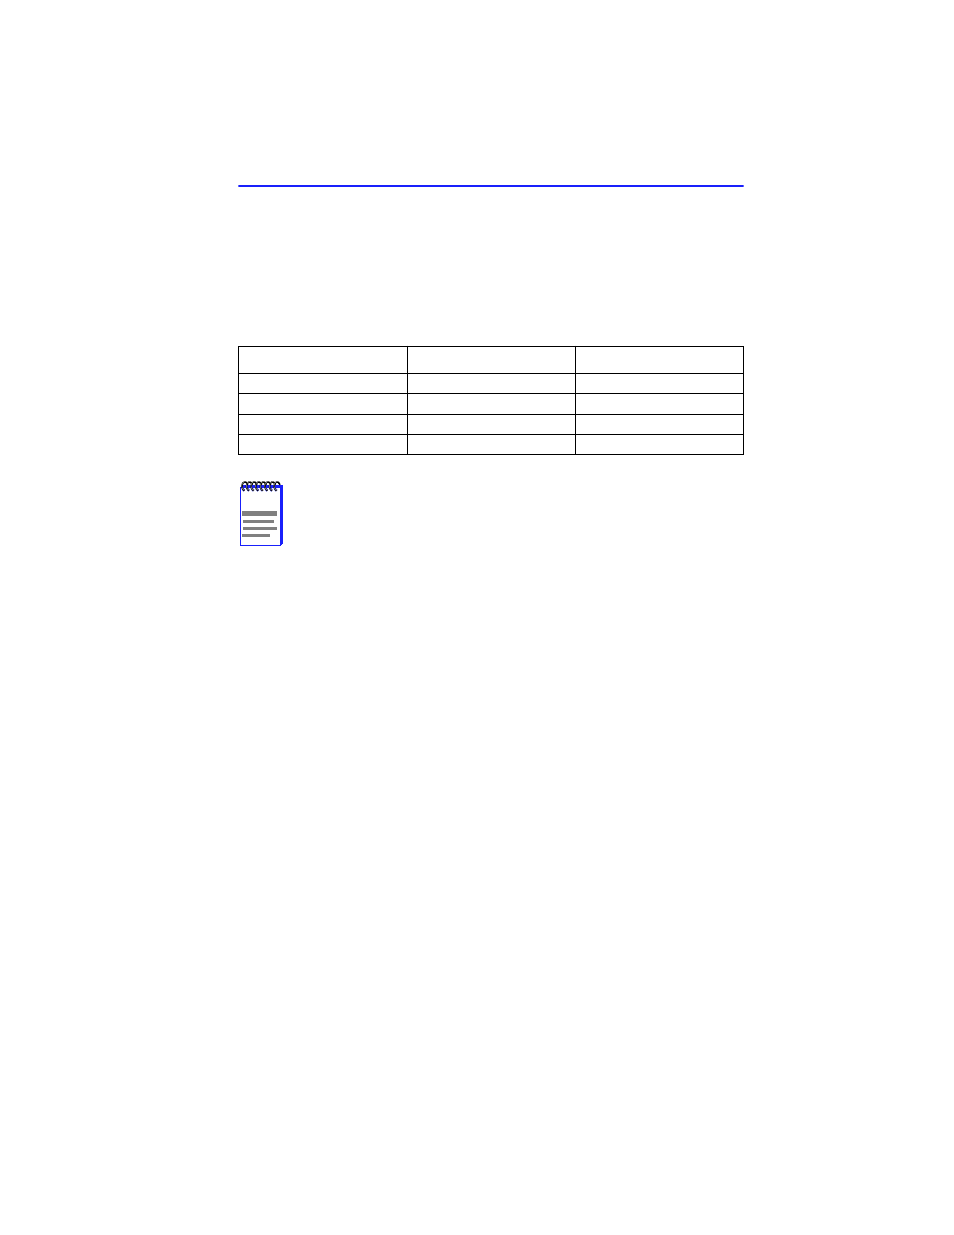
NOTE
If you exceed these recommended cable lengths, you must
compensate for any resulting problems by reducing the baud
rate, using low capacitance cable, etc. Exceed these distances
at your own risk.