2 first steps – Acronis Access Advanced - User Guide User Manual
Page 84
84
Copyright © Acronis International GmbH, 2002-2014
2. If Acronis Access uses your organization’s Active Directory, enter your network password.
Note: In case of doubt, please ask your IT department what to use.
13. Click OK to save the configurations.
Once you have successfully installed and configured your Access Desktop Client, it’s time to start
using it.
3.1.3.2
First Steps
If you haven't installed your Access Desktop Client yet, you can do so by by following the Client
Installation and Configuration (p. 82) guide.
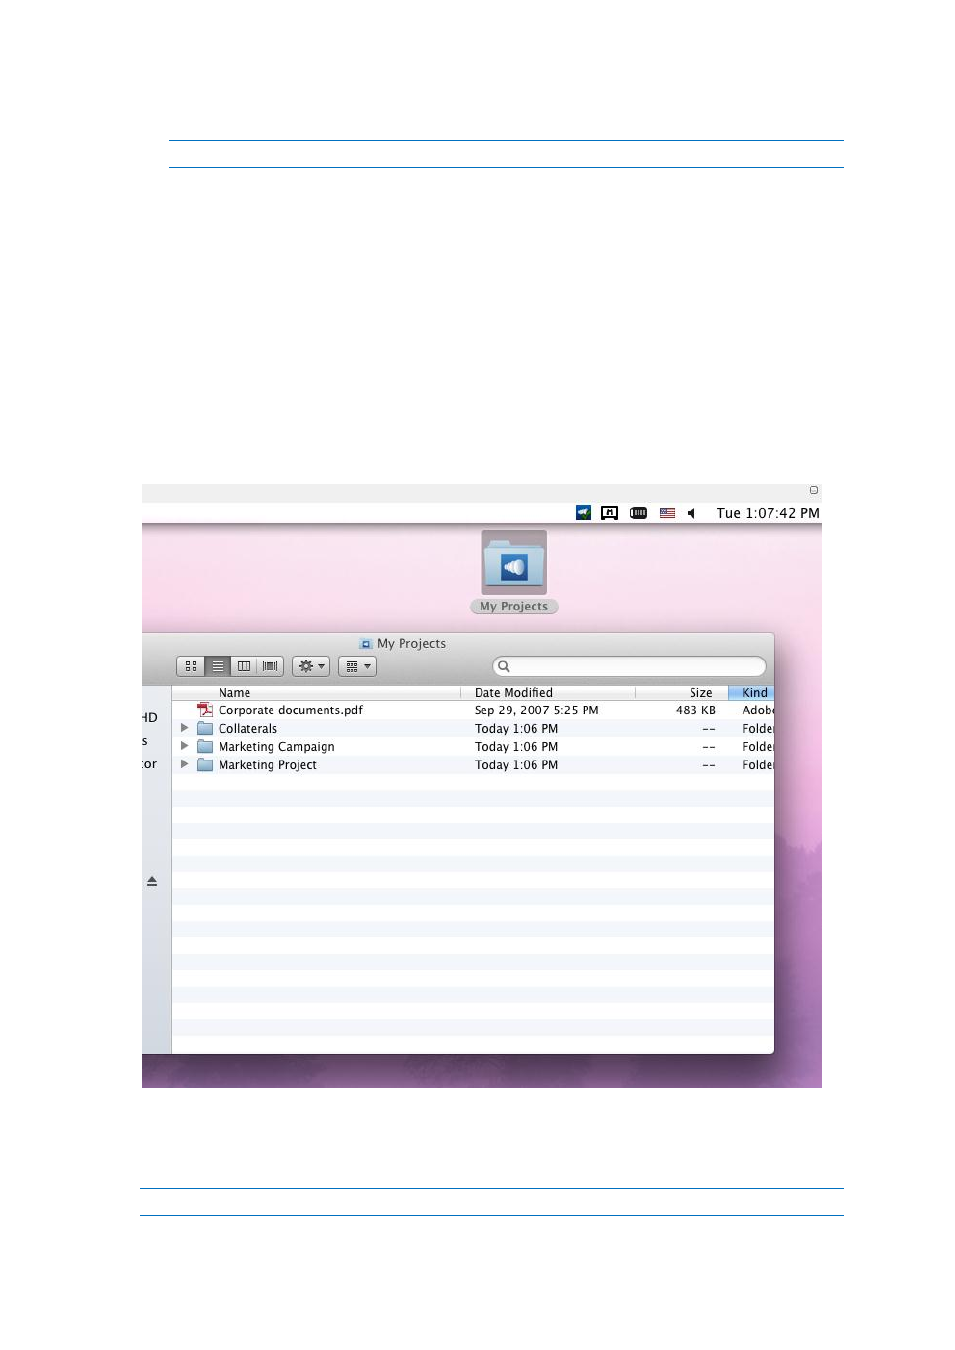
1. Open the folder you selected for syncing during the configuration process. This is just a normal
folder, so instead of calling it Sync Folder you should use more regular names. In this example we
named it My Projects.
2. Create a folder named Marketing Campaign inside My Projects.
3. Create another folder inside My Projects with a name Collaterals.
4. Place some files into it by copying them from your computer.
5. Now it’s time to share a folder with a colleague. You can do this in two different ways: directly
from the Finder or using your web browser. Follow step 6 to Share content using the Finder or
step 7 to Share content using your preferred web browser.
Note: You can also share just a single file as described at the bottom of this article.