Sync folders – Acronis Access Advanced - User Guide User Manual
Page 61
61
Copyright © Acronis International GmbH, 2002-2014
Word document:
Editing Graphics is not supported.
Editing Shapes is not supported.
Inserting an image from the gallery is supported only for .docx files.
Inserting an image from the camera is supported only for .docx files.
PowerPoint:
Animations and Transitions are not supported.
Sync Folders
As of version 3.0, the Acronis Access Android client supports Sync folders. Acronis Access can sync
network folders for storage on your device, within the Access Mobile Client app. This allows these
folders and their contents to be accessed immediately without downloading files on-demand from
the server, and ensures that these files are available even when you're offline.
Creating a sync folder
1. Navigate into the folder you would like to sync to your device. In this example, we are syncing
the Marketing folder.
2. Tap the menu button of your device (if not present, you will see a software button) and select
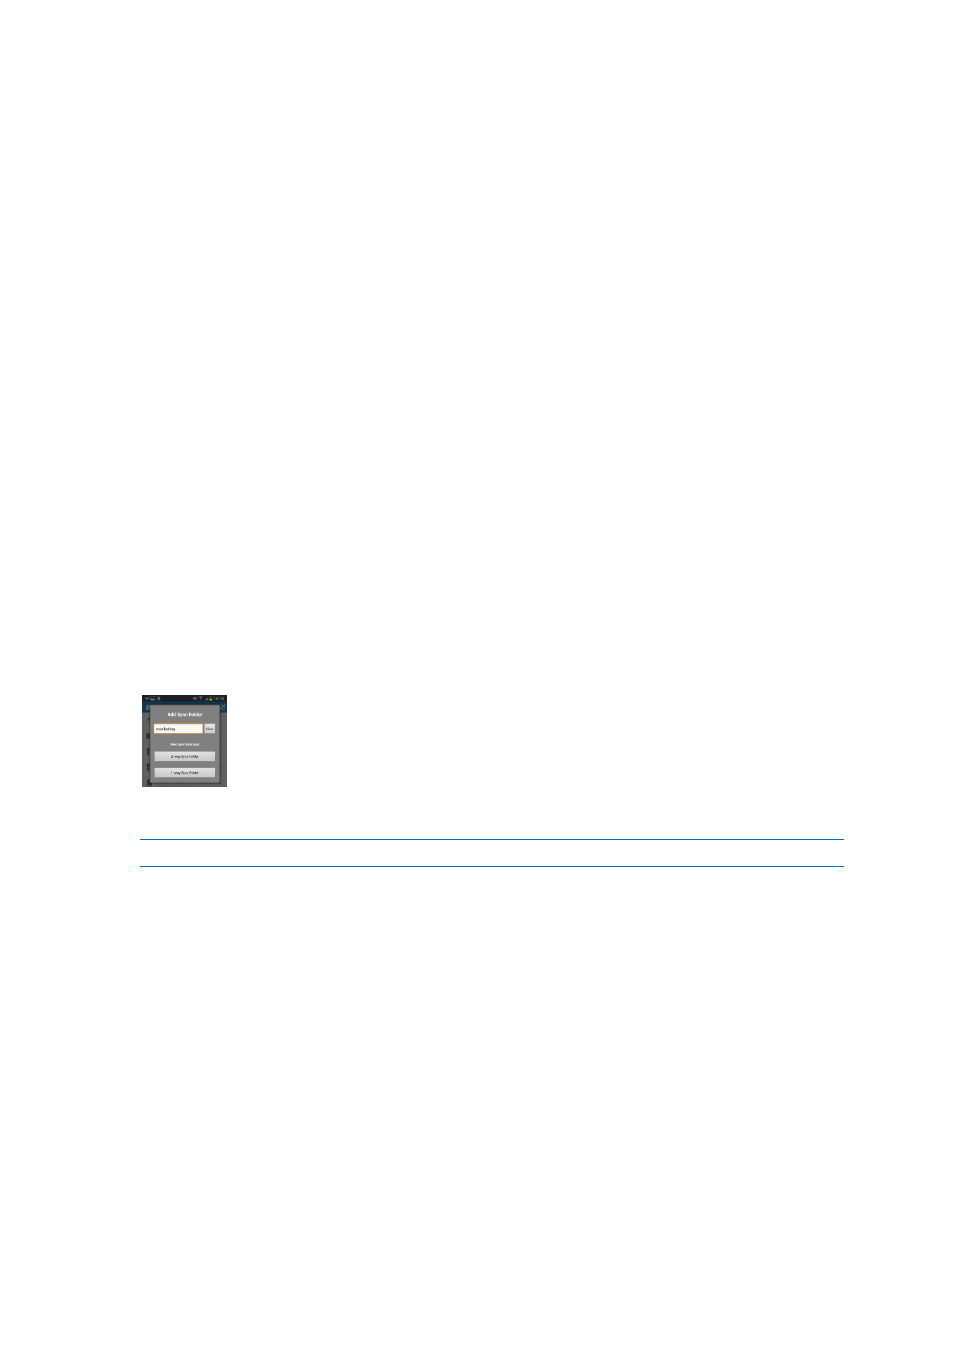
Sync This Folder. A window pops up prompting you for a folder name and sync type.
3. Enter a name for the folder and select a sync type, either 1-way or 2-way. 1-way will sync
changes only from the server to the client. 2-way will sync both ways.
Note: You can also have a provisioned sync folder, assigned to you by your administrator.
Manually syncing a folder
1. Open the On This Device tab.
2. Locate the sync folder you want to manually sync.
3. Tap the Action button.
4. Tap the Sync button.
Deleting a sync folder
1. Open the On This Device tab.
2. Locate the sync folder you want to manually sync.
3. Tap the Action button.
4. Tap the Delete button.