Chapter 2 installation, Unpacking and inspection, Installing the receiver – Bird Technologies BDS-Manual User Manual
Page 19: Figure 1 receiver air flow path, Unpacking and inspection installing the receiver
5
Chapter 2
Installation
Unpacking and Inspection
1.
Carefully inspect shipping container for signs of damage.
2.
Do one of the following:
•
If the shipping container is damaged, do not unpack the unit. Immediately notify
the shipping carrier and Bird Electronic Corporation.
•
If the shipping container is not damaged, unpack the unit. Save shipping materi-
als for repackaging.
3.
Inspect unit for visual signs of damage.
Note: If there is damage, immediately notify the shipping carrier and Bird Elec-
tronic Corporation.
Installing the Receiver
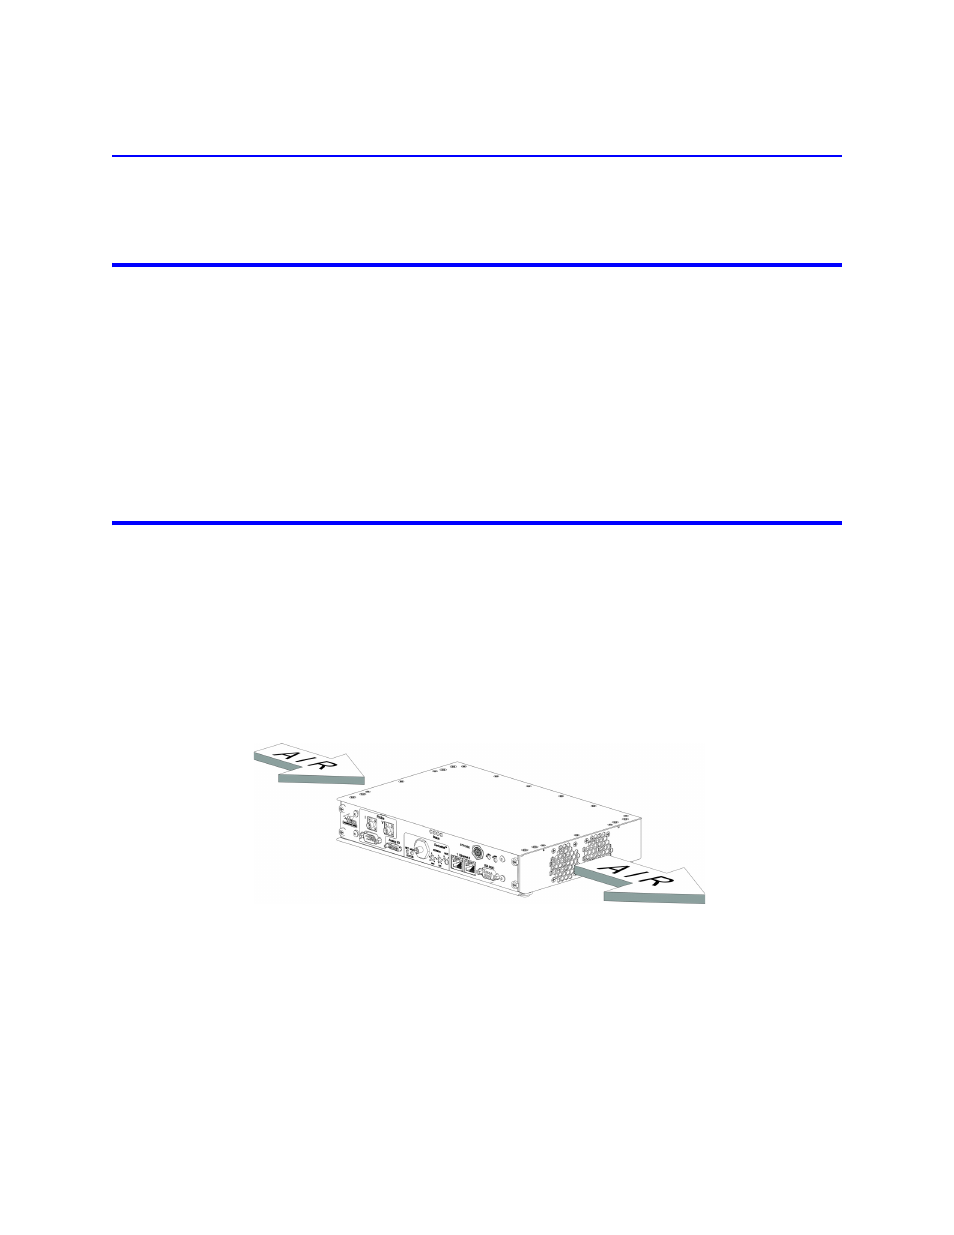
The receiver has cooling fans inside and air vents on both ends of the case. For proper operation, be sure to install
the receiver in a location that permits free air flow around and through the unit (Figure 1).
Place the receiver in a suitable location within the length of the cables from the sensor. The receiver can be installed
free standing or secured in place using the six mounting holes in the bottom of the case. To secure the receiver in
place, first remove the four rubber feet then secure the unit using 6-32 screws that will not extend inside the
receiver case more than one inch (1.0 in or 25.4 mm). (Figure 2).
The BDS receiver requires an external +24 V DC power source for operation. The operating voltage is supplied
through the Power In +24V connector located on the reat side of the reciever.
Figure 1 Receiver Air Flow Path