Select ldev window, Figure 29 select ldev window, Manually mapping external ldevs (add lu) – HP StorageWorks XP Remote Web Console Software User Manual
Page 52: 29 select ldev window, Mmand
52
External Storage XP for the XP10000/XP12000
•
Cancel button
Cancels all mapping operations, closes the Auto Map Setting window, and returns to the LU Operation
pane.
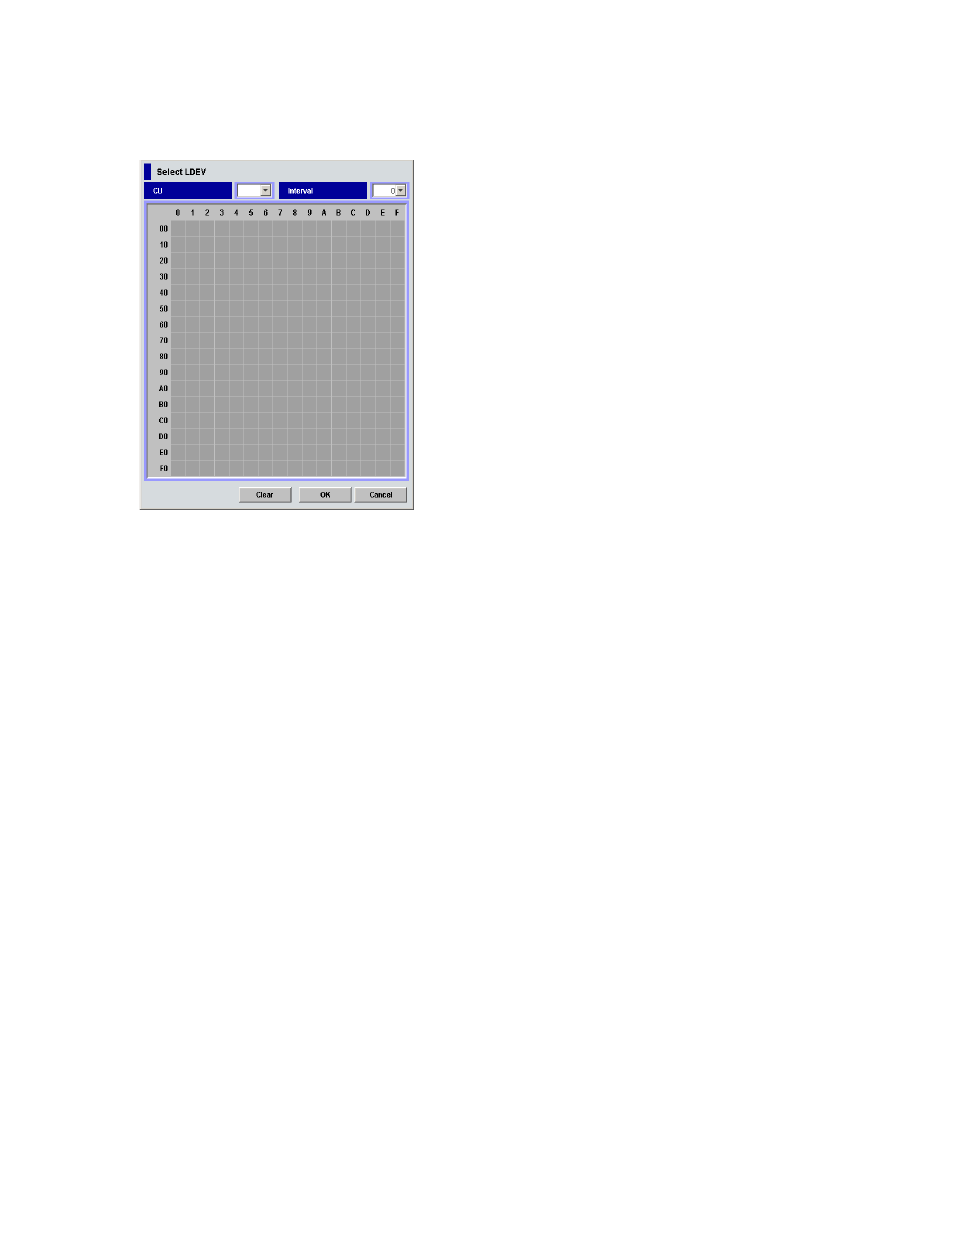
Select LDEV window
Figure 29
Select LDEV window
•
CU list
Select the CU number of the local subsystem to which you want to map the external LU.
•
LDEV Map
Each cell in the map represents an internal XP CU and LDEV number. Select a cell for the internal XP
LDEV on the map. The selected cell turns blue, and the volume of the selected cell becomes the first
CU:LDEV number of the mapped destination LUs. Defined (in use) internal XP LDEVs appear in gray,
and internal volumes to be mapped appear in white.
•
Clear button
Clears selection on the LDEV map.
•
OK button
Closes the Select LDEV window, and returns to the Auto Map Setting window.
•
Cancel button
Cancels all settings in the Select LDEV window, and returns to the Auto Map Setting window.
Manually mapping external LDEVs (Add LU)
This operation uses the Add LU, SSID, and Set SSID windows to map an external LU to an internal
CU:LDEV:
1.
In the External Storage XP operations window, click LU Operation. The LU Operation window appears.
2.
In the Device Tree, select Discovery.
WWNs appear in the tree indicating external disk array ports that can be connected.
3.
Select the port (WWN) you want to connect from the WWNs listed in the Device Tree.
External LUs that can be connected from the external array port (WWN) selected in the tree appear in
the Device List.
4.
Select the external LU you want to map as an internal XP LDEV in the Device List, right-click, and select
Add LU.
The Add LU window appears.
5.
Enter the following items in the Add LU window:
a. Select an external LU group number in the ExG box.