Arranging embroidery designs (layout & editing) – Brother PE-DESIGN 8 User Manual
Page 51
49
Arranging Embroidery Designs (Layout & Editing)
A
rr
a
ng
in
g Embr
oide
ry
D
e
s
igns
(
L
a
y
out
& E
d
iting)
3.
Select the file icon for the design to be
imported, and then click Import, or double-
click the file icon.
→ The embroidery design is displayed in the
Design Page.
4.
Click
in the upper-right corner of the
Import dialog box to close it.
■
From Design Library
1.
Click
to display the dialog box in
Design Library view mode.
2.
From the Category selector, select a category
to display the corresponding embroidery data.
■
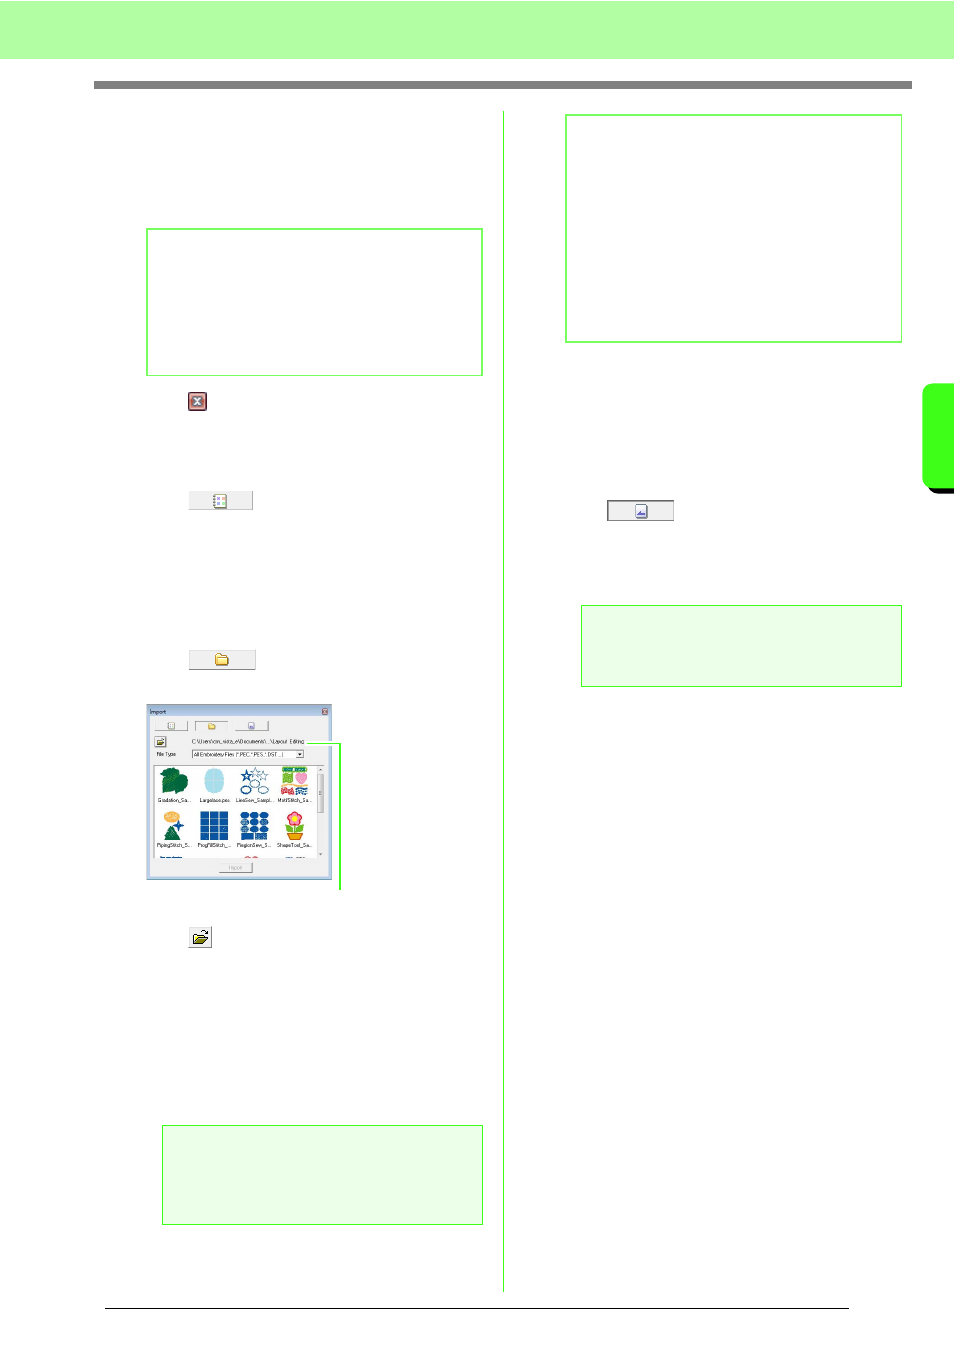
From a folder
1.
Click
to display the dialog box in
folder view mode.
2.
Click .
→ The Browse for folder dialog box
appears.
3.
Select a folder, and then click OK.
4.
From the File Type box, select a file name
extension to display the corresponding
embroidery data.
■
From an embroidery card
1.
Insert an embroidery card into the USB card
writer module.
c
Refer to “Transferring the design to an
original card” on page 17.
2.
Click .
→ After the card has been read, the dialog box
appears in card view mode, and the
embroidery designs on the card are displayed.
b
Memo:
• The design can be imported by dragging its
file icon from the Import dialog box to the
Design Page.
• Multiple files cannot be selected to be
imported at the same time.
a
Note:
When importing designs from other vendors,
be sure to choose a design that will fit in the
Design Page.
Indicates the path to the currently selected folder.
b
Memo:
Since .dst files do not contain thread color
information, the colors are temporarily
assigned when the design is imported into
Layout & Editing. Therefore, the colors of an
imported .dst file may not appear as expected.
You can change the thread colors using
functions in the Sewing Order/Lock dialog
box.
c
“Changing colors” on page 118.
a
Note:
Due to copyright issues, some embroidery
cards cannot be used with this function.