Changing the image settings, Changing the display of the background image, Changing the size, angle and position of the image – Brother PE-DESIGN 8 User Manual
Page 125: Arranging embroidery designs (layout & editing)
123
Arranging Embroidery Designs (Layout & Editing)
A
rr
a
ng
in
g Embr
oide
ry
D
e
s
igns
(
L
a
y
out
& E
d
iting)
Changing the Image Settings
Changing the display of the
background image
The image that remains in the work area can be
displayed or hidden, or a faded copy of the image
can be displayed.
1.
Click Image, then Display Image, and then
select the desired setting.
• To display the original image, click On (100%).
• To display a faded copy of the image, click the
desired density (75%, 50% or 25%).
• To hide the original image, click Off.
Changing the size, angle
and position of the image
The size, angle and position of the image can be
adjusted.
1.
Click Image, then Modify.
→ A red line and handles appear around the
image.
Moving an image:
1.
Move the pointer over the image.
2.
Drag the image to the desired location.
Scaling an image:
1.
Move the pointer over one of the handles.
2.
Drag the handle to adjust the image to the
desired size.
Rotating an image:
An image can be rotated in 90-degree increments.
1.
Click Image, then Rotate. Select 90 Degrees
Clockwise or 90 Degrees
Counterclockwise.
→ The image is rotated in the specified
direction.
Deleting an image:
1.
Press the
key, or click Edit, then
Delete.
→ The image will be deleted from the Design
Page.
b
Memo:
Press the shortcut key (
) to switch
between displaying the image (On (100%)) to
displaying it faded at each density (75%, 50%
and 25%) to hiding the image (Off).
b
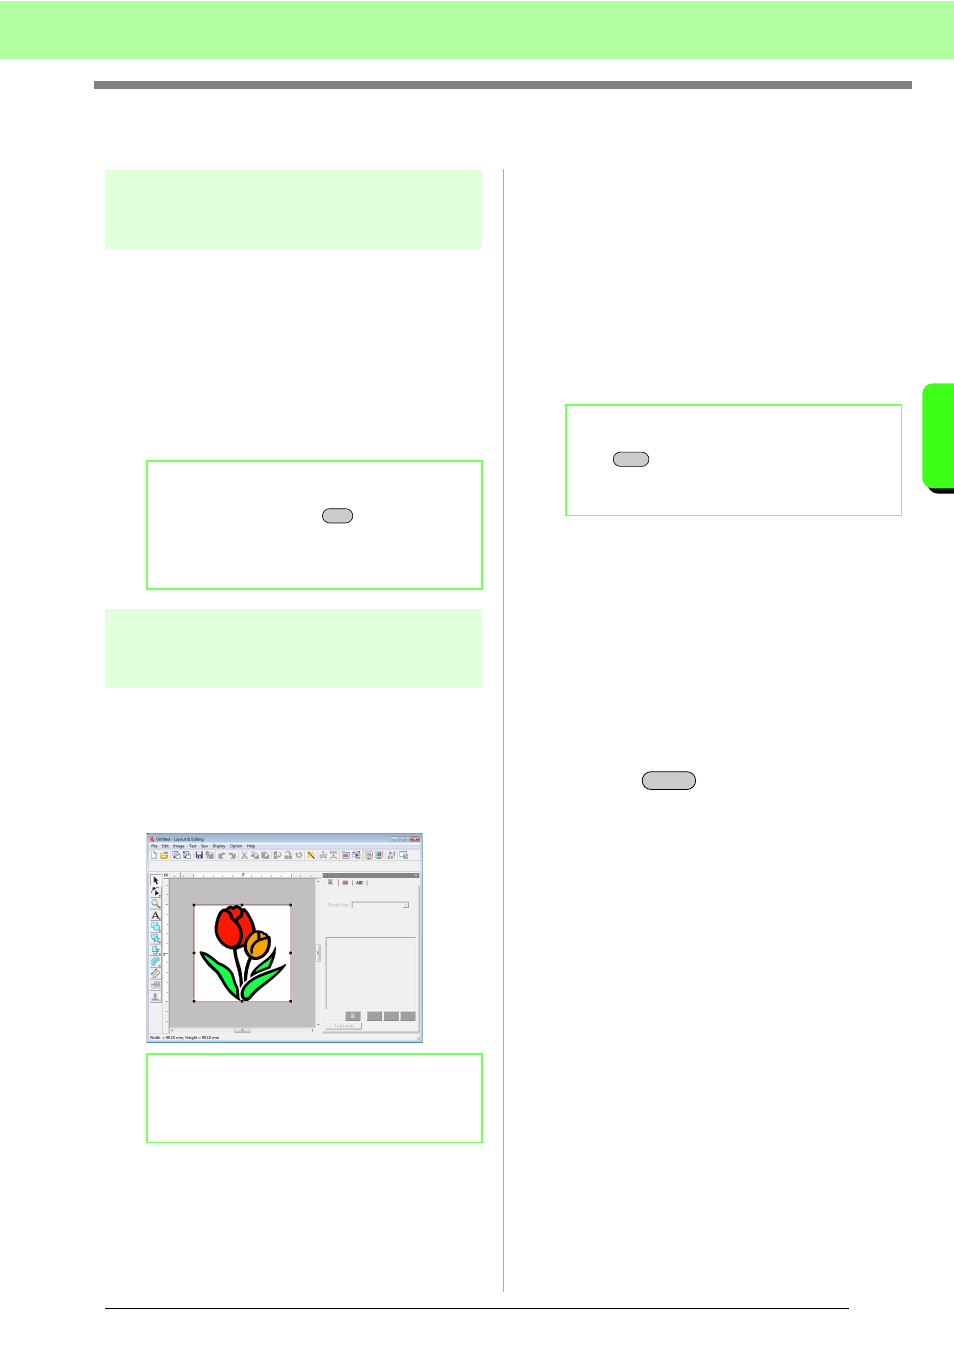
Memo:
The status bar shows the dimensions (width
and height) of the image.
F6
b
Memo:
If the
key is held down while a handle is
dragged, the image is enlarged or reduced
from the center of the image.
Shift
Delete