Configuring the puf instrument, Testing the rs232 connection, 2 how to set-up a usb connection – Dwyer Series PUF User Manual
Page 38: 3 working with portagraph iii, Paragraph 3.7.2, Operating procedures
3: Operating Procedures
34
Configuring the PUF instrument
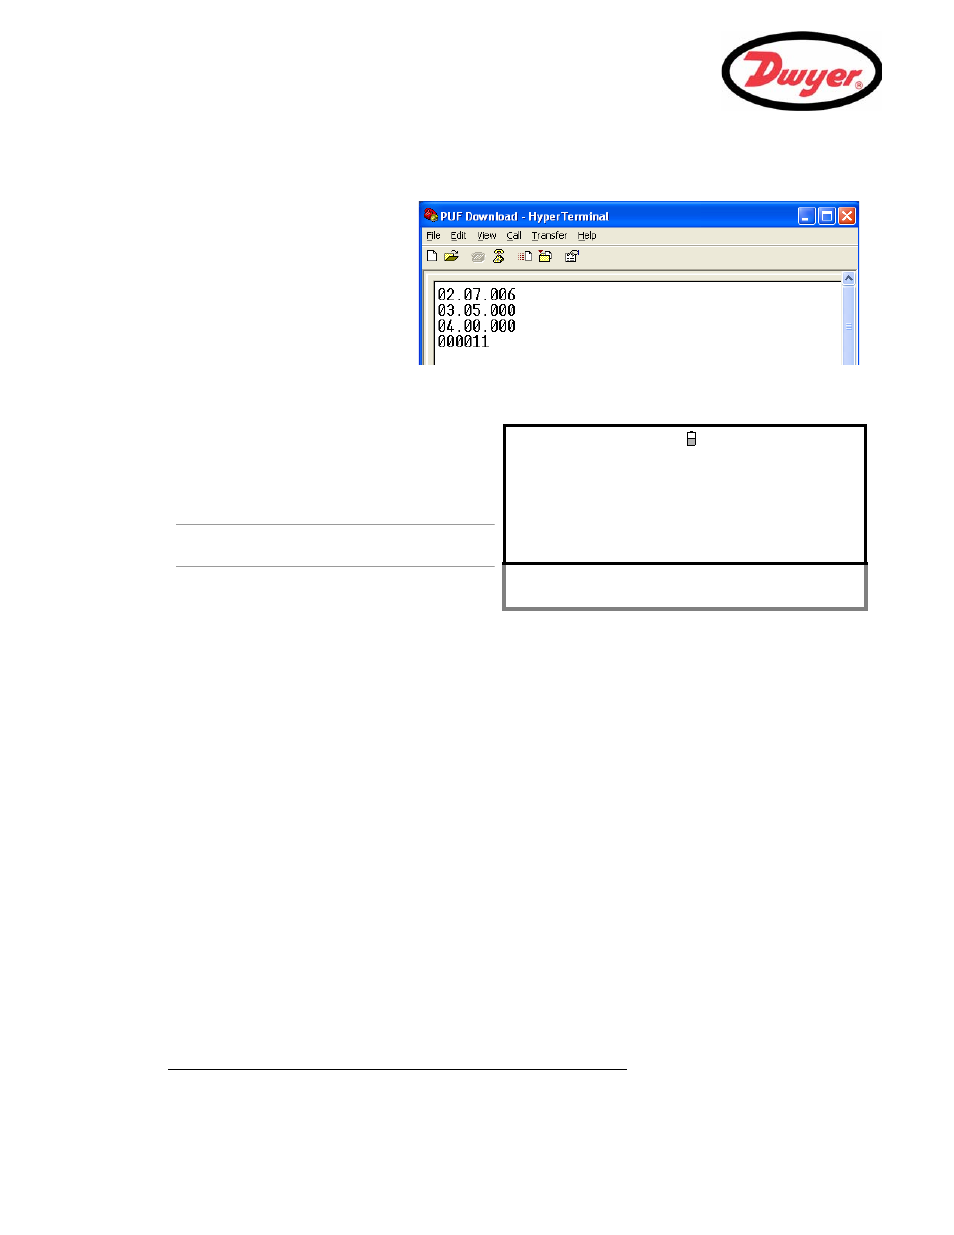
Testing the RS232 connection
11. Ensure the PUF is connected to the PC’s serial port using the cable provided.
12. In the
SETUP RS232/USB screen select Printer test.
13. The PUF’s serial number should now appear in the HyperTerminal window – see Figure 3.1 on Page 40.
This proves that the link is working.
3.7.2 How to set-up a USB connection
In order to use a USB connection, you must first install the special USB driver as detailed in Paragraph 2.3. This
will set up a virtual port through which the PUF can communicate.
When you make the connection with the computer use the same technique as described above for setting up an
RS232 communications session through HyperTerminal. But in this case when you are asked to select a Com
Port, choose the virtual port set up by the driver installation.
Once this is done, provided the PUF and computer communications protocols are set to the same values
(Handshaking, Start bits, Stop bits, Parity etc), the two devices should be able to communicate in the same
manner as described for the RS232.
3.7.3 Working With Portagraph III
Dwyer supplies the ‘Portagraph III Downloading and Graphing’ software to make it easy for the user to download
logged data to a PC. Once downloaded, the logged data can be analyzed using the Portagraph III graphing
capability, or exported to Microsoft® Excel® for more detailed graphing and analysis. The software application
connects to the PUF instrument via the RS232 or USB serial interface.
For full details of Portagraph III operation, refer to the Portagraph III User Manual.
Microsoft® and Excel® is a registered trademark of Microsoft Corporation.
7.
The main HyperTerminal
window will now become active
(note the connection name now
shown in the title bar).
8.
Leave this window open while
you configure the PUF’s RS232
parameters.
9.
Select
Setup RS232 / USB from the MAIN
MENU. This will access the SETUP RS232/USB
screen shown here.
10. Set the RS232 parameters as shown opposite.
Note: The selected Baud Rate must also be
available on the receiving terminal.
SETUP RS232 / USB
DD-MM-YY HH:MM:SS
Qxx.xx%
Handshaking : None
Baud Rate : 38400
Data Bits : 8
Stop Bits : 2
Parity : None
New line : CR+LF
Printer test :
Exit