Operating procedures – Dwyer Series PUF User Manual
Page 33
3: Operating Procedures
29
.
a)
Stop: The default state, and when the memory is full any active logging will stop.
b)
Overwrite: Allows logging to continue after the memory is full by erasing the oldest sample and
replacing it with the latest.
Note: The three options below must be selected before the times and dates are entered in
Start Time
and Date and Stop Time and Date.
c)
Daily: Activates logging for part of each day as defined by the Start Time and Stop time. When
selected, and the logging is started via the
Set Auto start option, the flow value will be logged each
day between the times specified. The
Stop Time must be later than the Start Time. The data will be
accumulated into a single file.
d)
Weekly: This is similar to Daily in that the active logging period is defined by the Start Time and
Stop Time. The difference is that with Weekly the logging occurs every 7 days, with the start day being
defined by the selected
Start Date.
e)
Monthly: This is similar to Daily in that the active logging period is defined by the Start Time and
Stop Time. The difference is that with Monthly the data is logged on the day of the month specified in
the
Start Date. If this is set to 29, 30 or 31, and the current month does not have this number of days,
logging will occur on the last day of the month.
Note: if you select to clear all logs you will lose all the currently held log data.
2.
Press the
Logger function key to access the
REAL TIME LOGGER screen.
3.
Select
Log data to and choose Memory. This
will store the log to the internal memory.
4.
Select
Logging interval and enter the
required period.
5.
Select
Start date & time and enter the date
and time you wish logging to commence. Note
this must be in the future.
Note: If the log is not empty then a warning
screen will be displayed, and when a key is
pressed the menu will be displayed with the
cursor at the
Clear Log item. The log must be
cleared before new times can be entered.
6.
Select
Stop date & time and enter the date
and time you wish logging to cease. Note this
must be later than the start time.
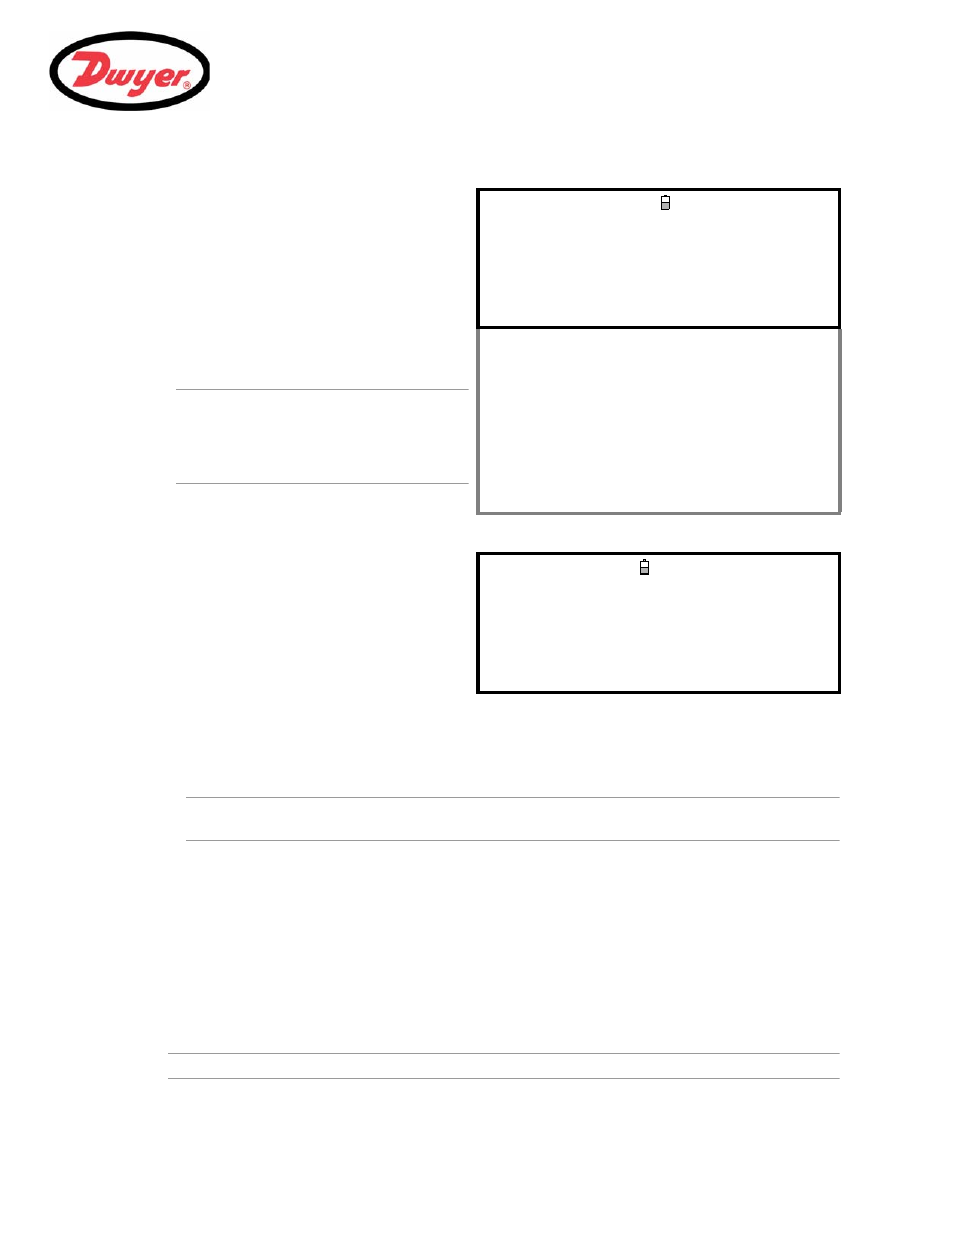
REAL TIME LOGGER
DD-MM-YY HH:MM:SS
4-20mA O/P is ON. Qxx.xx%
Unit : gal/min
Log name : Quickstart
Log data to : Memory
Logging interval : 10 seconds
Start date & time : dd-mm-yy hh:mm:ss
Stop date & time : dd-mm-yy hh:mm:ss
MM DD HH MM SS
Remaining time : mm dd hh mm ss
Sleep Mode : Off
Extended Intervals : Stop
Graph Y axis max. : 50
View log as text
View log as graph
START NOW
Set Auto start
Clear log
Exit
7.
If the instrument is to be left unattended for a
long logging period, it could possibly fill the log
memory.
To determine how the instrument should react in
such circumstances, select
Extended
Intervals from the REAL TIME LOGGER
screen and select the required option from the
EXTENDED INTERVALS screen as described
below:
EXTENDED INTERVALS
DD-MM-YY HH:MM:SS
Qxx.xx%
Stop
Overwrite
Daily
Weekly
Monthly