12 light clock setup, 1 light clock details – Hired-Hand Evolution Series 1200 User Manual
Page 38
Part No. 4801-5331 Rev 2-08
Evolution 1200
38 of 64
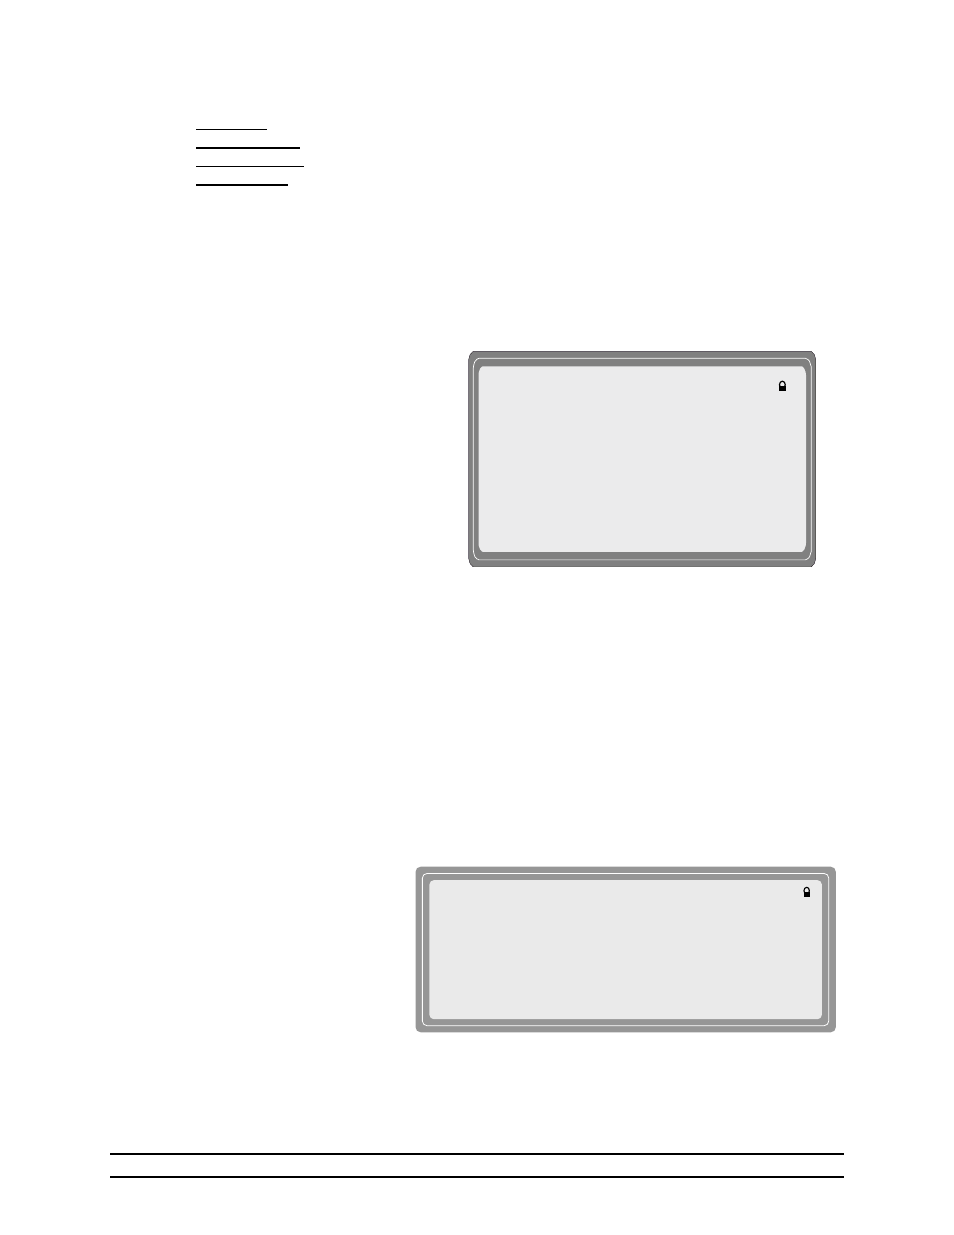
(1)Light Schedule: 4
(2)Start Day = 22
(3)Number of On/Off Cycles = 4
(4)CYCLE (5)START (6)RUNTIME (7)INTENSITY (8)RAMP
1
12:00a 2:00 75% 0:10
2
10:00a 2:00 100% 0:10
3
5:00p 2:00 100% 0:10
4
10:00p 2:00 100% 0:10
**LIGHT CLOCK SETUP**
(1)Feed Cycle Light Override = No
(2)Feed Cycle Light Intensity = 25%
(3)Growout Schedules used by Ramp 1-4
(4)SCHEDULE (5)START DAY
1
1
2
17
3
19
4
22
5
25
Every Day – No days skipped.
Odd Days Only – Runs the feed cycles ONLY on the ODD growout days (1, 3, 5, 7, etc.).
Even Days Only – Runs the feed cycles ONLY on the EVEN growout days (2, 4, 6, 8, etc.).
Selected Days – Runs the feed cycles only on the selected days chosen in item 5.
(5) Choose Days – Select the specific days for operation. Used only when Days In Operation item 4 is set
to “Selected Days”.
(6) Cycle – This identifies the feed cycle.
(7) Start – Enter the start time in hours and minutes of the feed schedule cycle.
(8) Runtime – Enter the length of time in hours and minutes for the feeding cycle.
7.12 Light Clock Setup
The Light Clock Setup establishes the parameters necessary to enable automatic control of the house lights.
On each Schedule you will need to program a
start day of when you want the control to
start using this schedule. Then you will need
to set the number of on/off cycles. This is
how many times the light clock needs to
come on in a 24-hour period. You are
allowed 10 on/off cycles. Then you set the
start time of each cycle and how long that
cycle needs to run. When you are using a
variable speed stage for the lights you are
allowed to set the intensity and ramp. The
intensity is the level you want the lights to be
on when your cycle comes on. The ramp
allows the light ramp up and down from off to the intensity you have set. The ramp applies at the
beginning and the ending of the light cycle.
(1) Feed Cycle Light Override - Turns the lights to a set intensity while running the feed program.
(2) Feed Cycle Light Intensity – Set the light intensity percentage to occur during the feed cycle.
(3) Growout Schedules used by Ramp 1-1- Set the number of schedules from one up to five. The next
schedule will start after you have reached the growout day that your schedule starts on.
(4) Schedule – The schedule number will automatically be set by Evolution. After the number of
Schedules have been set you will need to setup each schedule.
(5) Start Day –The starting day of each schedule.
7.12.1 Light Clock Details
Select the individual cycle in the Light Clock Details screen and enter the start day time that lighting is to
begin and the length and intensity of the lighting period. This screen is also available from the Target
Conditions screen as described in Section 6.2.
(1) Light Schedule – The selected schedule.
(2) Start Day – Set to the growout
day to start program.
(3) Number of On/Off Cycles –
Enter the number of On/Off
cycles desired (up to ten).
(4) Cycle –The selected cycle
within the schedule.
(5) Start – The start time of the
lighting cycle.
(6) Runtime- The runtime of the
lighting cycle. (hours : minutes)
(7) Intensity –Set the intensity of the lights from 0% to 100%. (For use with variable units only).
(8) Ramp – If it is desired to ramp the lights, that is to slowly turn the lights on and off, enter the time
period (hours:minutes) over which to turn the lights on and off (For use with variable units).