3 sata drive connection – IEI Integration PICOe-GM45A User Manual
Page 98
PICOe-GM45A Half-Size CPU Card
Page 98
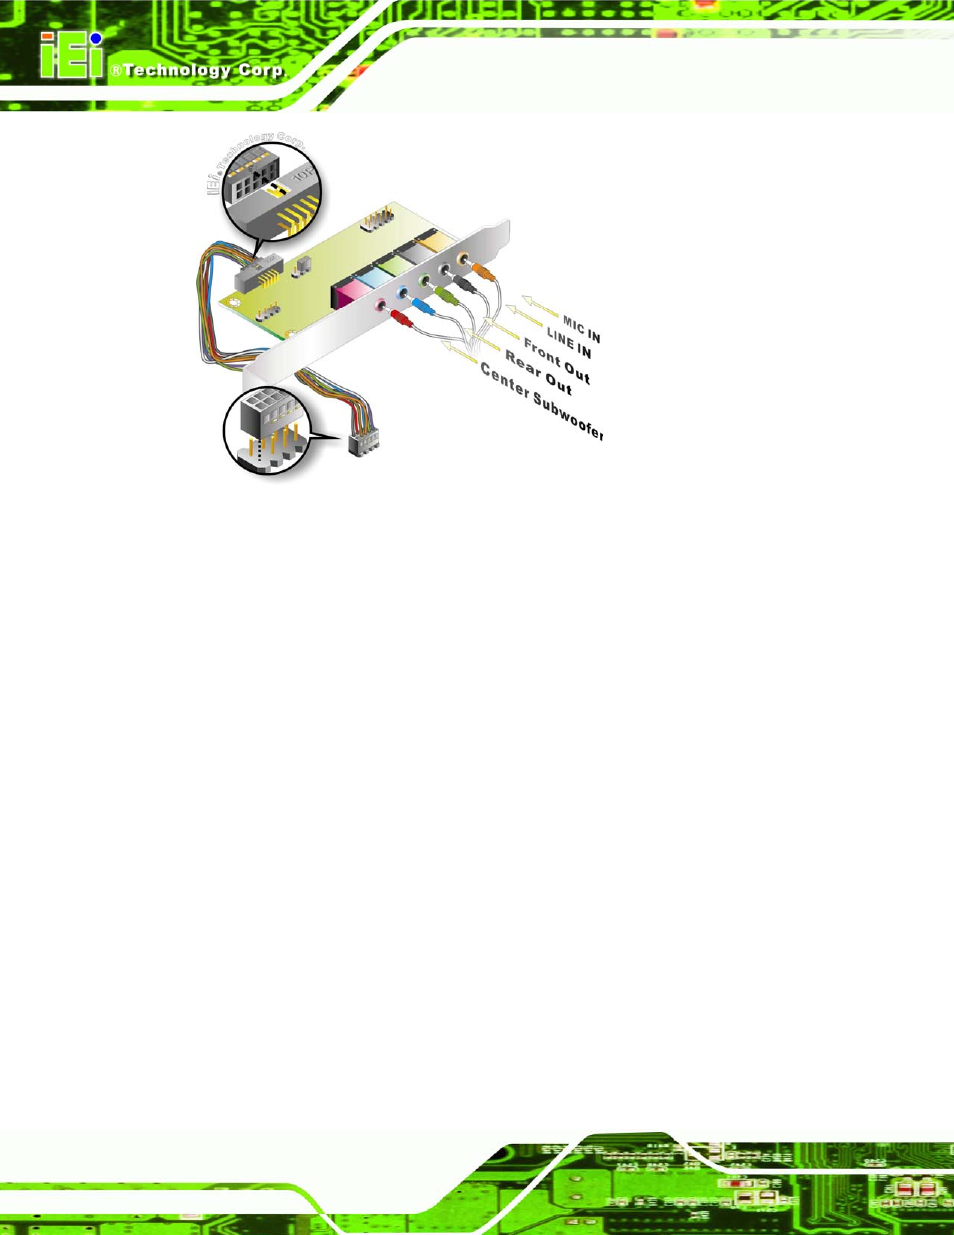
Figure 5-11: 7.1 Channel Audio Kit
Step 4:
Mount the audio kit onto the chassis. Once the audio kit is connected to the
PICOe-GM45A, secure the audio kit bracket to the system chassis.
Step 5:
Connect the audio devices. Connect one speaker to the line-in audio jack, one
speaker to the line-out audio jack and a microphone to the mic-in audio jack.
Step 6:
Install the driver. If the 7.1 channel audio kit is used, the ALC883 Realtek
codec driver must be installed. Refer to Chapter 7 for driver installation
instructions.
Step 0:
5.7.3 SATA Drive Connection
The PICOe-GM45A is shipped with two SATA drive cables and one SATA drive power
cable. To connect the SATA drives to the connectors, please follow the steps below.
Step 1:
Locate the connectors. The locations of the SATA drive connectors are shown
in Chapter 3.
Step 2:
Insert the cable connector. Press the clip on the connector at the end of the
SATA cable and insert the cable connector into the onboard SATA drive