Change sheath quick-disconnect o-rings – Luminex 200 User Manual with LDS 1.7 Software User Manual
Page 96
Luminex 200 User Manual for LDS Version 1.7
x
MAP Technology
7 - 8
PN 89-00002-00-150 Rev. A
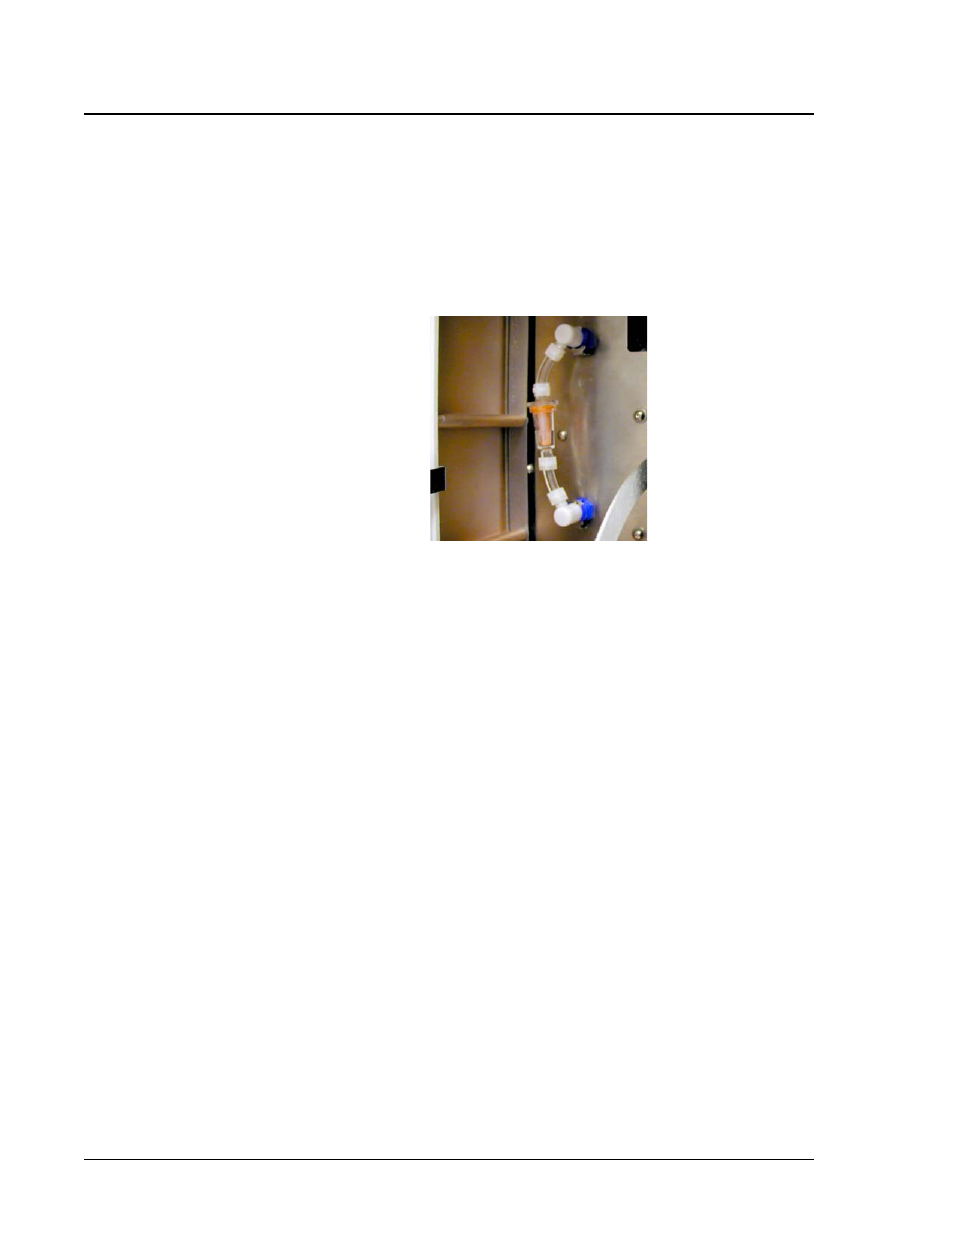
3. Connect the new sheath filter, matching up the color-coded
fittings. The arrow on the sheath filter should point up.
4. Reconnect the sheath fluid bottle.
5. Prime the instrument 5 times to remove any air introduced into
the system.
Figure 7-4. Sheath Fluid Filter
Change Sheath
Quick-disconnect
O-rings
Change the sheath quick-disconnect o-rings as necessary.
1. Turn off the Luminex analyzer at the power switch.
2. Remove the quick-disconnect fitting that has the faulty o-ring.
3. Use a small flat-head screwdriver to remove the worn out o-ring.
4. Place the new o-ring over the tip of a pair of closed needle-nose
pliers.
5. Gently separate the tips of the pliers to stretch the o-ring just
enough to fit it over the top of the quick-disconnect.
6. Slide the o-ring over the quick disconnect, then remove the
pliers.