Data collection, Status bar – Luminex 200 User Manual with LDS 1.7 Software User Manual
Page 82
Luminex 200 User Manual for LDS Version 1.7
x
MAP Technology
6 - 24
PN 89-00002-00-150 Rev. A
The system monitor section also shows information about
temperature, pressure, voltage, and events. Air pressure generally
runs a little higher than sheath pressure. It is normal to see a drop in
pressure if several minutes elapse between sample runs. Information
in the calibration box of the systems monitor, which appears when no
session is open, is shown for the last successful calibration. Normal
readings for these parameters are shown in the table below. If post-
stabilization readings deviate from normal readings, call Luminex for
technical support.
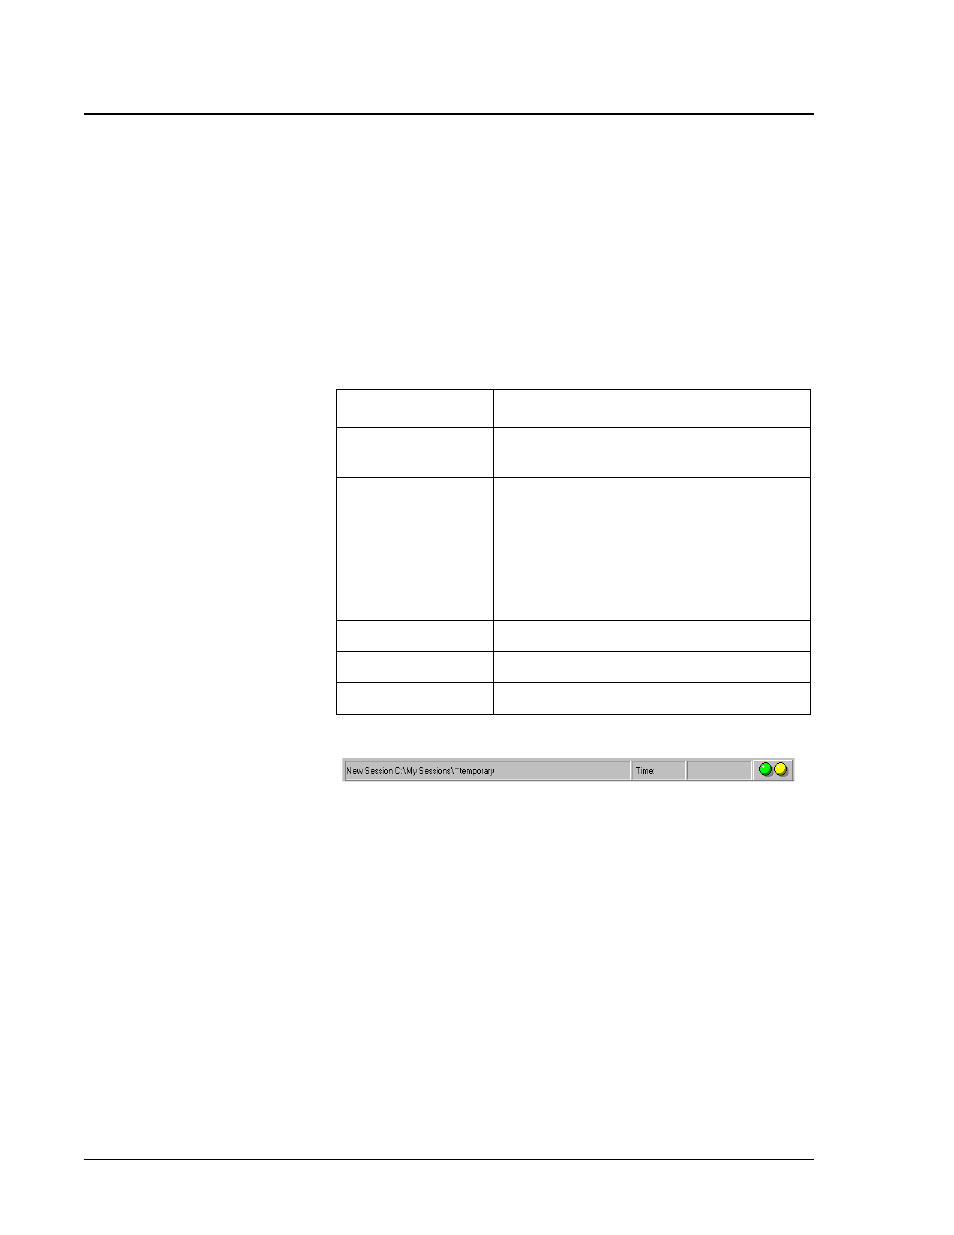
Status Bar
Figure 6-29. Status Bar
This section displays the acquisition time and status. It also lists the
session’s file path.
Data Collection
To collect data:
1. Make sure the analyzer has been warmed up and calibrated. See
the calibration section beginning on page 5-2 for more
information about calibration. Your startup routine may also
include priming, flushing with alcohol, and washing.
2. Create a session. See page 6-5 for more information.
3. Make any changes needed to the session settings.
4. Prepare your assay samples.
Parameter
Normal reading
DD Temp
Between ambient temperature and 5°C
above ambient temperature
d Cal Temp (delta
calibration
temperature, how
far away the current
temperature is from
the temperature of
the last calibration)
0 ± 3°C
Note:
If the d Cal Temp falls outside this
range, recalibrate the analyzer.
Air Pressure
6 - 9 psi after system stabilization
Sheath Pressure
6 - 9 psi after system stabilization
Hi Voltage
200 ± 20 during acquisition, 10 while idle
Note:
For optimal sampling
efficiency and to reduce matrix
effects, concentrated biological
fluids such as serum or plasma
should be diluted at least 1:5.