Gf100 series – Brooks Instrument GF126 User Manual
Page 29
2-9
GF100 Series
Installation and Operation Manual
X-TMF-GF100-Series-MFC-eng
Part Number: 541B137AAG
March, 2013
Section 2 Installation
2-15 Zeroing the GF100 Series
Many high density gases exhibit slight changes in zero output as a function
of inlet pressure. Gases such as tungsten hexafluoride and many
fluorocarbons are especially sensitive to this problem. Since inlet pressure
is a potential source for zero errors, the pressure transducer on each
GF100 Series should be correctly set to zero after installation. The zeroing
process is performed from the backlight LCD display on top of the GF100
Series.
OEM tools using a microprocessor or computer for operating the GF100
Series should sequence the GF100 Series off between processes. To
accomplish this, simply provide a zero set point. The GF100 Series will shut
off automatically.
Shut-off valves, whether upstream or downstream from the GF100 Series,
should be programmed to turn on before the GF100 Series is turned on and
turned off after the GF100 Series is turned off.
2-15-1 Zeroing the GF100 Series Pressure Transducer from the LCD Display Panel
1. Place the GF100 Series under a strong vacuum with the GF100
Series set to 100% set point. Make sure that upstream valve is
closed and the downstream valve is open. Allow time for the
upstream pressure to bleed off.
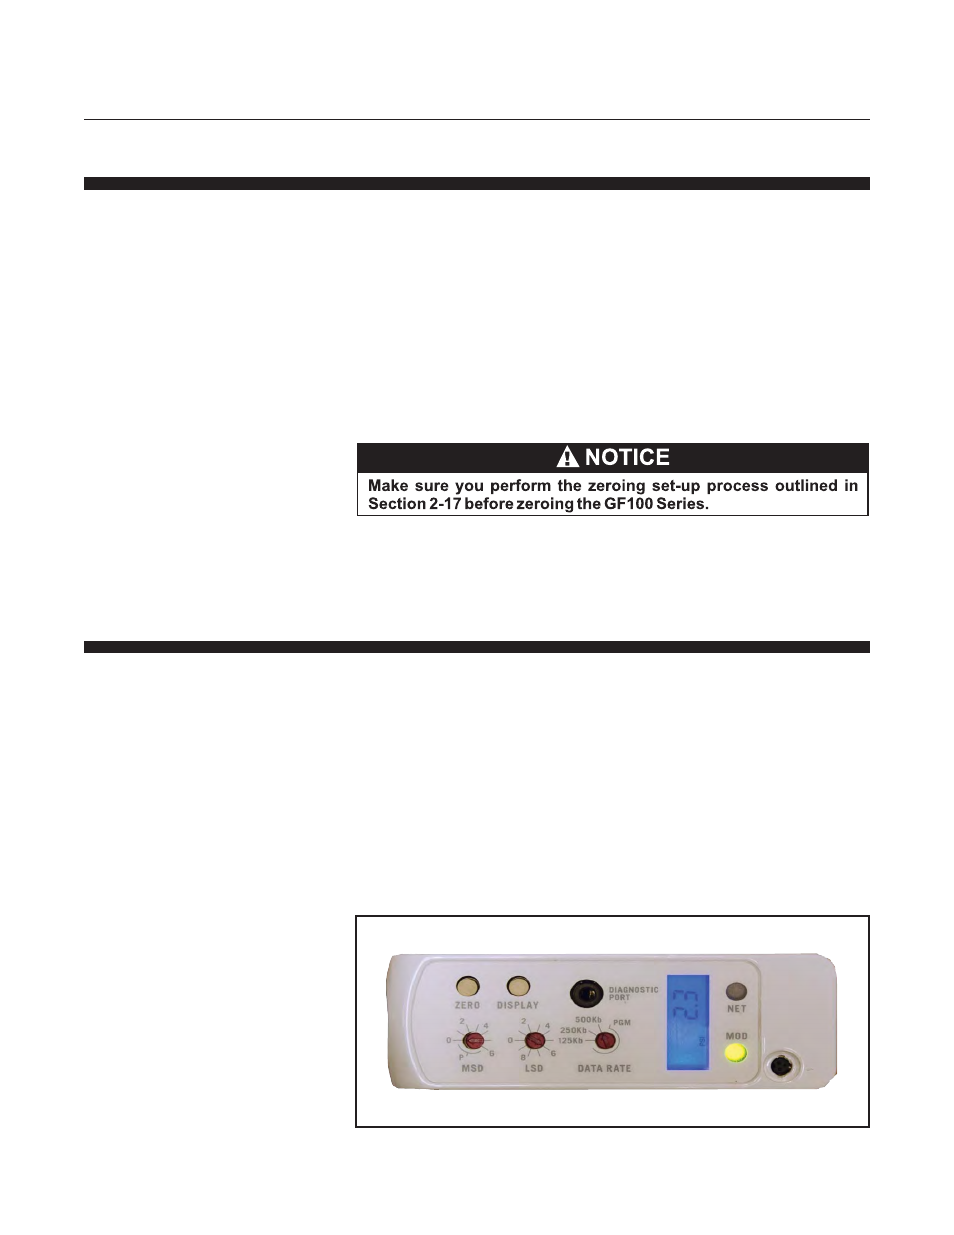
2. Looking at the top of the GF100 Series, press the "Display" button,
starting at the MACID, four times to "PSI" or five times to "kPa" or until
the LCD displays the labels "PSI" or "kPa". The GF100 Series will
display pressure in units of PSIA or kPa. Press and hold down the Zero
button a minimum of 5 seconds or until the display reads 0.000, with the
last two digits flickering at different values. The pressure transducer
zeroing procedure can be done while the display is either in PSIA or
kPA output. Refer to Figure 2-6.
Figure 2-6 Display with PSI Reading