Removing and replacing cards, Removing and replacing cards -9 – Paradyne Jetstream CPX-1000 User Manual
Page 123
February 2003
5-9
1000-A2-GN22-00
5. Repair Procedures
Removing and
Replacing Cards
To remove and replace cards:
Step 1
Remove the inter-module cables, as necessary.
Step 2
Put on an anti-static wrist strap, and plug the other end of that
strap into the ESD ground jack in front (or back) of the CPX.
Step 3
Use a Phillips screwdriver to loosen the top and bottom captive
screws on the front panel of the module.
Step 4
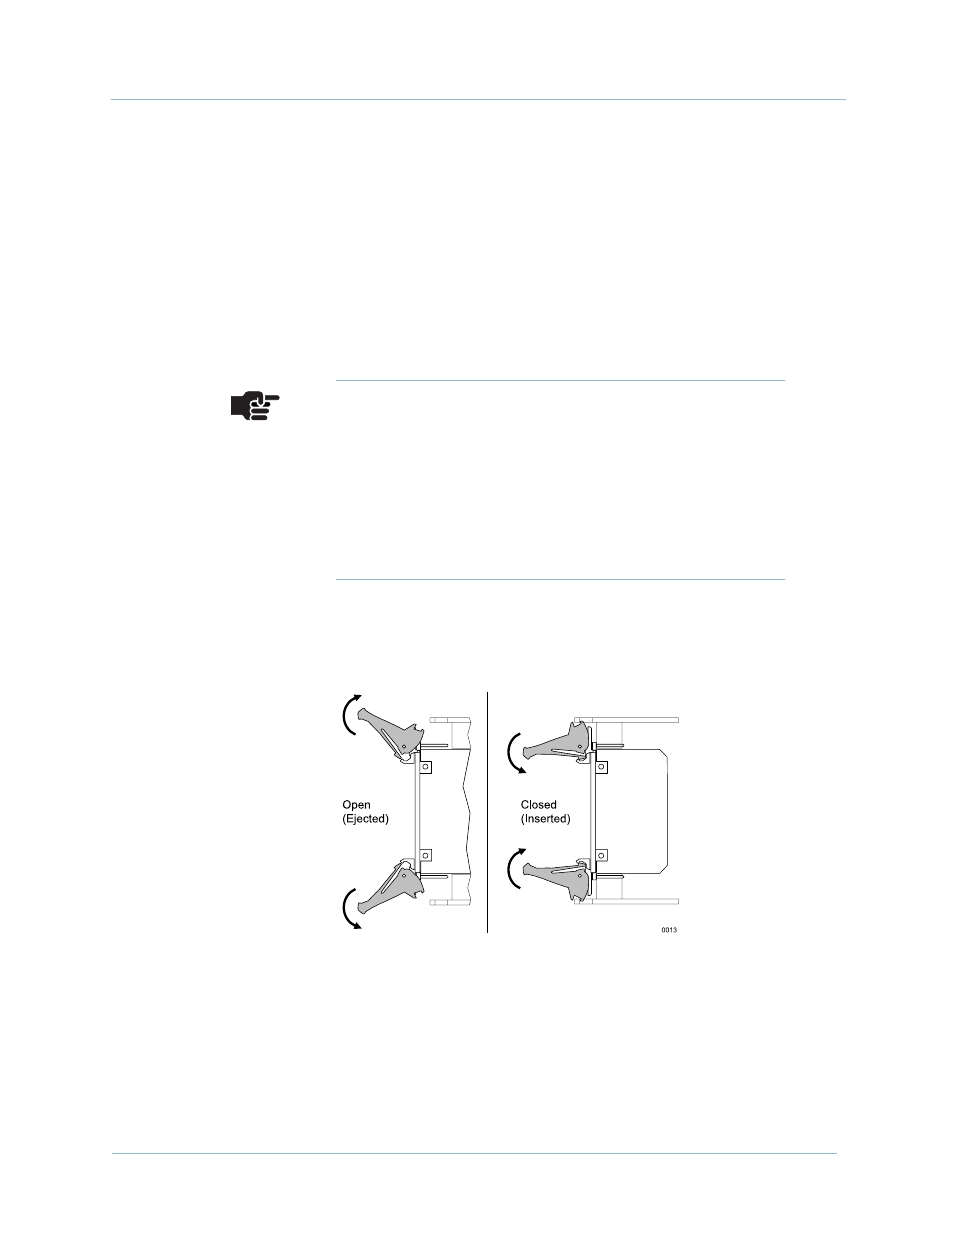
Flip the card ejectors (
) and wait for the Hot Swap light
(the blue laser at the bottom of some cards).
Figure 5–4. Module Extractors
Step 5
Remove the line (front) card.
Step 6
Remove the transition (rear) card.
Step 7
Insert the new cards: transition card first then the line card.
Notes
Replacing cards in the wrong order causes card damage.
To remove a CP card, remove the CP card first, followed
by the HSC card. Then insert them in the reverse
order—HSC first, then the CP.
To remove MP and line cards, remove the front card
first, then its corresponding transition card. Insert cards
in reverse order—transition cards first, then front cards.