Creating an rppr pattern, Creating rppr data, Creating an rppr pattern creating rppr data – KORG Krome music workstasion 61key User Manual
Page 75
Creating an RPPR pattern Creating RPPR data
71
Creating an RPPR pattern
RPPR stands for Realtime Pattern Play/Recording, and
is a function that lets you assign pattern data to each
key, and then play back that pattern simply by pressing
the key where it is assigned. You can realtime‐record
this performance.
Creating RPPR data
1. Create a new song, and choose a drum program for
track 1.
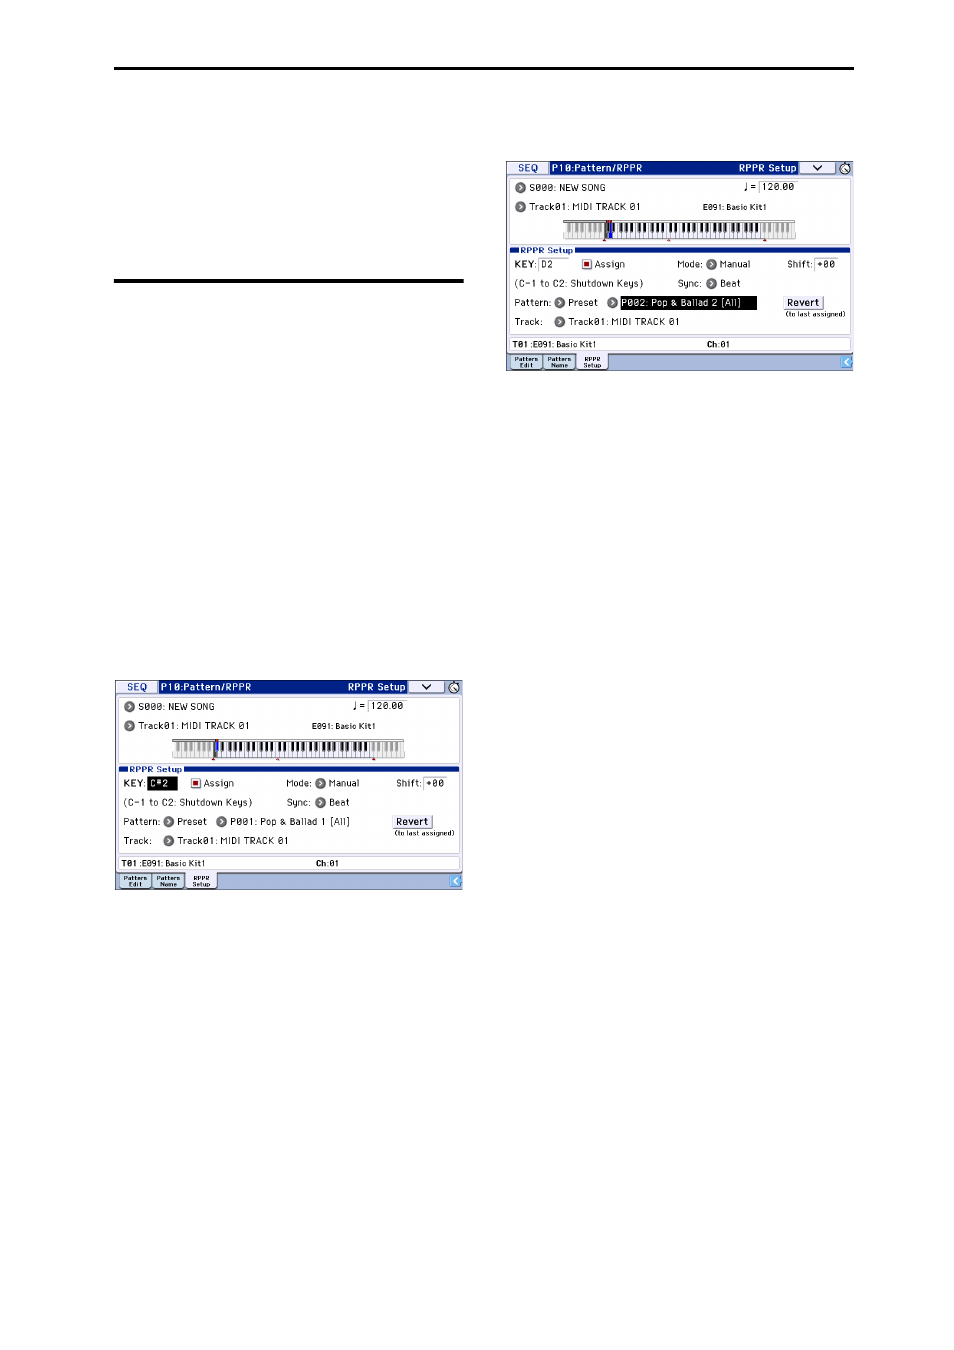
2. Access the P10: Pattern/RPPR– RPPR Setup page.
In this page, the RPPR function is automatically
turned on.
3. Select the key where the pattern will be assigned.
4. Select C#2.
You can also change this setting by holding down the
KEY edit cell and playing a note on the keyboard.
Note: C2 and lower keys are used to stop playback,
and cannot be assigned patterns.
5. Check “Assign” for C#2.
6. Set “Pattern Bank” to Preset, and set “Pattern
Select” to P001.
7. Set “Track” to Track01.
The selected pattern will be played according to the
settings (program, etc.) of the track you select here.
8. Assign patterns to other keys.
For “KEY,” press the INC button to select D2.
9. Press the Revert button.
The Assign, Pattern Bank, Pattern Select, and Track
settings will be given the previously (steps 5–7)
specified values.
10. Choose “Pattern Select,” and press the INC
button to select P002.
By using Revert in this way, you can work efficiently
when assigning contiguous (or nearby) pattern
numbers or tracks.
• As described above, assign several other patterns
such as P003 and higher.
11. Press the C#2 key.
The assigned pattern will play.
12. Take your finger off the C#2 key, and press the D2
key.
The pattern will change, and playback will begin. At
this time, the pattern operation will depend on the
Sync and Mode setting.
13. Set KEY to C#2, and set Sync to Measure. Make
the same setting for D2.
Now press the notes consecutively. Notice that the
patterns function in a different way.
With the Measure setting, patterns will be handled in
one‐measure units. The second and subsequent
patterns will start in sync with the end of pattern that
was previously played.
If you change the Mode setting to Once, the entire
pattern will playback to the end even if you release
your finger from the keyboard immediately.
• To stop playback, either press the same key once
again, or press the C2 or lower key.
For details on Sync, Mode, and Shift, please see
page 158 of the Parameter Guide.
• The assigned keys are also shown in the keyboard
graphic in the display.
• Keys where no patterns are assigned can be played
normally. Use Track Select to select the track you
want to play. For example you could assign backing
patterns for drums or bass to keys C#2–B2 and use
these keys to control the pattern playback, while
using the keys C3 and above to play a solo
performance in realtime. It’s a good idea to keep
your RPPR assignments within a specific range of
keys.