Using template songs – KORG Krome music workstasion 61key User Manual
Page 62
Creating songs (Sequencer mode)
58
controllers, you will be playing and controlling the
track selected by Track Select.
EXT, EX2, BTH: During playback, the MIDI data
recorded on that track will be transmitted from MIDI
OUT to play an external sound module. When you use
the KROME’s keyboard or controllers, MIDI data will
be transmitted to play and control the external sound
module selected by Track Select. (The MIDI channel of
the external tone generator must be set to match the
MIDI Channel of KROME tracks that are set to EXT,
EX2 or BTH.)
If Status is set to BTH, both the external tone generator
and internal tone generator will be played and
controlled.
• Use MIDI Channel to specify the MIDI channel for
each track.
Normally you will set the MIDI Channel to a
different channel: 1–16 for each track. Tracks that
are set to the same MIDI channel will sound
simultaneously when you record or play back
either of the tracks.
5. Adjust the effect settings.
Adjust settings for each effect in P8: Routing/IFX and
P9: MFX/TFX/LFO.
For details, please see “Using effects in Combinations
and Songs” on page 81.
6. Set the tempo and time signature.
• To set the tempo, you can turn the TEMPO knob or
press the TAP button at the desired interval.
Alternatively, you can select (Tempo) in the P0:
Play/REC– Program T01–08 page (or similar page),
and use the VALUE controllers to set the tempo. Set
Tempo Mode to Manual.
• Next you will set the time signature. In this
example, we’ll explain how to set the time signature
using the “Meter” field. Normally, you specify the
time signature before recording the first track, and
then begin recording.
a) Press the SEQUENCER REC (
●) button, and set “Meter”
to **/**.
b) Press **/** to highlight it, and use the VALUE controllers
to set the time signature.
c) Press the START/STOP (
) button to begin
recording. When the pre‐count has ended and Locate
reaches 001:01:000, press the START/STOP (
)
button to stop recording. The time signature you
specified has now been recorded on the Master track.
If you press the START/STOP (
) button during the
pre‐count, the time signature won’t be recorded.
7. Set the “REC Resolution” if necessary.
When you record in real time on a track, this parameter
specifies how the timing of the recorded MIDI data
will be corrected. The timing will also be corrected
when you record automation data in real tme on an
audio track. (Data that was already recorded will not
be corrected.)
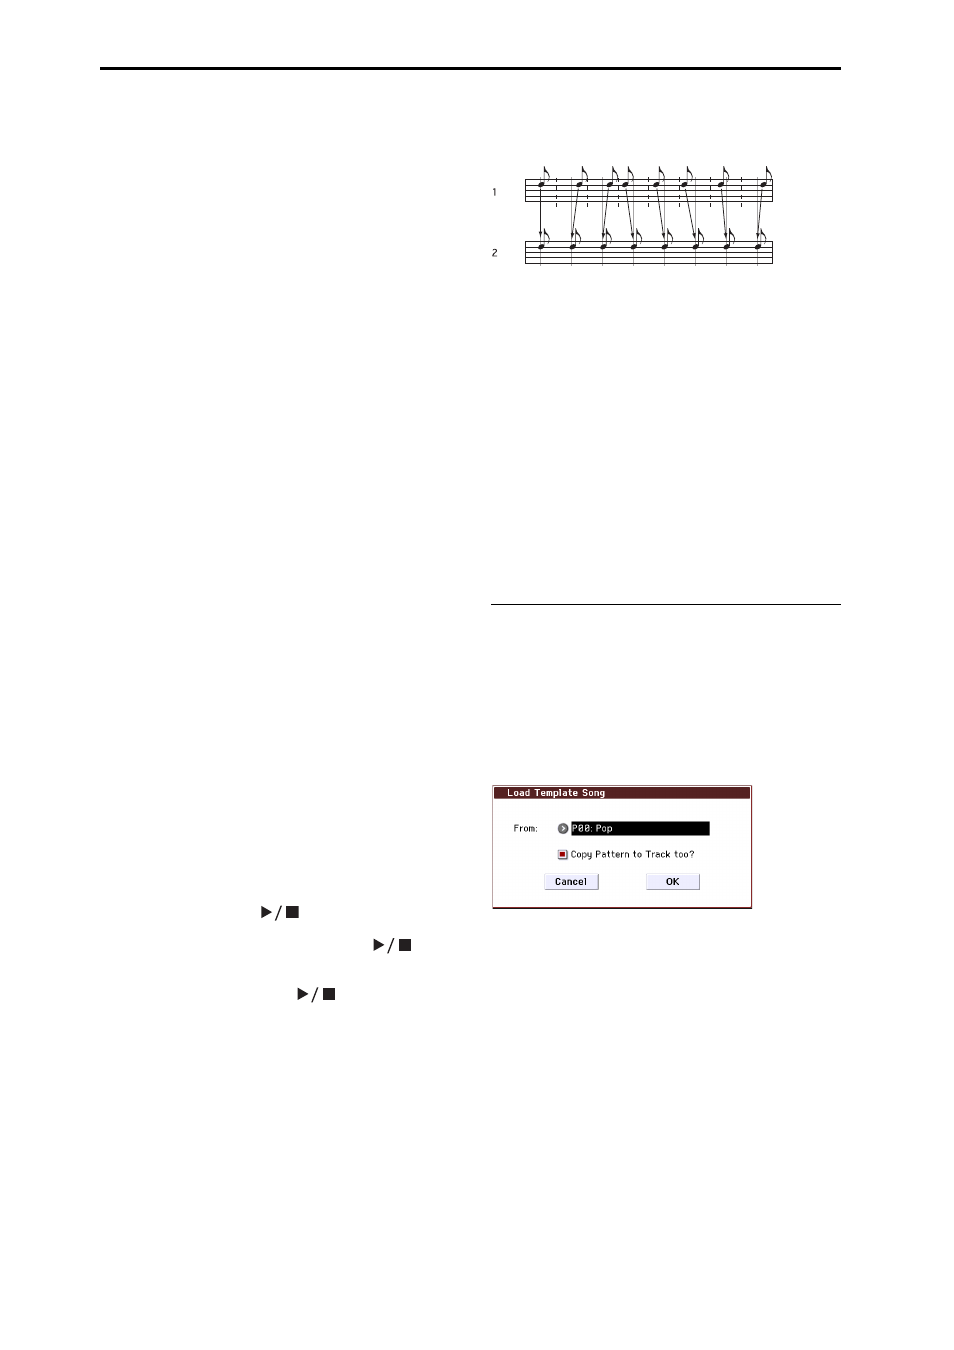
For example, let’s suppose that you recorded some
eighth notes in real time, but your timing was not quite
perfect, as shown in part 1 of the illustration below. If
REC Resolution were set to when you recorded, the
timing would automatically be corrected as shown in
part 2 of the illustration. If REC Resolution is set to Hi,
the notes will be recorded with the timing at which
you play them.
8. Make other settings as necessary.
You can adjust the settings for the arpeggiator (P7:
ARP/DT), MIDI filtering (P5: MIDI Filter), etc. (See
page 89)
You may also wish to use Tone Adjust to tweak the
sound. When you are finished making these settings,
the basic setup is complete.
Saving your song parameter settings
The song parameter settings you create here can be
saved as a template. If you use these settings
frequently, you can simply load one of the templates
you’ve saved.
For details, please see “Save Template Song (Save as
User Template Song)” on page 164 of the Parameter
Guide.
Using template songs
Loading a template song is an easy way to create
settings appropriate for a particular musical style. You
can also assign a drum pattern to a track at the same
time.
1. In the P0: Play/REC page, press the menu button
and choose “Load Template Song.”
A dialog box will appear.
2. In the “From” field, choose the template song you
want to load.
3. If you check “Copy Pattern to Track too?”, a dialog
box for copying a pattern will automatically
appear after you execute the “Load Template
Song” operation.
If you execute the command without checking this,
only the template song you selected in step 2 will be
loaded.
4. Press the OK button to load the template song, or
press the Cancel button if you decide to cancel.
When you perform this operation, song settings other
than track Loop and RPPR will be copied.
If you executed this operation with Copy Pattern to
Track too? checked in step 3, the Copy Pattern To
Track dialog box will appear.