Recording midi in real time, Recording setup – KORG Krome music workstasion 61key User Manual
Page 64
Creating songs (Sequencer mode)
60
Recording MIDI in real time
When you’ve finished with “Preparations for
recording,” you can start recording.
This is a method of recording what you’re playing on
the keyboard and your controller usage, in real time.
This method of recording is normally used one track at
a time, and is called single track recording.
As an alternative, multitrack recording allows you to
simultaneously record multiple channels of data onto
multiple tracks. This is the method you will use when
using the Drum Track function, the RPPR function, and
the arpeggiator to record multiple tracks of musical
data at once, or when you play back existing sequence
data on an external sequencer and record it onto
KROME’s sequencer in real time.
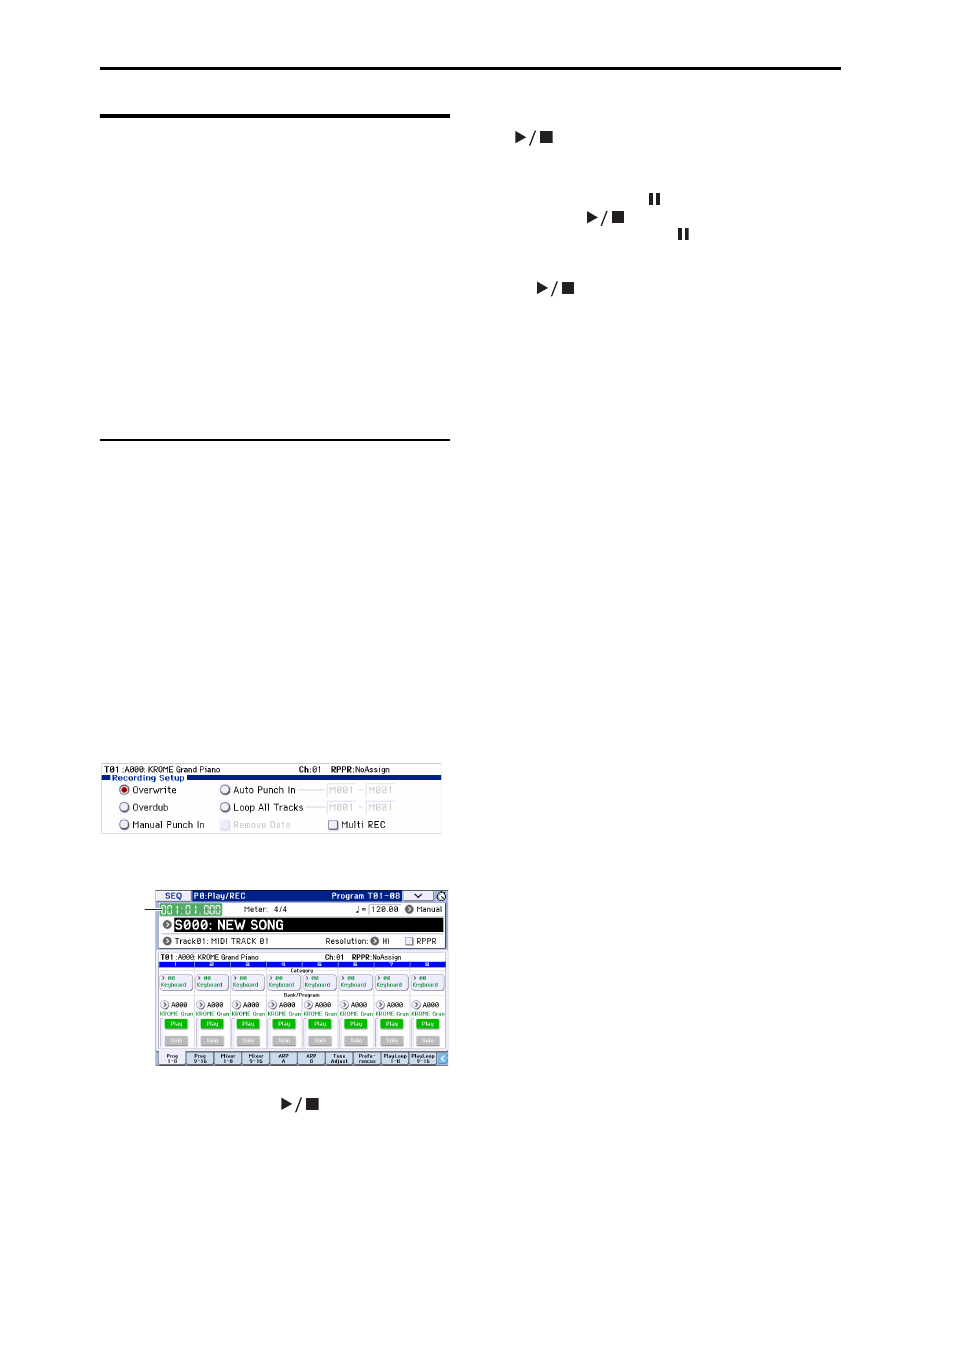
Recording setup
In P0: Play/REC– Preferences page Recording Setup,
select the realtime recording method you want to use.
Overwrite
By default, this recording method is selected.
This will record your performance by overwriting any
previously recorded data. All data following the
measure where you start recording will be erased.
Normally you will use this method to record, and then
modify the results by using other types of real‐time
recording or MIDI event editing.
1. Use Track Select to choose the track that you want
to record.
2. Set the Recording Setup to Overwrite.
3. In “Location,” specify the location where you wish
to begin recording.
4. Press the SEQUENCER REC (
●) button, and then
press the START/STOP (
) button.
If the Metronome Setup is still set to the default
settings, the metronome will sound for a two‐measure
pre‐count, and then recording will begin.
Play the keyboard and move controllers such as the
joystick to record your performance.
5. When you finish playing, press the START/STOP
(
) button.
Recording will end, and the location will return to the
point where you begin recording.
If you press the PAUSE ( ) button instead of the
START/STOP (
) button, recording will pause.
When you press the PAUSE ( ) button once again,
recording will resume where you left off before
pausing. When you are finished, press the START/
STOP (
) button to stop recording.
The following recording setup parameters are also
available.
Overdub
Select this method if you wish to record additional
performance data by overdubbing it without erasing
the previously‐recorded data.
Manual punch-in
Select this method when you wish to use the
SEQUENCER REC (
●) button or a foot switch to re‐
record selected portions of a previously‐recorded
track.
Auto punch-in
Select this method when you wish to automatically re‐
record selected portions of a previously‐recorded
track.
Then, recording will occur only over the specified area
(Auto Punch In Start Measure–Auto Punch In End
Measure), rewriting it with the newly recorded data.
Loop All Tracks
Select this method when you wish to repeatedly record
over a specified area of a track, while continuing to add
data. This is suitable for creating drum patterns, etc.
For details, please see “An example of realtime
recording” on page 61.
Multi (multitrack recording)
Use MIDI multi‐track recording if you want to
simultaneously record multiple tracks of different
channels, such as when recording the output of the
drum track, arpeggiator or RPPR functions, or when
recording from an external multi‐track sequencer.
Location