Transport control, Cue list, Front panel buttons – KORG Krome music workstasion 61key User Manual
Page 58: Buttons in the display (the transport bar)
Creating songs (Sequencer mode)
54
Recording and editing a pattern
You can record a pattern in either of two ways: realtime
recording or step recording. However, unlike realtime‐
recording to a track, you can select only one recording
type (loop recording) when realtime‐recording to a
pattern.
You can edit the pattern to correct mistakes in the
recorded data, or use event editing to insert new data.
You can use the Get From Track menu command to
obtain a desired region of performance data from a
track and use it as pattern data. Conversely, you can
use the Put to Track or Copy to Track menu
commands to place or copy a pattern’s performance
data into a track.
How Sequencer patterns are related to Drum
Track patterns
The patterns of the Drum Track function you use with
a Program or Combination are related to Sequencer
mode patterns as follows.
Preset patterns are a common library that can also be
used by the Drum Track function.
User patterns cannot be directly used by the Drum
Track function, but they can be converted to user Drum
Track patterns and used with a Program or
Combination. If you convert a user pattern, it will be
stored in internal memory, and this data will not
disappear even when you turn off the power.
Cue List
The cue list allows you to playback multiple songs in
succession. The KROME lets you create twenty cue
lists. Each cue list lets you connect up to 99 songs and
specify the number of times that each song will repeat.
The menu command Convert to Song lets you convert
the songs in a cue list into a single song.
For example you can use a cue list to create the
backing, convert the cue list to a song, and then add
solo phrases on unused tracks.
Transport control
These controls let you play back, record, fast‐forward,
or rewind the sequencer.
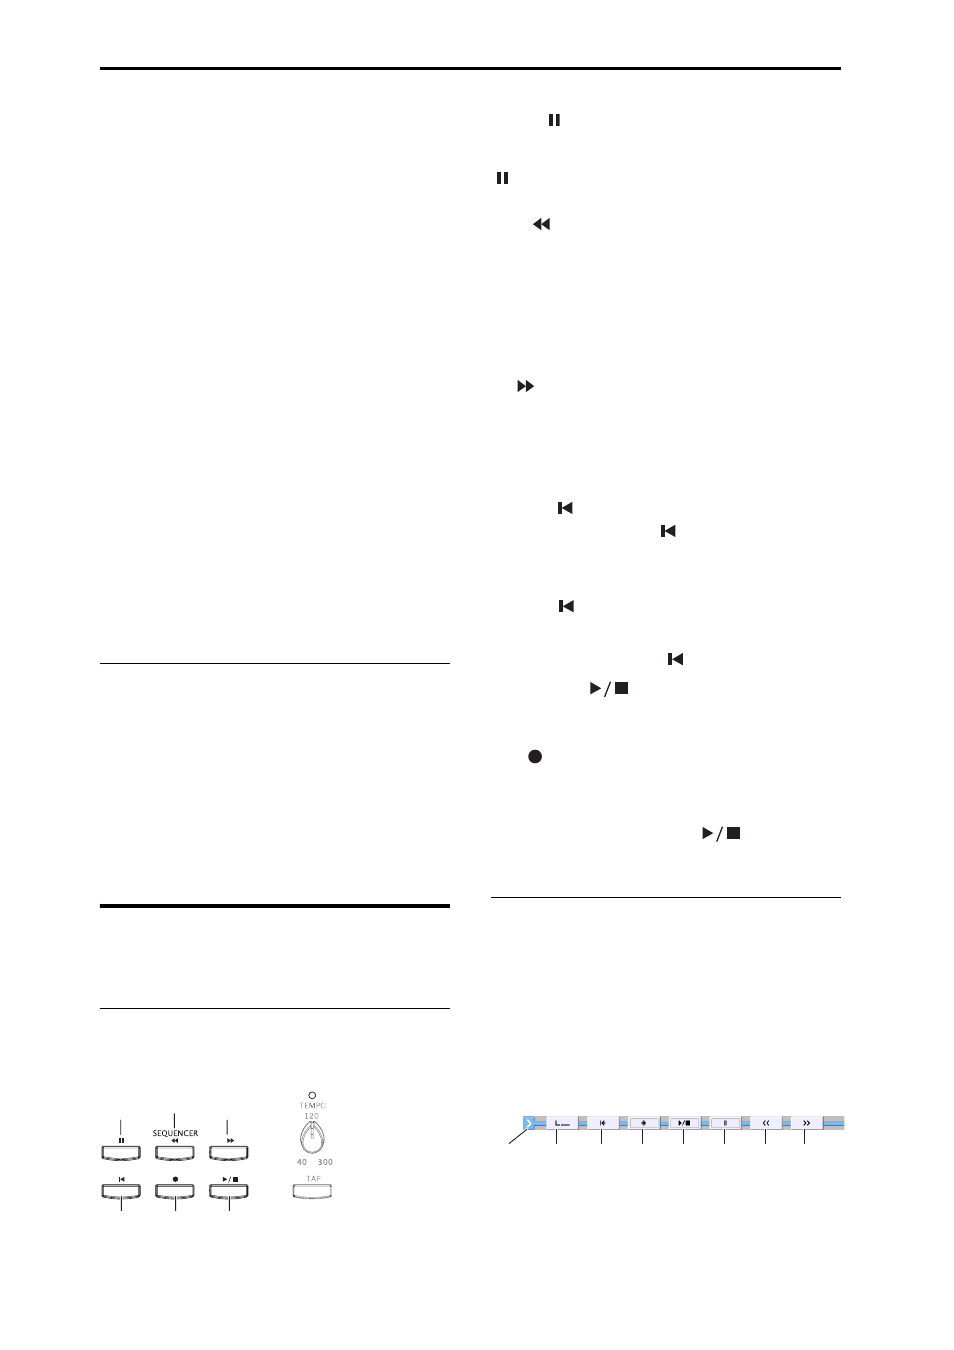
Front panel buttons
You can use the front panel SEQUENCER buttons to
control recording and playback on the sequencer.
PAUSE ( ) button
This button pauses the playback of the song. When
paused, the button’s LED will light up. Press PAUSE
( ) once again to resume playback, and the LED will
turn off.
REW (
) button
When the Song is playing or paused, this button will
rewind the song. When you press and hold this button,
its LED will light up, and the playback will rewind.
(Rewind is disabled during recording, and while the
Song is stopped.)
Note: You can use the FF/REW Speed menu command
to specify the fast‐forward and rewind speed.
FF (
) button
When the Song is playing or paused, this button will
fast‐forward the song. When you press and hold this
button, the button will light up, and the playback will
fast‐forward. (Fast‐forward is disabled during
recording, and while the Song is stopped.)
LOCATE (
) button
By pressing the LOCATE (
) button you can move to
a specified locate point. By default, you’ll move to
001:01.000.
To change the locate point that’s assigned to the
LOCATE (
) button, use the menu command Set
Location. Alternatively, you can set the locate point
during playback by holding down the ENTER button
and pressing the LOCATE (
) button.
START/STOP (
) button
This starts or stops recording and playback in
Sequencer mode.
REC (
) button
Pressing this button will enter record‐ready mode.
Once you’re in record‐ready mode (shown by the
button’s lit LED), you can begin recording by pressing
the SEQUENCER START/STOP (
) button. For
details, please see “Recording MIDI in real time” on
page 60.
Buttons in the display (the transport
bar)
The transport buttons in the bottom line of the display
can also be used to control sequencer recording and
playback in the same way as the front panel
SEQUENCER buttons.
The transport buttons will appear when you press the
“<” button on the lower right side of the display and
drag it toward the left. To close them, press the “>”
button and drag it toward the right.
REC
LOCATE
START/
STOP
PAUSE
REW
FF
REC
LOCATE
SET
LOCATE
<, >
popup
START/
STOP
PAUSE REW
FF